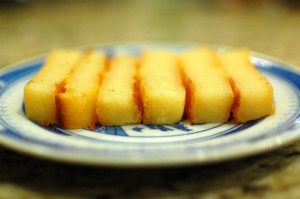
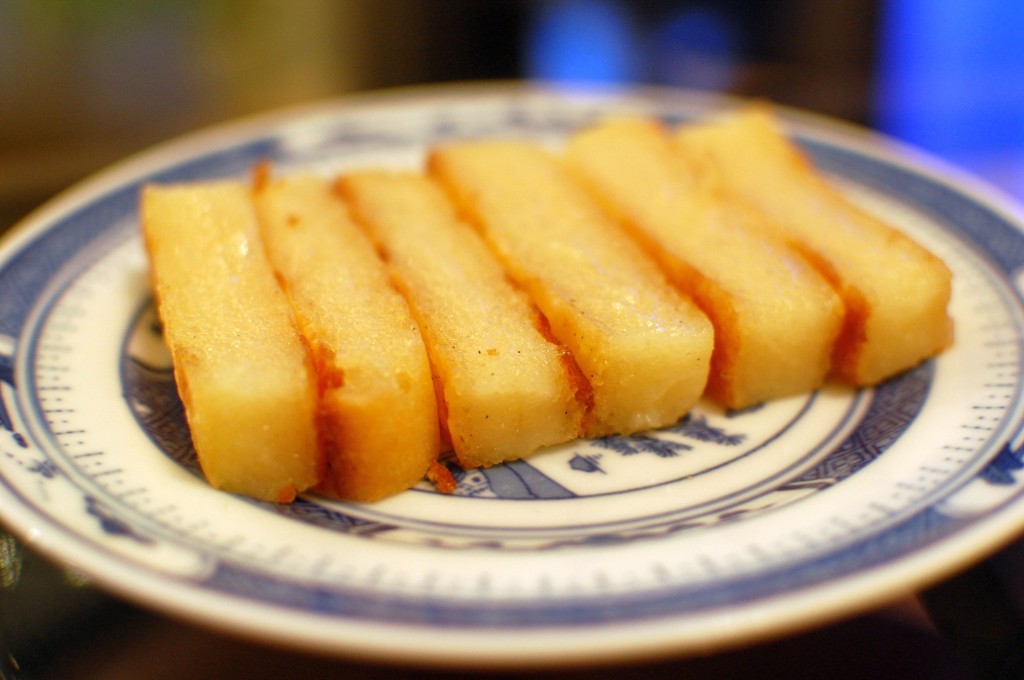
A few days ago, a good friend of mine had a housewarming party. She had a lot of really good food and all kinds of wonderful desserts and sweet treats. One of her friends brought over a delicious homemade Vietnamese dessert called “Banh Khoai Mi Nuong” (or “Cassava Cake”). The cake was cut into small squares, and had a wonderful coconut flavor with a somewhat mochi-like texture. I’ve never had it before… but now that I’ve had it… it was so good, I wanted to eat it again!
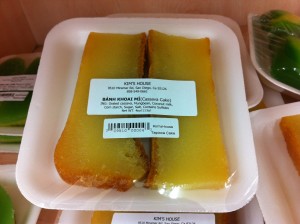
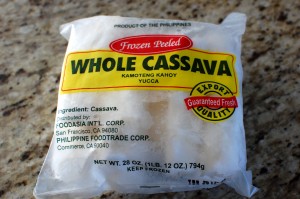
The other night, we were shopping at 99 Ranch Market down in Convoy, and I saw a small package (only 2 slices!) of Banh Khoai Mi Nuong for sale for about $3. Three dollars for two tiny little pieces? Ha! It didn’t look that hard to make… so I bought a package of frozen cassava, and brought it home with the intention of figuring it out. Once I got home, though, I almost smacked myself in the forehead… duh… “Cassava” is “yuca”… and they sell fresh yuca at the regular grocery store down the street. Next time, I can just buy it fresh!
Cassava (Manihot esculenta), is a member of the Euphorbiaceae family, and is native to South America. This plant is cultivated for it’s starchy root – from which tapioca starch is made. One interesting piece of information: cassava is toxic if eaten raw – it contains hydrogen cyanide! However, cooking destroys the toxic properties, making it safe to consume. (So don’t eat cassava leaves, or raw cassava!)
- 1 lb. grated cassava (yuca root)
- 1 1/2 c. coconut milk
- 1/2 can sweetened condensed milk (about 7 oz.)
- 1 egg
- 1/2 c. sugar
- 3 T. corn starch
- 2 T. tapioca starch (ok to substitute corn starch)
- 2 T. unsalted butter, melted
- 1 tsp. salt
- 2 tsp. vanilla extract
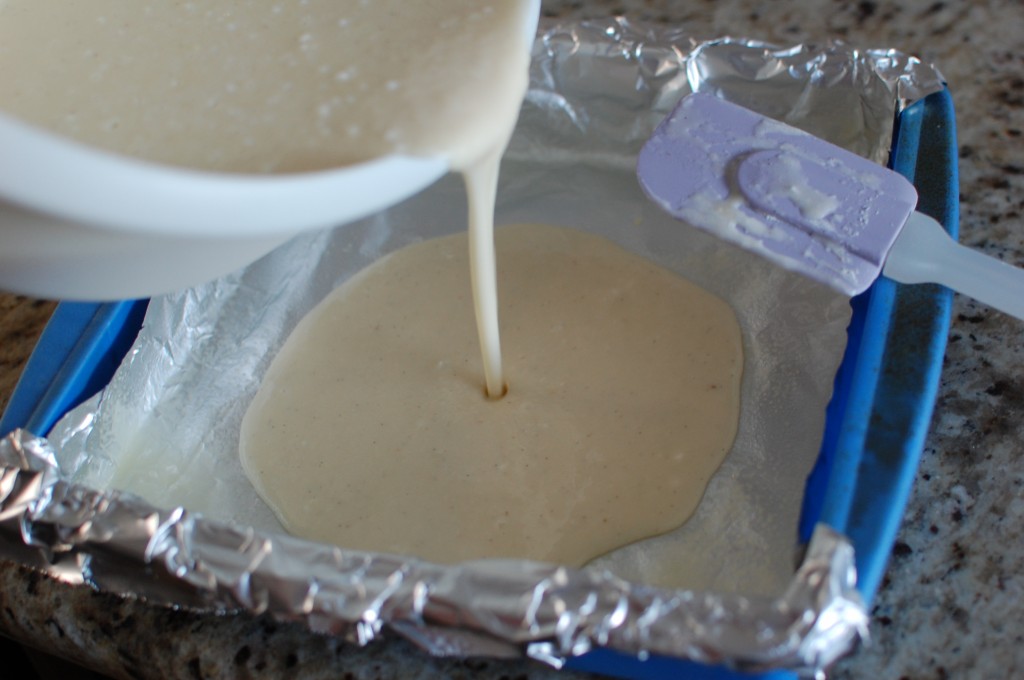
1. Preheat oven to 375 degrees. Line a 9″ square cake pan with non-stick foil (for easy removal and clean-up), and spray with non-stick spray. Using a food processor, grate the peeled cassava.
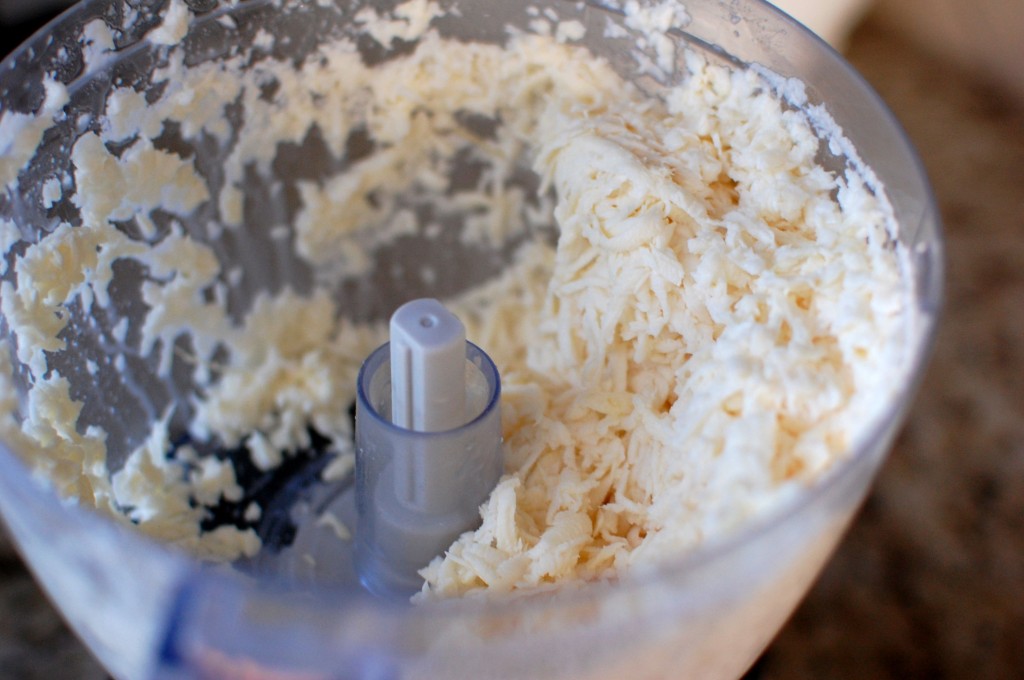
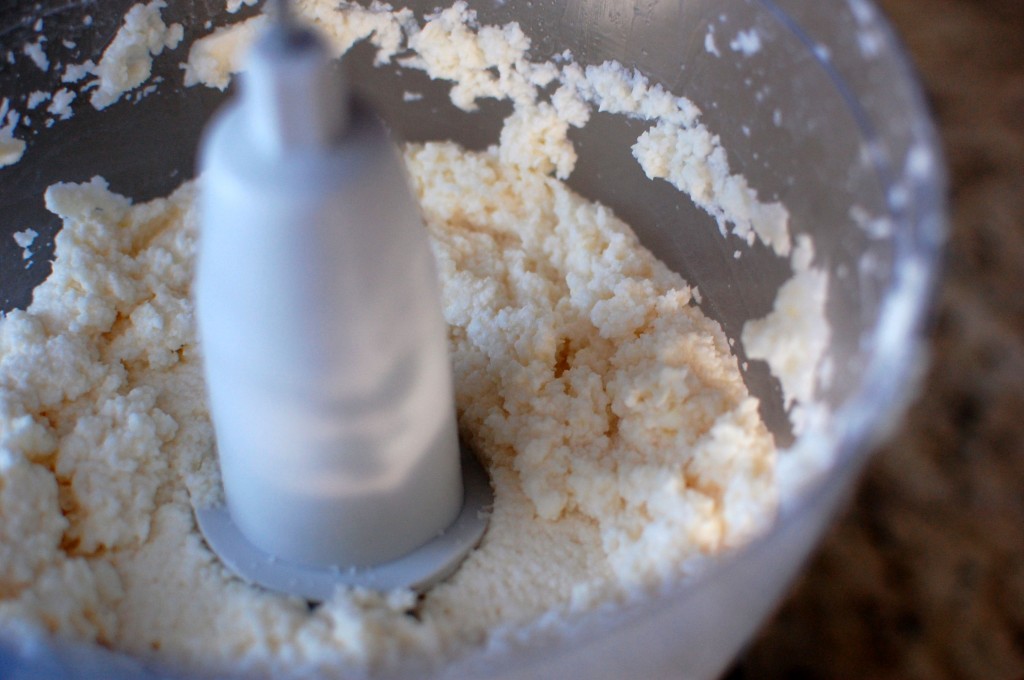
2. Remove the grated cassava from the food processor, and attach the chopping (pureeing) blade. Put the grated cassava back into the food processor, and pulse until more finely ground – it will look a lot like ricotta cheese when done.
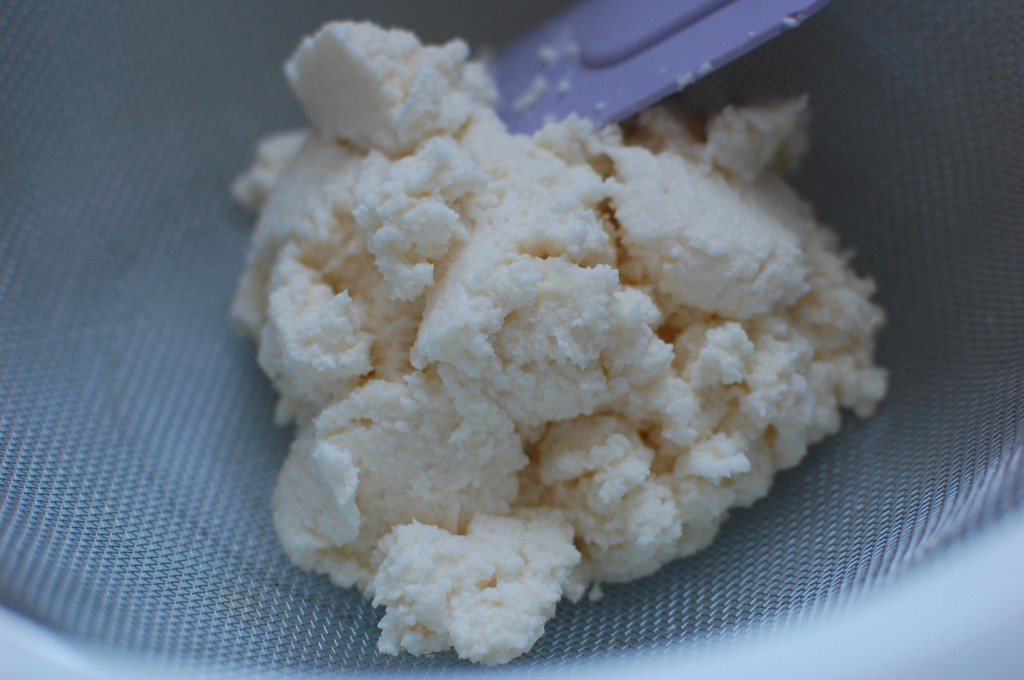
3. Drain the cassava, pressing with a spatula, to remove as much liquid as possible. Discard the liquid.
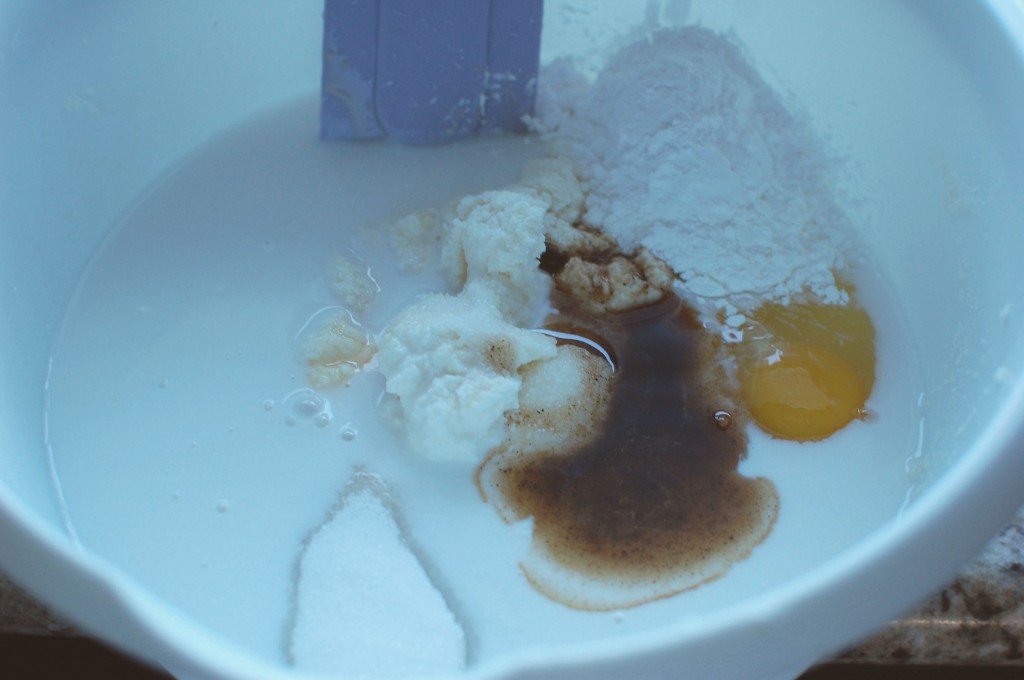
4. Combine the drained cassava with the remaining ingredients, and mix in a bowl until thoroughly combined.
5. Pour into the prepared pan. Bake for 45-55 minutes in a 375 degree oven.
6. Remove and cool before slicing.



Hi Mika
Yay!! Thanks for sharing this recipe. I have tried several different recipes in the past (different ration but never contain cornstarch or butter) but none turned out moist or chewy like the one sold in the supermarket. Your look really good. Will definitely give it a try. BTW, what is the purpose of adding cornstarch?
Also, if I use the store bought grated casava, the 1 lb require in the recipe is after I defrost and squeeze out the liquid or just the total 1 lb weight show on the package?
Hi Amy,
I added the butter mainly for flavor – butter makes everything good! I also figured a little bit of fat would help keep the texture soft, instead of hard. For the cornstarch, I added it to help absorb excess moisture from the grated cassava – even if you squeeze it really well, it’s hard to remove all the moisture – so the cornstarch helps gel the extra moisture so that the cake doesn’t end up soggy.
For the store bought grated cassava, the 1 lb is total weight of the frozen package. You will probably have less than 1 lb once you defrost and squeeze out the liquid. There is a little room to play here – it doesn’t have to be EXACTLY 1 lb – if you end up with a little less it should still be fine as long as you have at least 3/4 lb. Depending on how finely the cassava is grated, you may want to use a food processor to pulverize it further – you want a pretty fine grate, so that your cassava looks more like ricotta cheese.
Hi Mika,
I tried your recipe today. The cake turns out moister than my previous recipes. However, it is not as chewy as I would like it to be. It could be because I use frozen grate cassava. Even with 2 bags, after defrost, rinse and squeeze out the liquid, the weight of the cassava turn out to be only 12 oz ( can you imagine) so there might not enough starch to make it chewy. Maybe next time I will add a bit more tapioca starch to see if it will make it any chewier
Hi Amy! I’m not sure what went wrong with your cake. Mine was really chewy – but I grated the cassava myself using a food processor and pulverized it further with the blade. I’ve never used the pre-grated kind – and that could be your issue – I’m not sure if they wash off any starch in processing. Hope your next one turns out better!
Dear Mika,
Thank you for sharing your recipes. My turn, here’s a recipe of the Filipino Cassava Cake.
Line a 9 inch diameter x 1 1/2 inch round pan with banana leaf. (this is the “organic” tin foil)
Combine the following ingredients in a bowl:
2 cups grated cassava (well packed)
1 cup sugar
2 eggs beaten
1 cup thick coconut milk
3 tbsp melted butter
1/2 cup fresh coconut meat shredded
1 tbsp grated cheese.
Mix well and pour into prepared pan. Bake at 375F for 45 minutes or until top is dry.
Meanwhile, prepare the topping or “latik” (can be described as “coconut caramel sauce???)
1/4 cup brown sugar
1/4 cup coconut cream
heat in a saucepan until sugar is melted.
pour over baked cassava cake and top with
2 tbsp grated cheese
Continue baking in the oven for 20-25 minutes until the top is golden brown. Cool before slicing.
ps: banana leaves need to be wilted so they become more pliable. heating them over flame makes them wilted. you can omit the banana leaves as liner and use any pan, glass or metal, grease pan with shortening.
Wow that looks like an awesome recipe. Thanks for sharing!!!
Hi Mika,
The frozen whole casava that you are using in the recipe, do you have to defrost , re-soak them before grating?
I defrosted the frozen cassava, then grated (in the food processor), then took the grated cassava and used the steel blade in the food processor to pulverize it even finer. Then, I tried to squeeze out as much of the liquid as possible. Hope this helps!
Hello , i’ve been searching so long for this recipe , thanks for sharing it but as being a french educated i just wanted to know what does T. Mean is it tablespoon ???
Yes:
T. = tablespoon (the measuring spoon, not cutlery).
tsp. = teaspoon.
Thanks! The flavors are great! The only problem with mine was that I didn’t pulverize the yucca enough so the cake was grainy. But hey it was still yummy.
I normally grated mine using a cheese grater like the one pictured http://prntscr.com/34xud4 … it grated to a very fine texture, although time consuming. I have tried a blender, but it’s not as fine as grating it, i will try a food processor next time, thanks for the idea
I tried your recipe and used fresh cassava grated and processed in the food processor. I didnt have to squeeze juice out since it is pretty dry. I doubled the recipe and used 1 can of coconut milk and added regular milk to make 3 cups and added shredded jackfruit. I didnt have tapioca starch so i substitute it with more cornstarch. It turn out really moist, packed and it has the great texture of how i want my cassava cake to be. I also like caramel topping on my cake so i cook 1 can of coconut milk and 1cup packed brown sugar and boil, stir it constantly till it is thick and decrease in quantity. I took 25 minutes for the caramel to get thick. I drizzle it on top. It was delicious. Thank you for sharing your recipe.
Glad it turned out for you!
I was wondering if there is an alternative to using Cassava as there is no vietnamese grocery stores where I am. I tried this cake when i lived in Toronto Ontario. I am no longer there and thought my dad would enjoy it but we can not get Cassava here.
Thanks
Can you find “Yuca” – maybe at a latin american grocery store? Yuca or cassava is a long starchy root that can be eaten like a potato. I don’t think you can substitute for it though – where do you live right now?
Hi! Just out of curiosity, which brand/model of food processor did you use in pureeing cassava? I love cassava cake so much but hate cooking it because I do the grating manually and it is so labor-intensive and time-consuming. Thanks!
I have 2 food processors: a cheapo Black and Decker, and a Cuisinart. I think for this recipe, I used the Black & Decker one. The Cuisinart is larger capacity (it has smaller inserts that can be used too) – so it’s better for large jobs. For small simple jobs I usually use the Black & Decker because it’s easier to clean, and if it breaks… it’s so cheap that it’s not a big deal.
Black & Decker Food Processor
Cuisinart 14-Cup Food Processor
I’m using my own organically grown yuca to make this cake and though it is more time consuming to make, it is well worth it! Growing yuca is So easy! And It’s the top of carbs on the Paleo Food list,
Home grown yuca? Wow. That’s impressive!
Great post! We are linking to this particularly great article on our site.
Keep up the good writing.
The yacca root do you peel and is there a core?
Yes, peel it (no core).