Today’s high (temperature) was 90 Degrees (F)! (32.33 Degrees C). That’s pretty hot for San Diego in April! Growing up in “The Valley*”, a high of 90 Degrees wasn’t really a big deal… I mean we had days over 100 degrees pretty often. Back then, we didn’t have “snow days”. We had “heat days”. But living in San Diego… I’ve become very spoiled. The weather here is pretty nice year round, and it seldom gets too hot or too cold. This year though… things are a bit different. One of my protea plants in the back yard actually died from frost (!) over the winter… and here were are in April at 90 degrees. [To those of us in Southern California, "The Valley" = The San Fernando Valley]
Anyway… it’s hot today. So it’s time for some ice cream! It’s been awhile since I broke out my Cuisinart Ice Cream Maker – I got mine two years ago on sale ($69 for the machine + an extra freezer bowl insert). I really liked having the extra freezer bowl insert because you are able to make two different flavors of ice cream back to back without having to re-freeze the one bowl it normally comes with. As of right now (4/30/15), that same ice cream machine (with the extra freezer bowl insert) is on sale again for $69 at Williams-Sonoma. The same one is on Amazon Prime right now for $54… but only one freezer bowl, so it’s cheaper… but not as good a value in my opinion. If you like ice cream, nothing can compare to the taste of fresh homemade ice cream – get a machine if you buy a lot of ice cream! Ingredients are much cheaper… and if you look at the cost of “half-gallon” (Umm… these days have you noticed the half-gallon has shrunk to 1.5 quarts?) it doesn’t take very long to make up the cost of the machine.
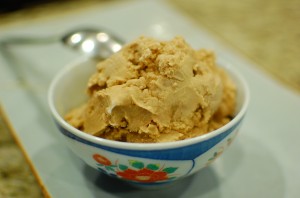
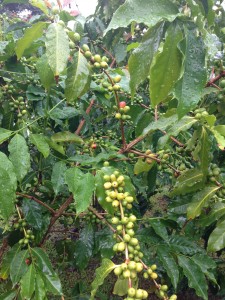
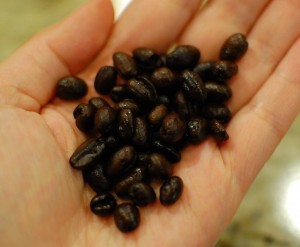
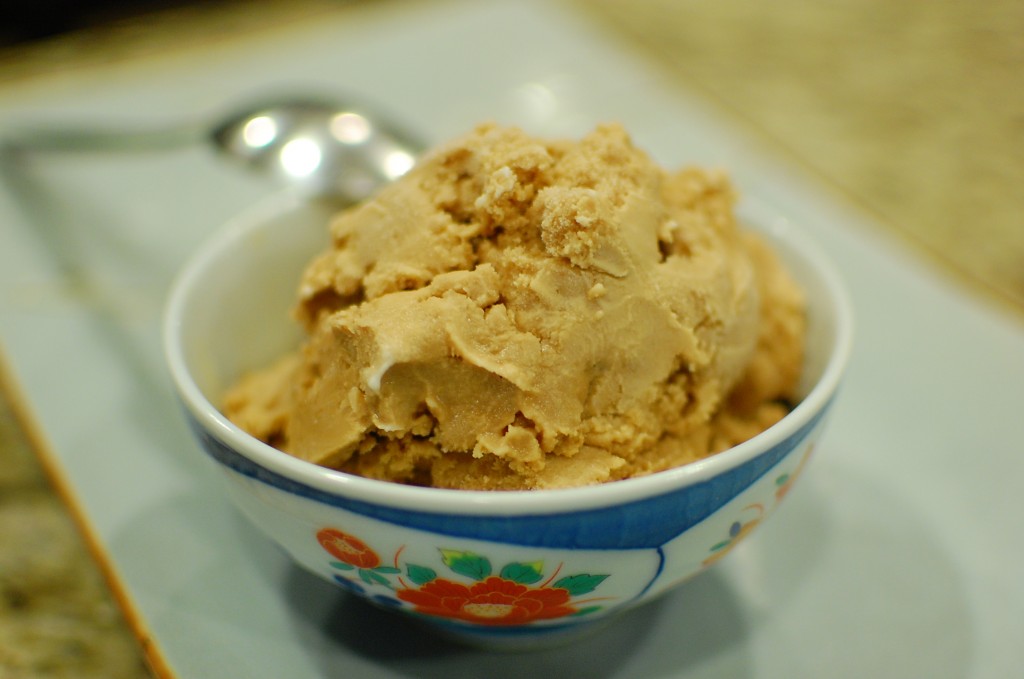
Today, I decided to make Kona Coffee flavored ice cream. The last time we went to the Big Island (Hawaii), we stopped at the Mountain Thunder Coffee Plantation. It was raining, and we were the only ones there… but they still let us walk around their “farm” area to check out how the beans are grown and take close up pictures of the plants. We also had a chance to try (and take home) some real 100% Kona-grown peaberry coffee beans.
What is peaberry coffee? Well, coffee plants actually produce berry like fruit. Inside the fruit, are two flattened seeds – once dried and roasted, these “seeds” become what we think of as coffee “beans”. Well, sometimes the two seeds don’t develop – and instead a single rounded seed develops instead – once roasted, this single rounded seed becomes a “peaberry coffee bean”. Peaberry coffee beans are quite rare (less than 4% of the total crop)… and are described as producing a more intense flavor than regular coffee beans.
Since I had the peaberry coffee beans from Kona on hand, I made my 100% Kona coffee ice cream with those special beans for the extra flavor. It was really good – and really reminded me of that trip to Hawaii and all the Kona Ice Cream that we had when we were there. You don’t have to use 100% Kona coffee beans… you can use any type of coffee (even instant)… but I think the better the flavor you start out with, the better your ice cream will be in the end. Brew your coffee strong, or use espresso.
Coffee Ice Cream:
- 1 c. espresso (or strong brewed coffee)
- 1/2 tsp. salt
- 1 tsp. vanilla extract
- 2/3 c. sugar
- 2 c. heavy cream
Hardware needed:
- Ice Cream Machine
- 2 qt. pitcher
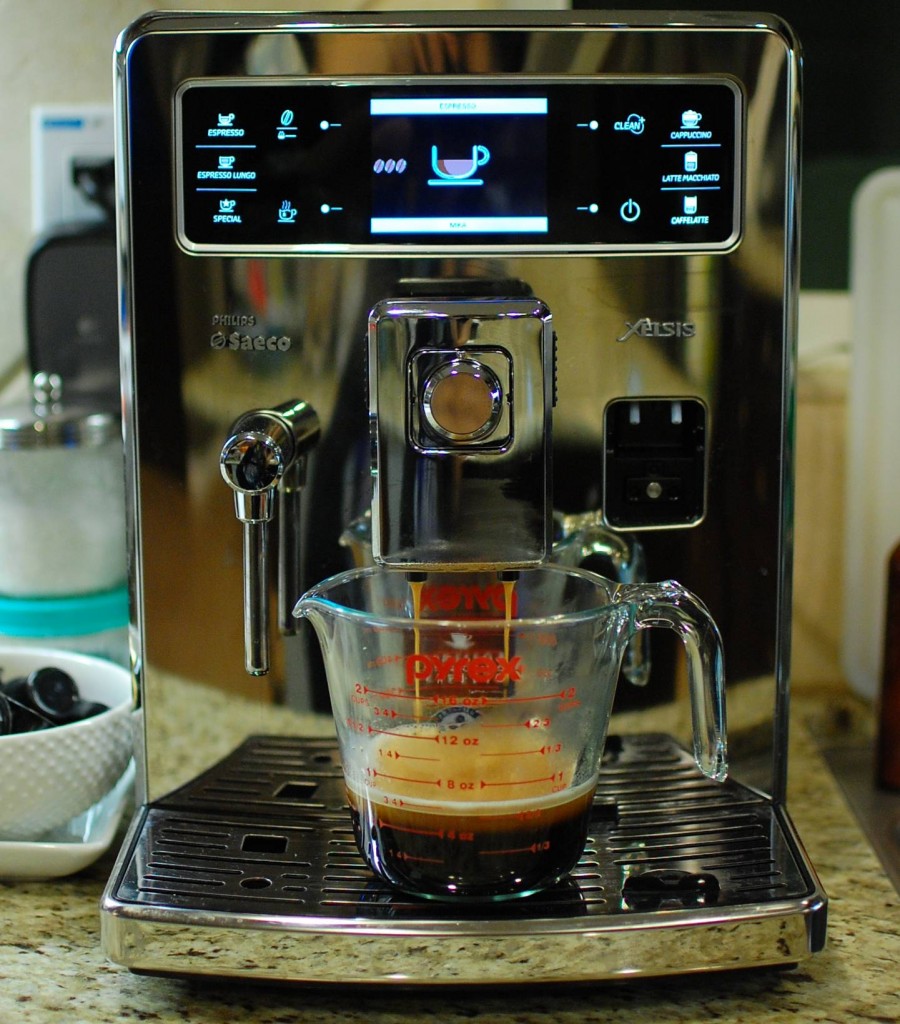
1. The day before making the ice cream, make sure you put your freezer bowl insert for the ice cream machine into the freezer. Then make the ice cream base: Brew 1 c. of espresso (or very strong coffee). I used Kona “peaberry” coffee beans.
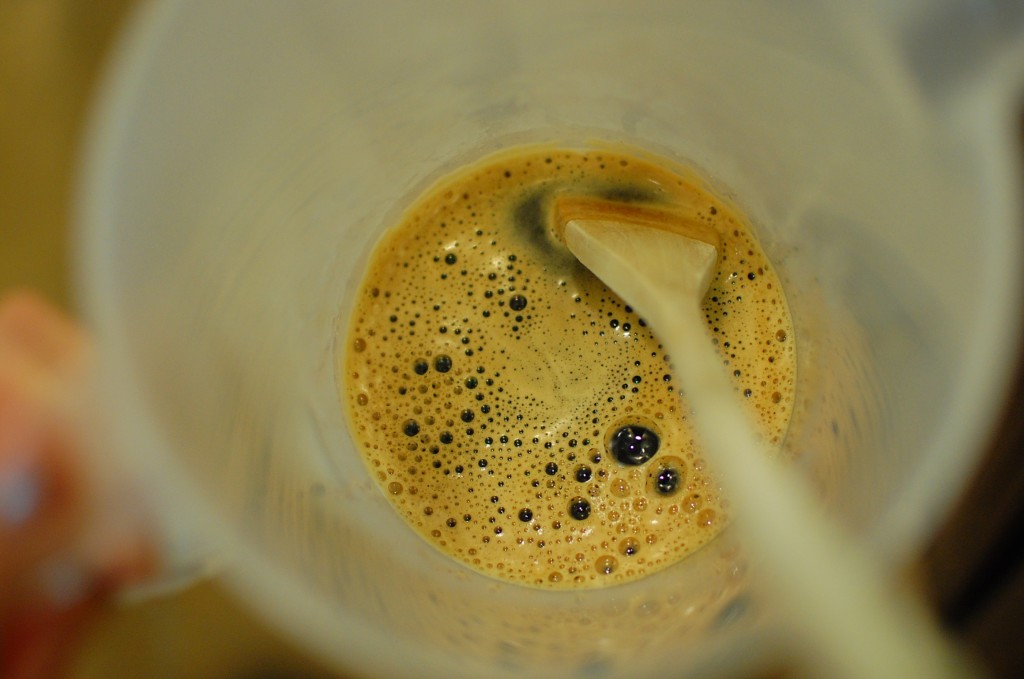
2. Mix the hot coffee with the sugar, salt, and vanilla extract in the bottom of a pitcher.
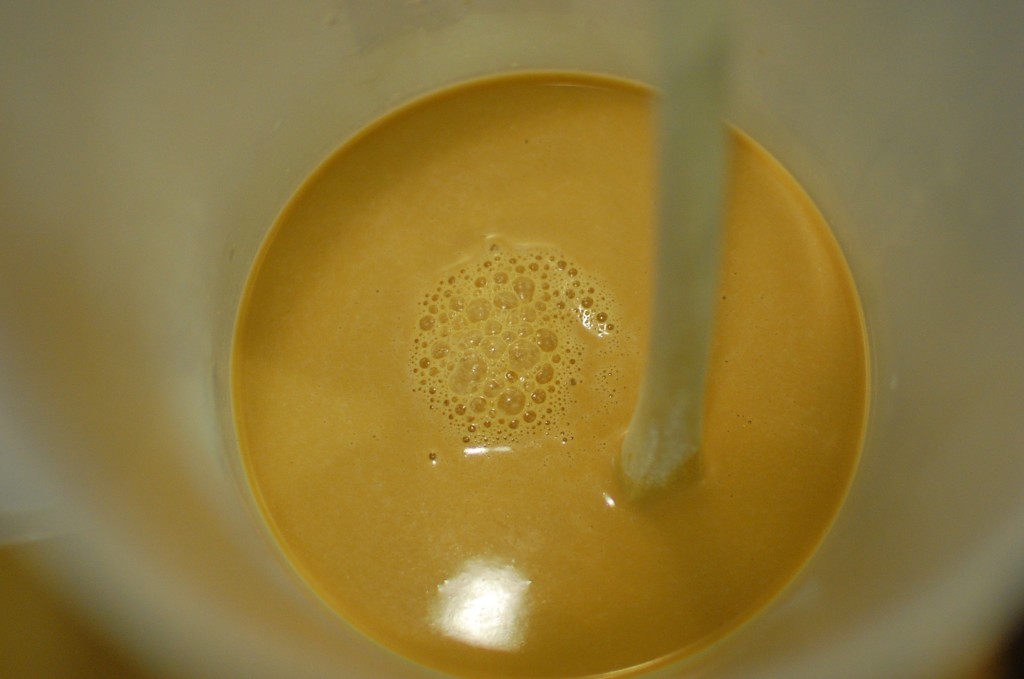
3. Add the heavy cream, mix, and store in the refrigerator overnight to chill.
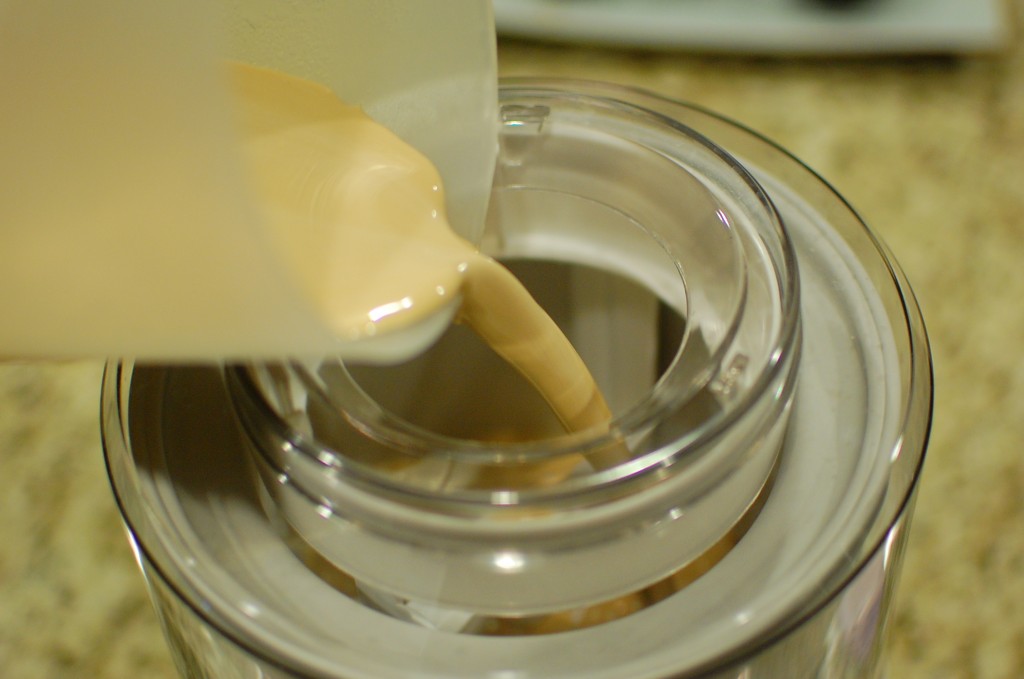
4. The next day, set up your ice cream machine and turn on. Pour the coffee mixture into the freezer bowl.
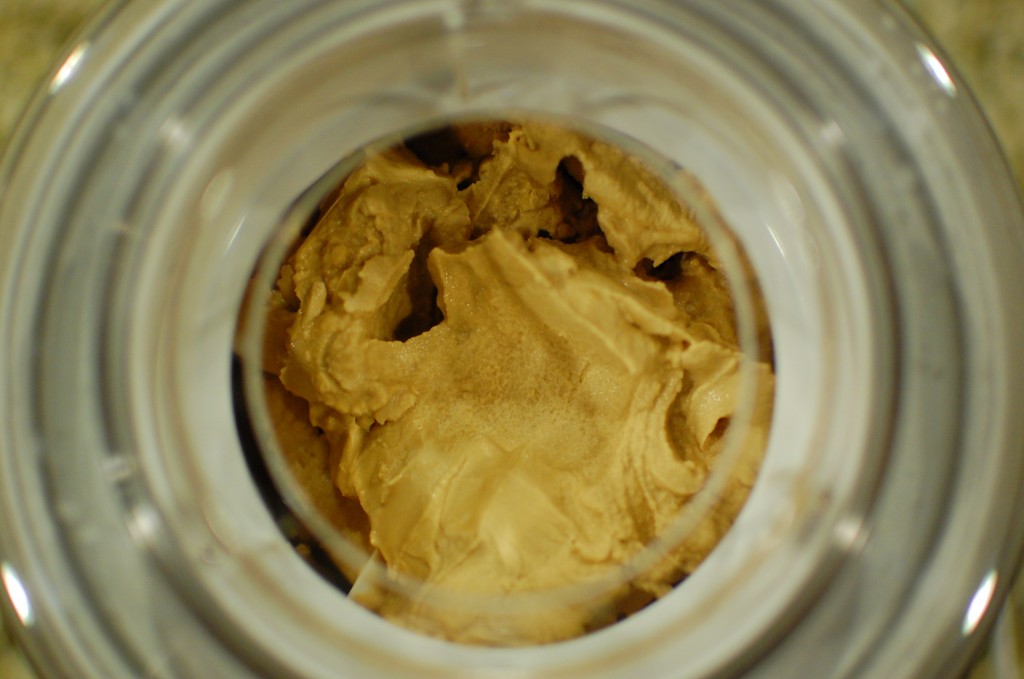
5. Churn for 15-20 minutes until the consistency of soft serve.
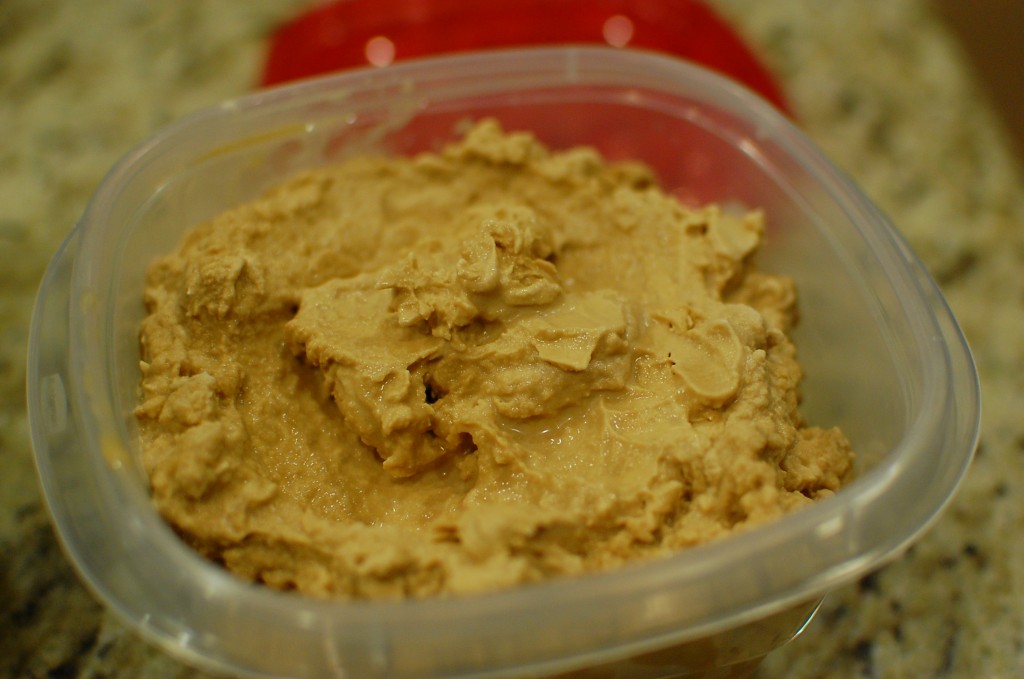
6. Remove the ice cream to a plastic container, and freeze for 4-6 hours until solid.
7. Scoop, and enjoy! (Storage tip: if you have leftover ice cream to store, sometimes it can get really hard if stored in a thin plastic container. I find that if I wrap the container with a thick terrycloth dishtowel in the freezer, it keeps the ice cream texture a bit softer and easier to scoop. You can also try the Tovolo Ice Cream Container - it is specially insulated for ice cream to keep it frozen soft without getting overly hard. I bought one regular (white) Tovolo ice cream container on Amazon (about $15), but I found a pink one at Home Goods for $9.95. (For easy identification in the freezer, I use the white Tovolo container for vanilla and the pink one for other flavors.) )



Recent Comments