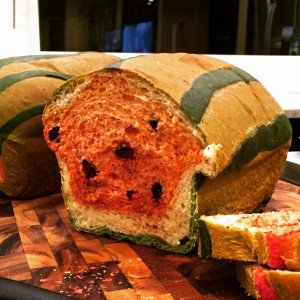
Earlier this week, I read some articles on the “Watermelon Toast” craze that has hit Taiwan. Lee Wen-fa (a head baker at Jimmy’s Bakery in Yilan County, Taiwan) created a fantastic watermelon shaped and colored loaf of fluffy Asian style milk bread (shokupan) in order to “encourage young children to eat more during the hot summer months when they’re prone to losing their appetites”. These loaves of watermelon shaped bread are quite popular – people are lining up outside the bakery every morning to snag one of the 100 loaves produced daily! When I saw this, I couldn’t wait to try it out and make up my own recipe for the “Watermelon Toast” loaf.
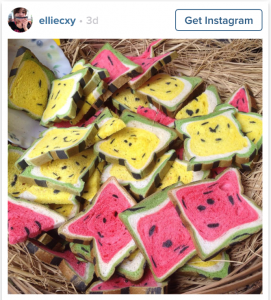
According to one of the articles I read, the colors used to dye the bread dough come from matcha green tea powder, red dye and strawberries. Jimmy’s Bakery also has a yellow version of the watermelon toast (see photos below) that they dye using tea powder and yellow dye. To mimic watermelon seeds, tiny pieces of edible bamboo charcoal are suspended in the dough.
I found a few copycat recipes online… but without the addition of the tangzhong to create the fluffy Asian milk bread texture… the bread dough recipes that I saw seemed somewhat heavy. Also, many of the recipes I found online relied on food coloring alone to tint the bread dough while Jimmy’s Bakery seems to rely more on natural ingredients to tint their loaves (matcha green tea powder and strawberries). While my recipe uses a little bit of food coloring – I wanted most of the color to come from natural ingredients for both flavor and authenticity. I used matcha green tea powder for the green part of the rind, and beet juice for the red watermelon fruit. You can substitute with food coloring though, if you prefer.
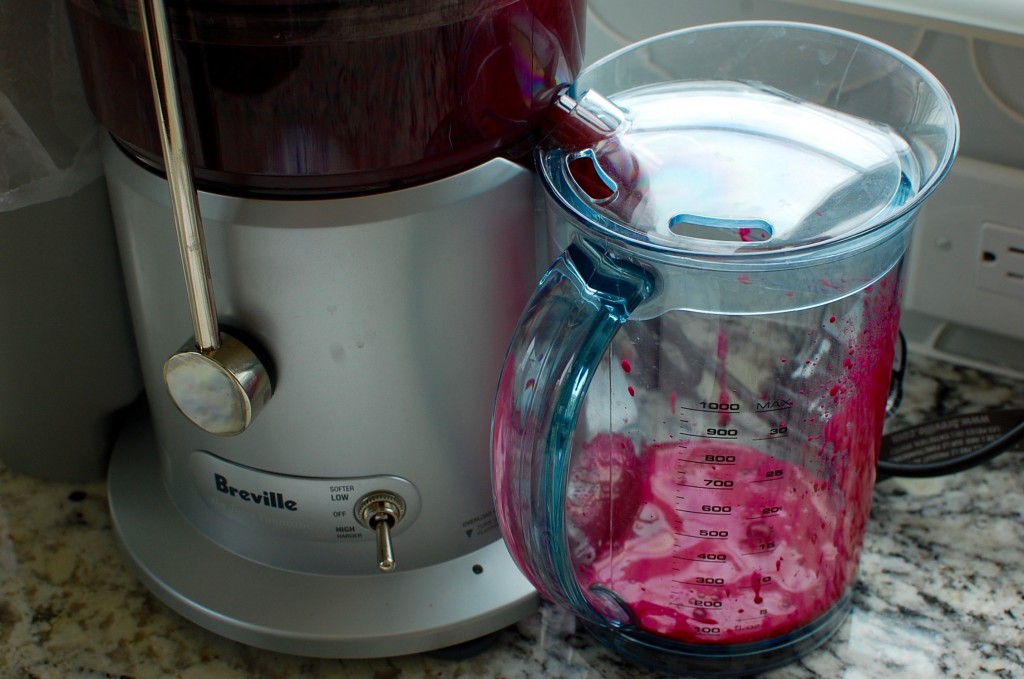
Why beet juice? For starters, beets are easy to find – you can find a bunch in almost every supermarket produce section. In addition, beets are heavily pigmented (often used for tinting and dyeing), and I felt the redness would come through pretty well (it will fade slightly in baking). I used my Breville Juice Fountain Plus to juice the beet – although a bit pricey, this juice extracting machine is awesome! I’ve been using it a lot lately to make fresh fruit juices and vegetable juices (carrot, beet, spinach) that you can use to tint homemade pasta. (If you don’t have a juice machine, I have included instructions in step #5 on how to use a blender to juice your beet.)
These instructions will make red colored “watermelon” toast. If you would like to make yellow “watermelon” toast, then simply substitute a yellow beet for the red beet (or use yellow food coloring).
Taiwanese Watermelon Toast (Makes 2 loaves):
White Bread Dough (Japanese Milk Bread):
- 2 1/2 c. bread flour
- 2 tsp. active dry yeast
- 4 T. sugar
- 1/2 tsp. salt
- 1 egg
- 1/2 c. milk
- 3 T. unsalted butter
- 1/2 c. tangzhong (see recipe below)
- 2 1/2 c. bread flour
- 2 tsp. active dry yeast
- 4 T. sugar
- 1/2 tsp. salt
- 1 egg
- 1/2 c. (juice of 1 beet + water to make 1/2 c. liquid total)
- few drops red food coloring (optional)
- 3 T. unsalted butter
- 1/2 c. tangzhong (see recipe below)
- green + black food coloring (for the watermelon stripes) – optional
- 1 – 2 T. matcha powder (for the watermelon rind)
- 3/4 c. raisins, dried currants, or chocolate chips (for the watermelon “seeds”)
Tangzhong (water roux) - will make 1 c. total:
- 1/3 c. bread flour
- 1 c. water
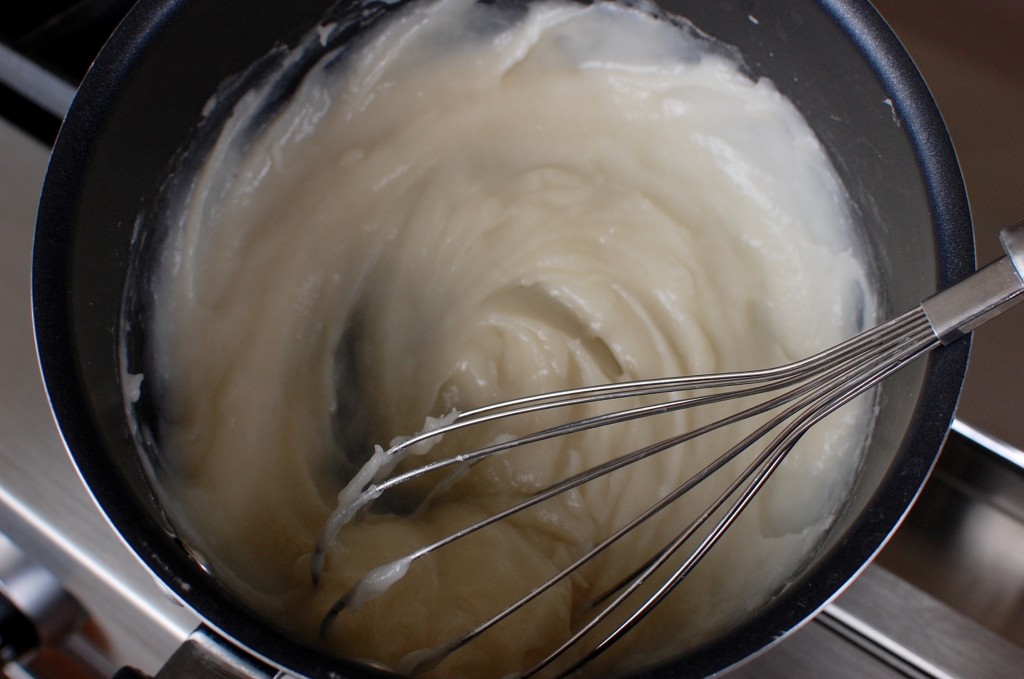
1. Make the Tangzhong: Blend the flour and water in a small saucepan, and heat over medium while stirring with a whisk. As soon as the mixture thickens, and swirl lines appear, remove from heat and allow to cool. (This recipe will yield 1 cup of tangzhong. You will use 1/2 cup for the white dough, and 1/2 cup for the red dough.)
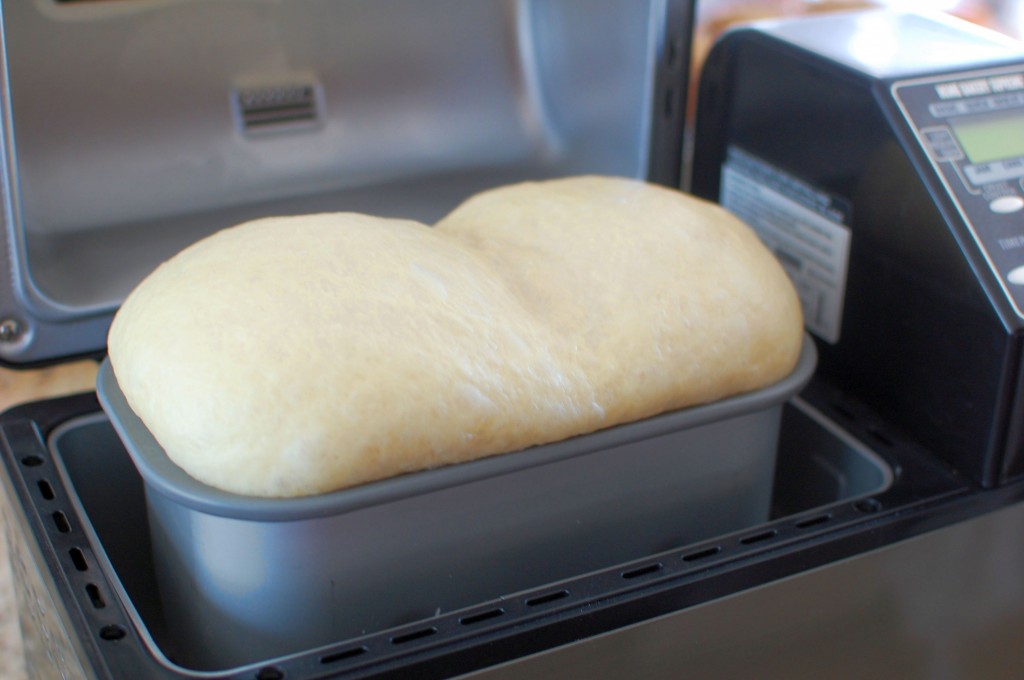
2. If you are using a bread machine to make your dough, then you can make 2 batches of dough back to back. I have a Zojirushi Home Bakery Supreme that I use to make most of my Asian Milk Bread based dough recipes – it’s so easy – you just turn on the “basic dough” setting and it does all the work for you!
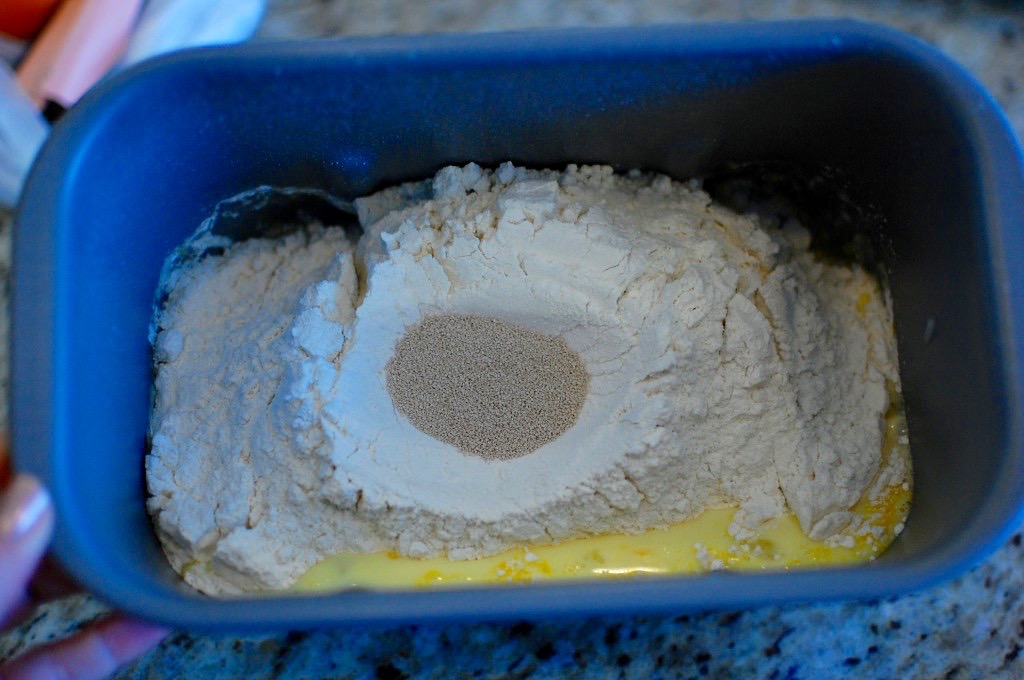
(Make the white dough first.) In the bottom of a bread machine pan, add the milk (beaten with the egg), sugar, salt, and butter (cut into pieces). Add 1/2 c. of the cooled tangzhong. On top of the liquid ingredients, measure out the flour. Make a well in the top of the flour, and put the yeast into the well. Do not allow the yeast to come in contact with the liquid ingredients in the bottom of the pan.
3. Using your bread machine’s dough function, allow the dough to combine, knead, and rise. You can mix and knead by hand, but you will need to work the dough for about 15 minutes to build up the gluten in the dough, and allow to rise in a warm location (loosely covered) for about 1 hour.
4. Wash and peel the beet. If you have a Juice Extracting Machine, cut the beet into quarters and juice. (If you don’t have a juicing machine then dice the beet into small pieces, blend in a blender with a 2-3 Tablespoons of water to liquify, then strain to remove the solids from the juice.)
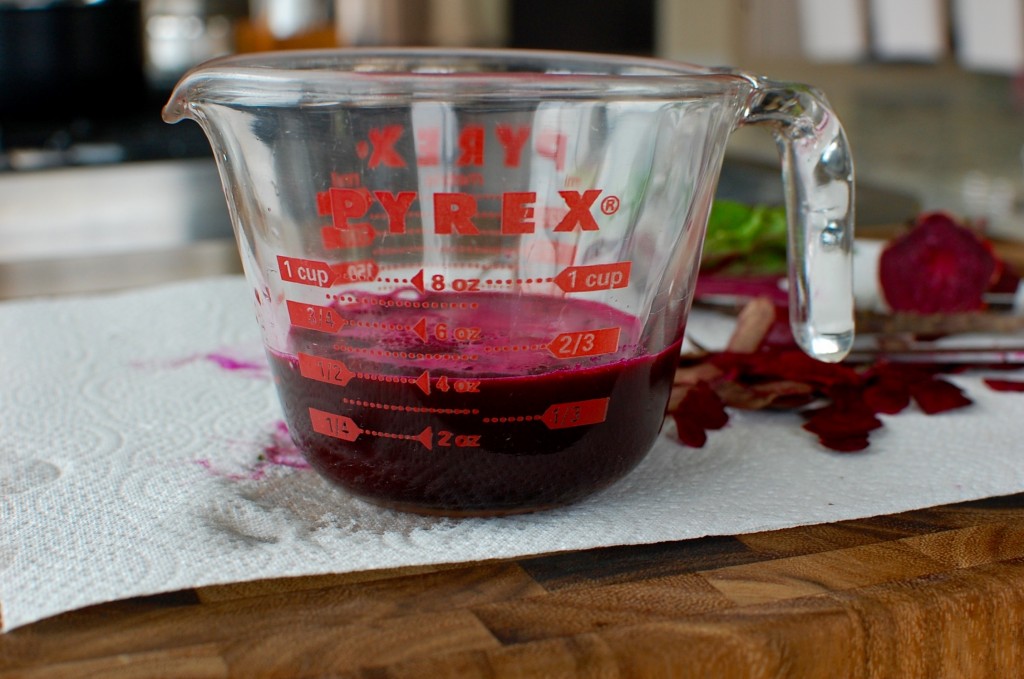
5. Place the beet juice into a measuring cup (I extracted about 1/4 c. pure beet juice), and add water up to the 1/2 cup line. To ensure that the color of your dough stays nice and red, you can add a few drops of red food coloring (optional).
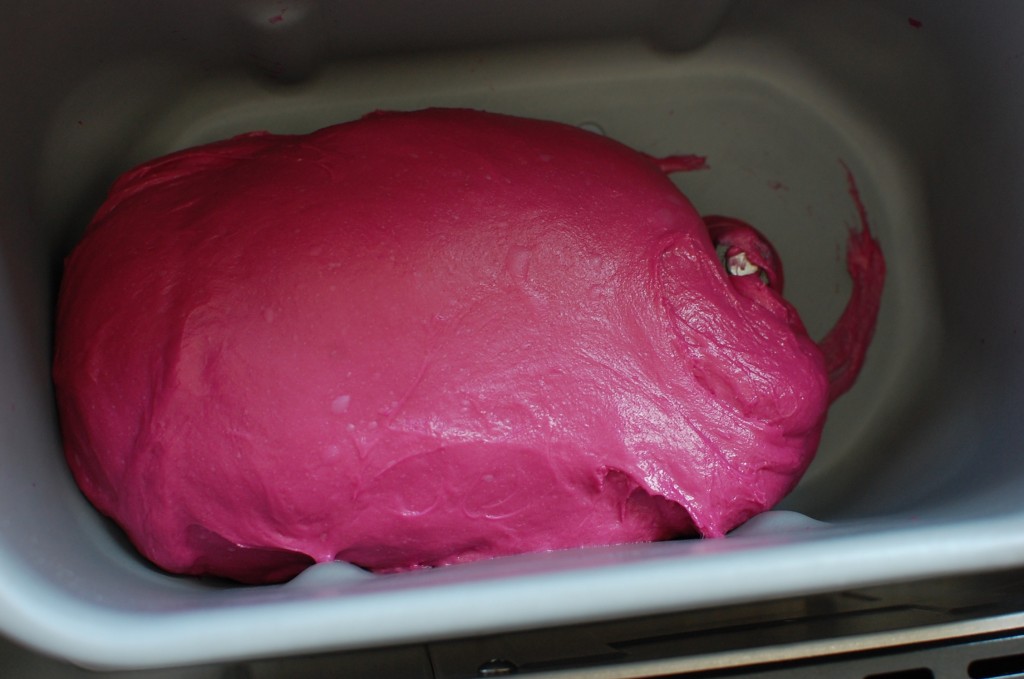
6. Now you will make your red dough using the same technique as steps 2-4, substituting the 1/2 c. of beet juice mixture for the 1/2 c. of milk in the instructions. (The red dough is going to be used for the inner red fruit of the watermelon.) See the nice bright color in the photo below? (This is what the dough looks like after it has been kneaded, but before the rise step.)
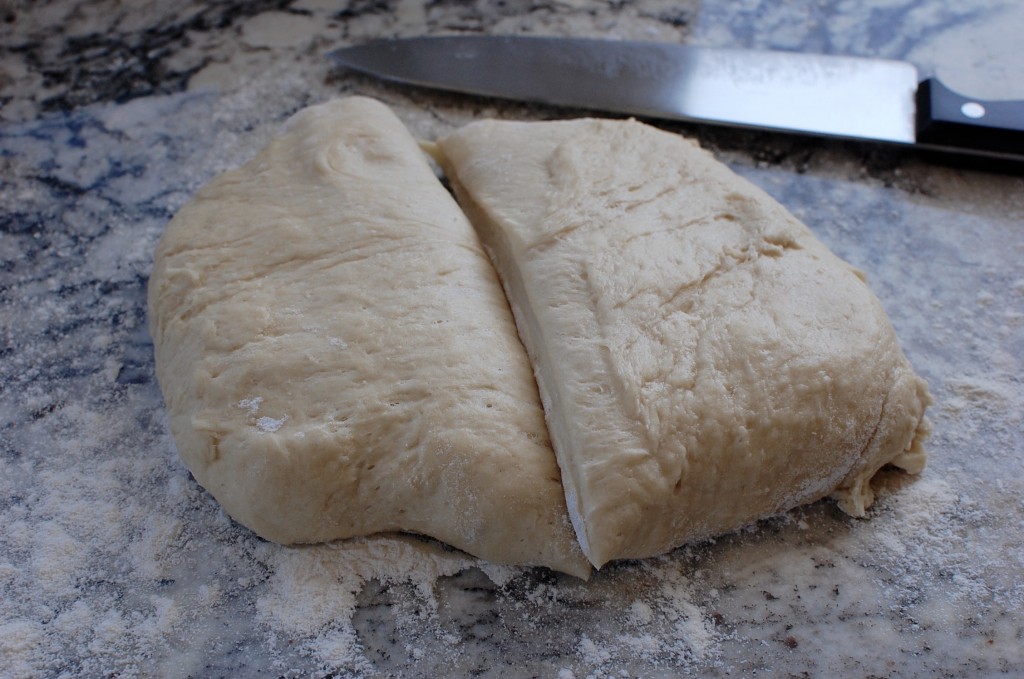
7. Once both your doughs are ready (risen and puffy), you will begin by working with the white dough. Place the white dough on a lightly dusted countertop. With a sharp knife, cut the dough in half. Set aside one half of the white dough (this will be used to simulate the white inner rind of the watermelon).
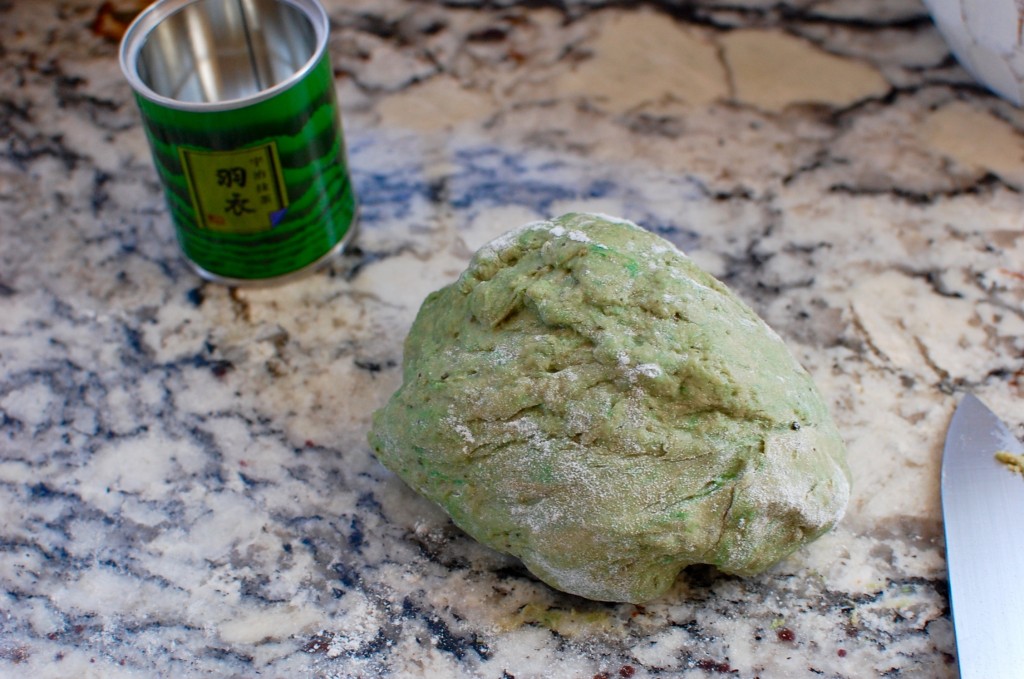
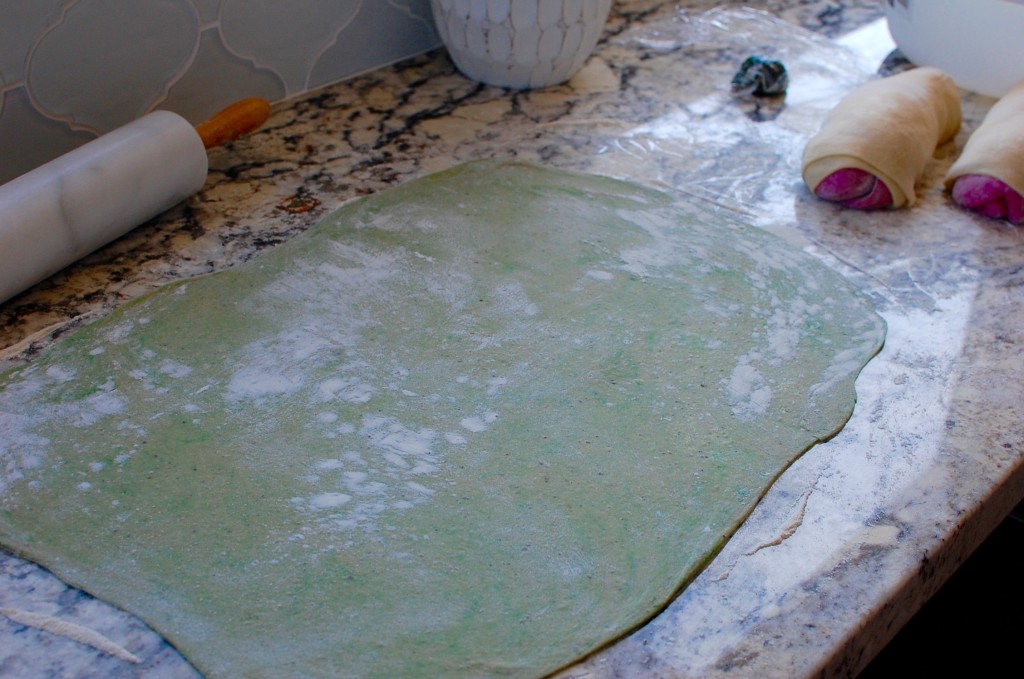
8. Take the other half of the white dough, and knead in 1-2 T. matcha powder until it is a green color that you like (to simulate the outer rind of the watermelon). (I also added a little bit of green paste food coloring to enhance the green.) For matcha, it is best to use REAL matcha powder from an Asian market. The Americanized sweetened matcha powder that you can get at Trader Joe’s or Starbucks is not quite the same thing. Of course, if you prefer, you can just use green food coloring – but I think matcha has better flavor if you can find it.
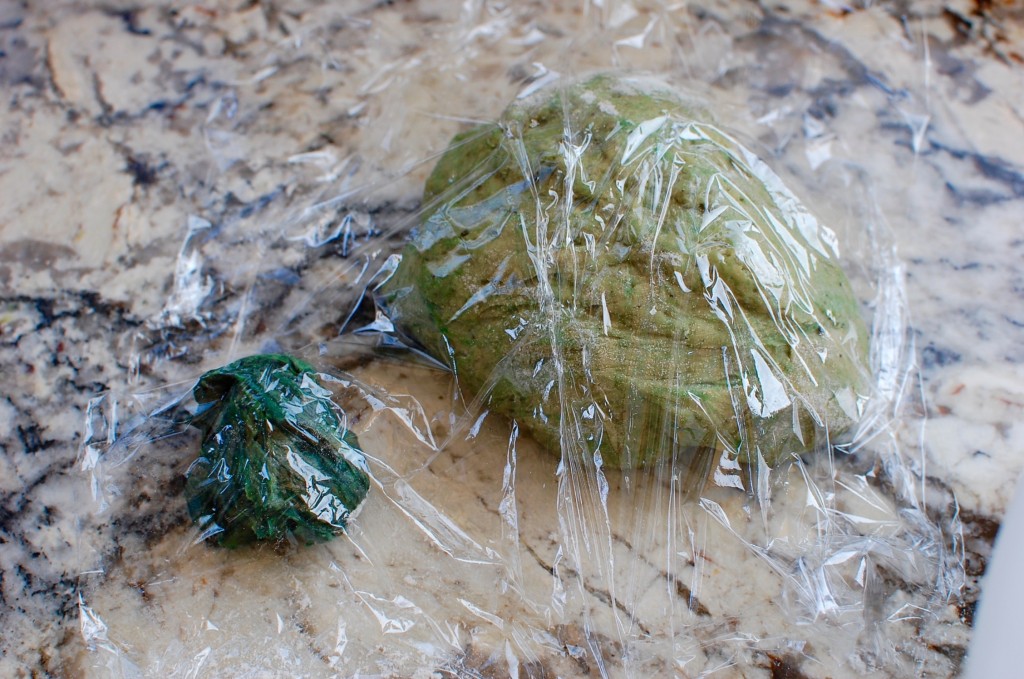
9. Cut off a small portion (about 1/8 of the dough) of the white dough, and use green and black food coloring to tint it to a dark green (this will be used to simulate the dark stripes on the watermelon). Set both the green and dark green dough aside to rest, cover gently with plastic wrap.
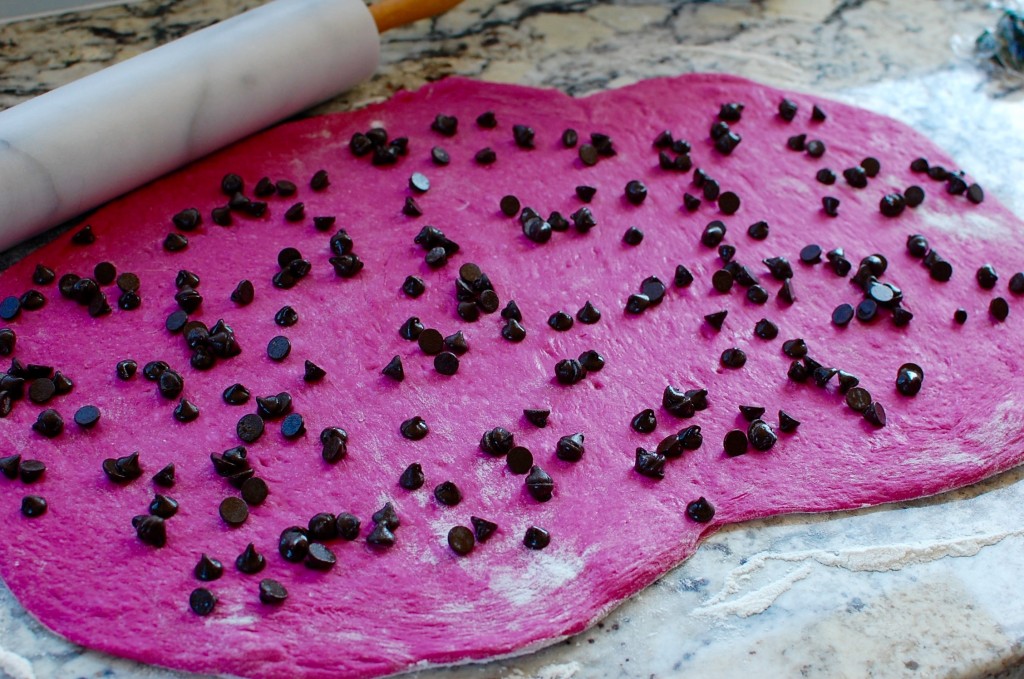
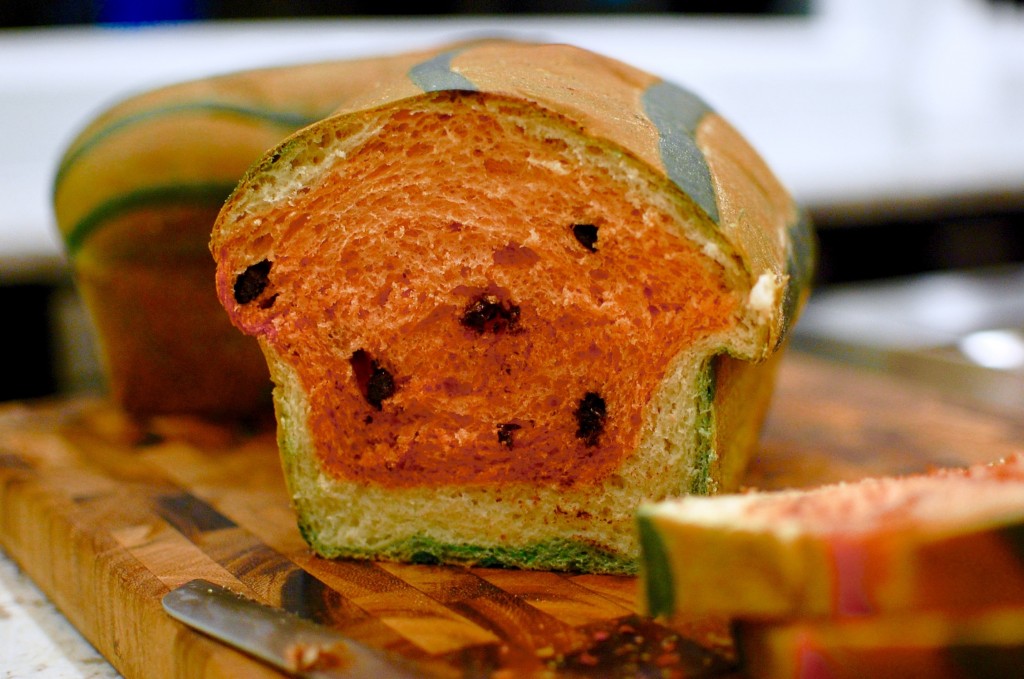
10. Roll the red dough out into a large rectangle (use a little bit of flour to prevent sticking). Sprinkle the raisins, currants, or chocolate chips evenly over the surface of the red dough and lightly press into the dough. (The raisins will simulate watermelon seeds. If you don’t like raisins, you could probably use chocolate chips. In this photo, I’m using semi-sweet chocolate chips.)
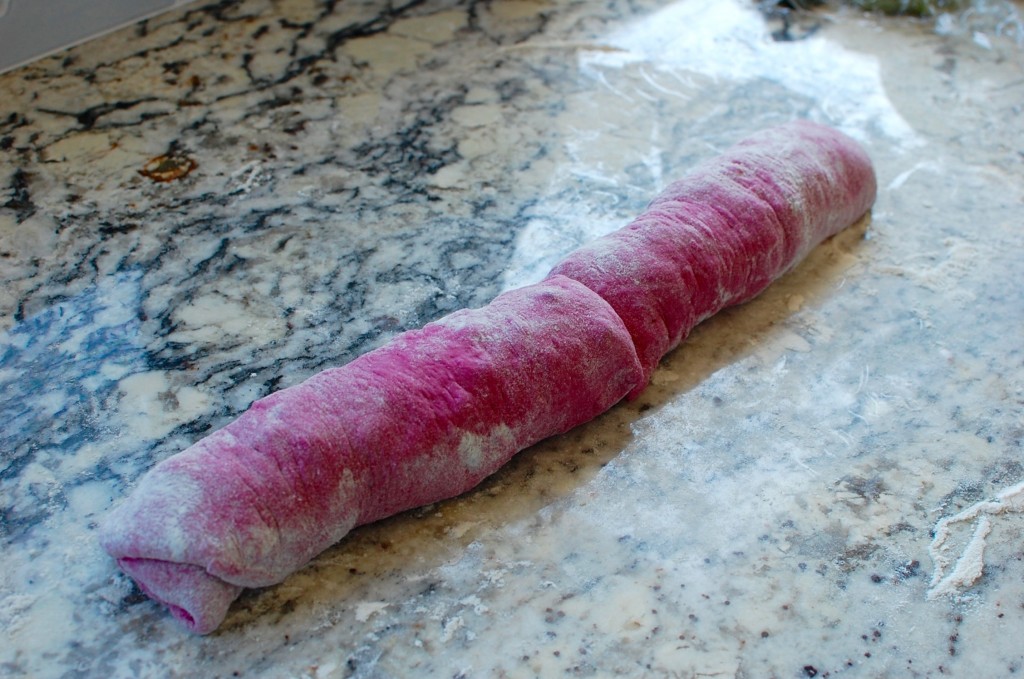
11. Roll up the red dough, cinnamon-roll style, to create a long cylinder. Cut the cylinder in half.
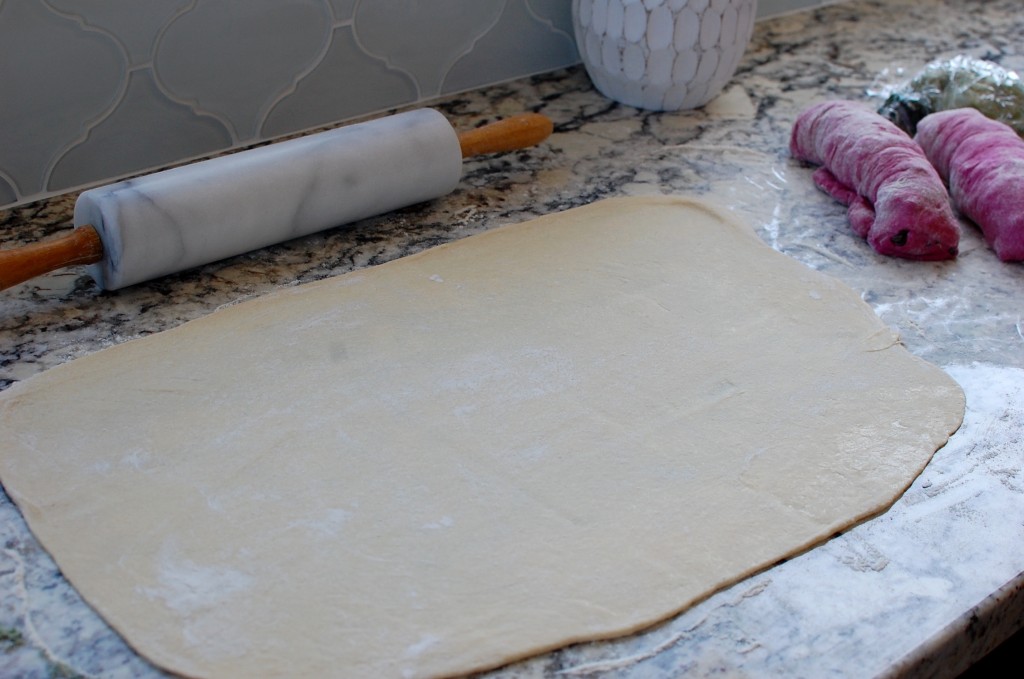
12. Now you will roll out the remaining white dough into a large rectangle. Cut the rectangle in half.
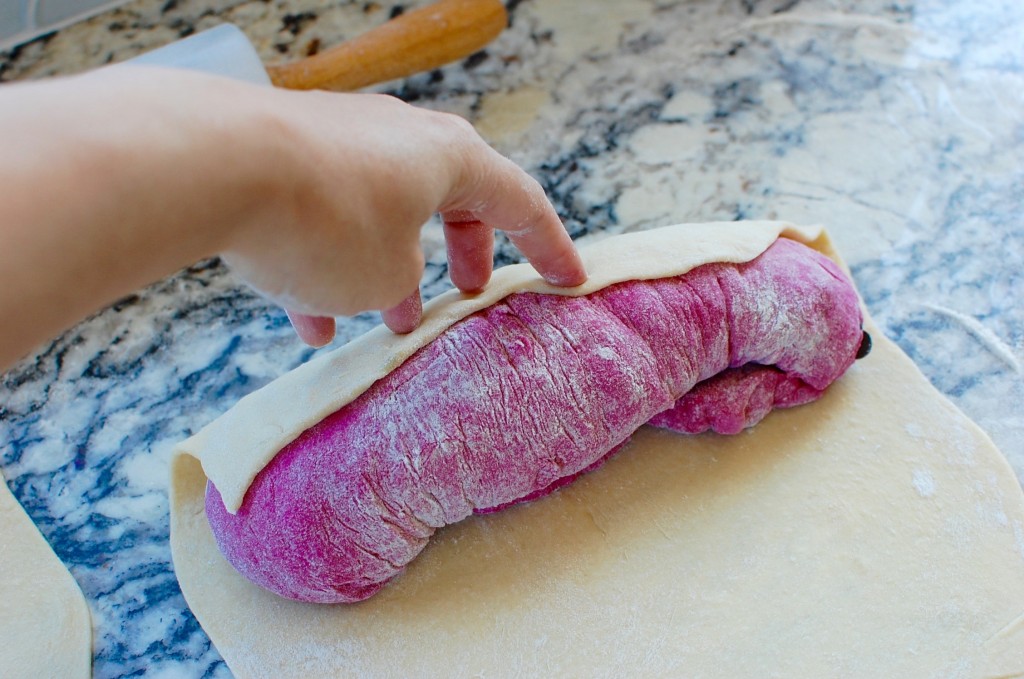
13. Place one of the red dough cylinders on top of the white dough rectangle. (You can squash the cylinders from each end inward to make them shorter and fatter to fit on the rectangle.)
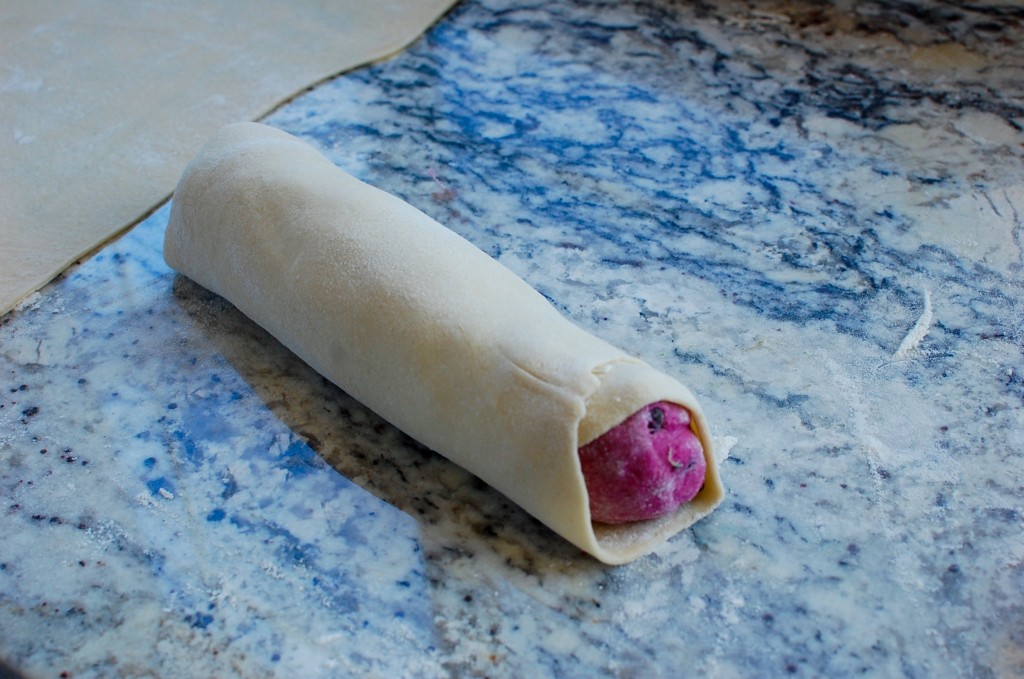
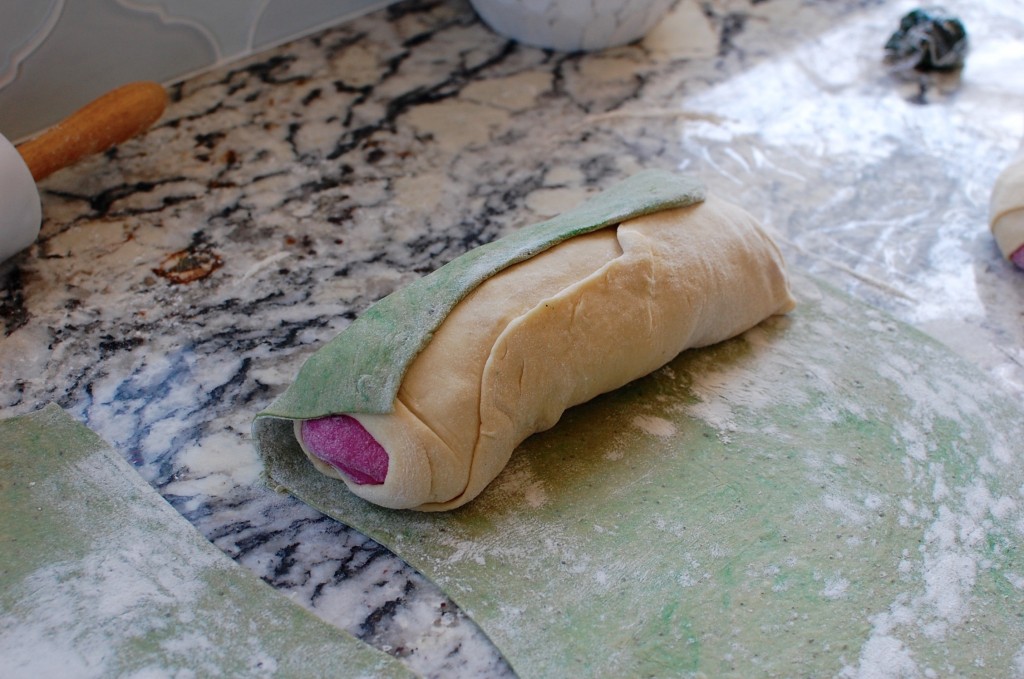
14. Stretch and gently roll the white dough all the way around to envelop the red cylinder. Pinch the seams with a few drops of water to seal. Repeat these steps for the other red cylinder and white rectangle. (It’s ok if the dough gaps at the end of the cylinders.)
15. Now you will roll out the green matcha tinted dough into a large rectangle. Cut the rectangle in half.
16. Using the same technique as in step 14, wrap the green dough rectangles around the enveloped dough cylinders. (You are building your layers here for the inner red watermelon, the inner white rind, and the outer green rind.)
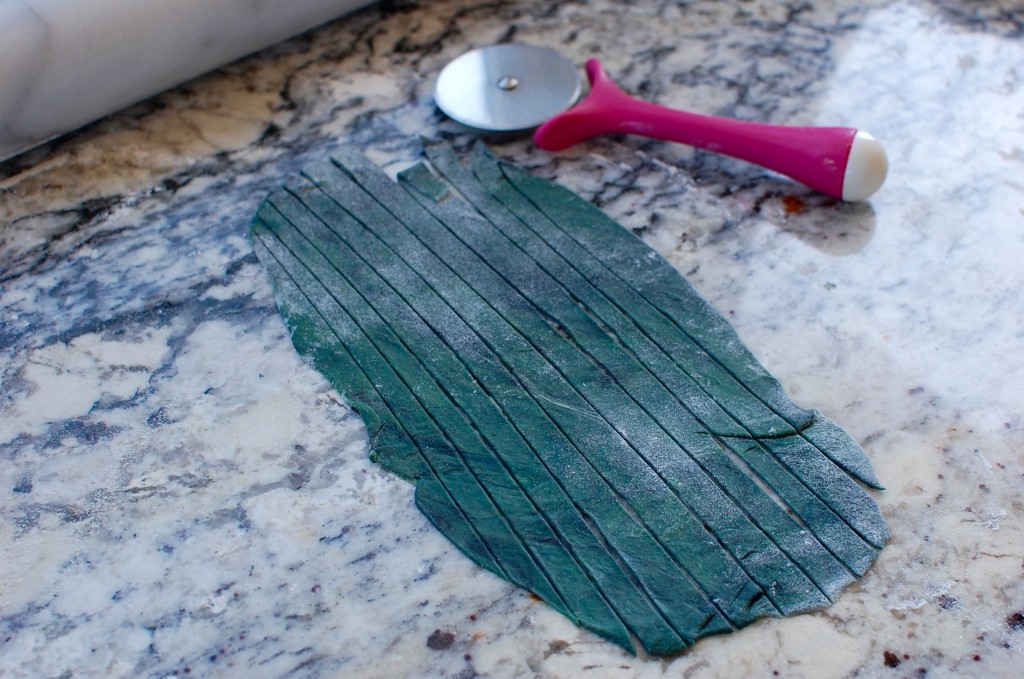
17. Take the remaining small piece of dark green tinted dough, and roll it out into a rectangle the same length of your cylinders. Use a pizza cutter or large knife to cut into long strips.
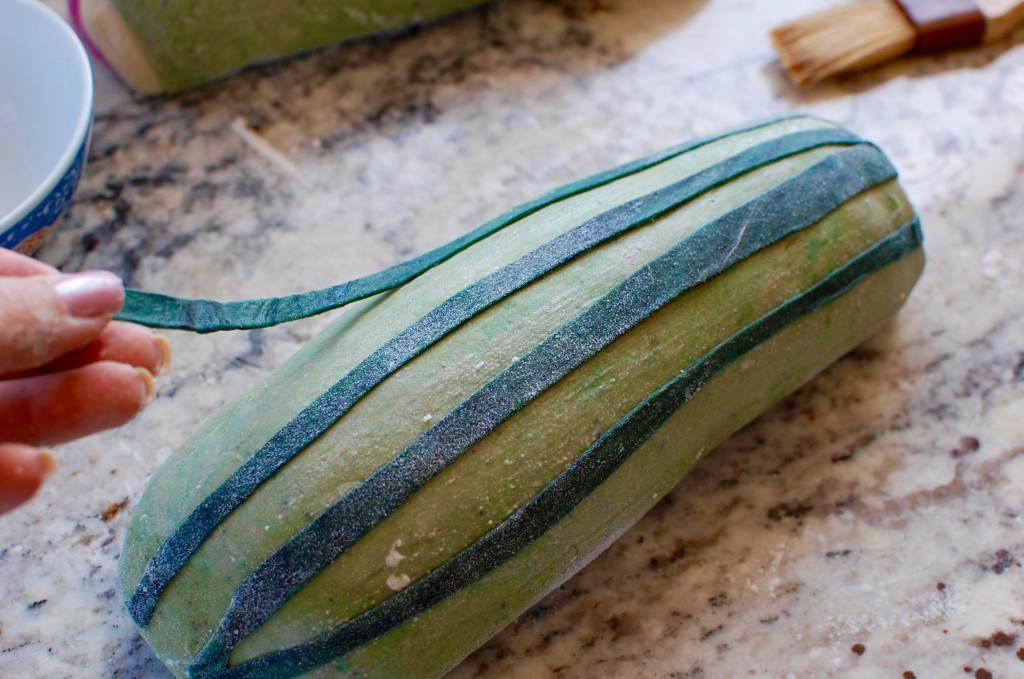
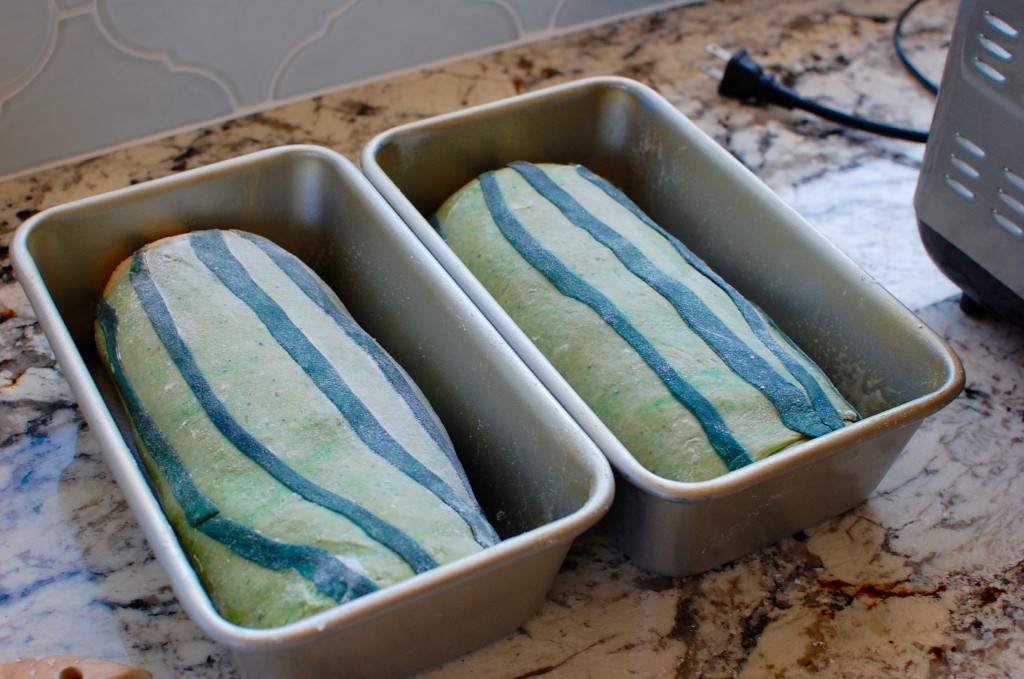
18. Brush the dark green strips with a little bit of water, then “glue” them down across the dough cylinders – this is to create the outer dark stripes of on the rind of the watermelon.
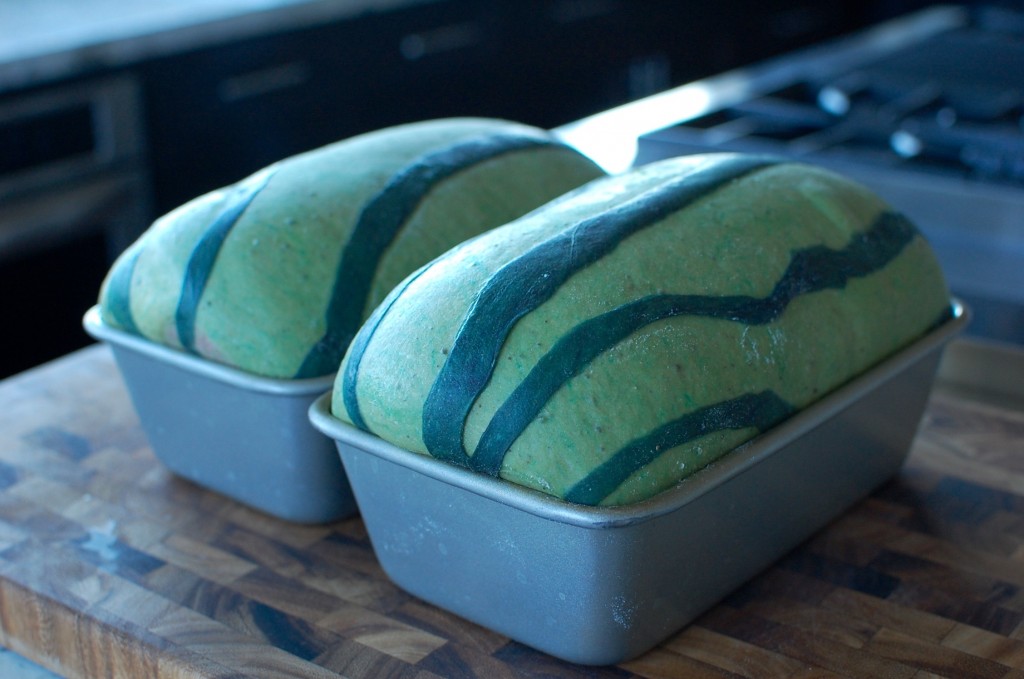
19. Place the dough cylinders into 2 greased regular (9″ X 5″) loaf pans. (I usually spray the pans with Pam for baking non-stick spray.) Loosely cover with plastic wrap, and allow to rise in a warm place for about an hour until the dough is puffy and at least doubled.
20. When almost ready, preheat the oven to 335 degrees F. See how much the dough has risen and expanded to fill the pans?
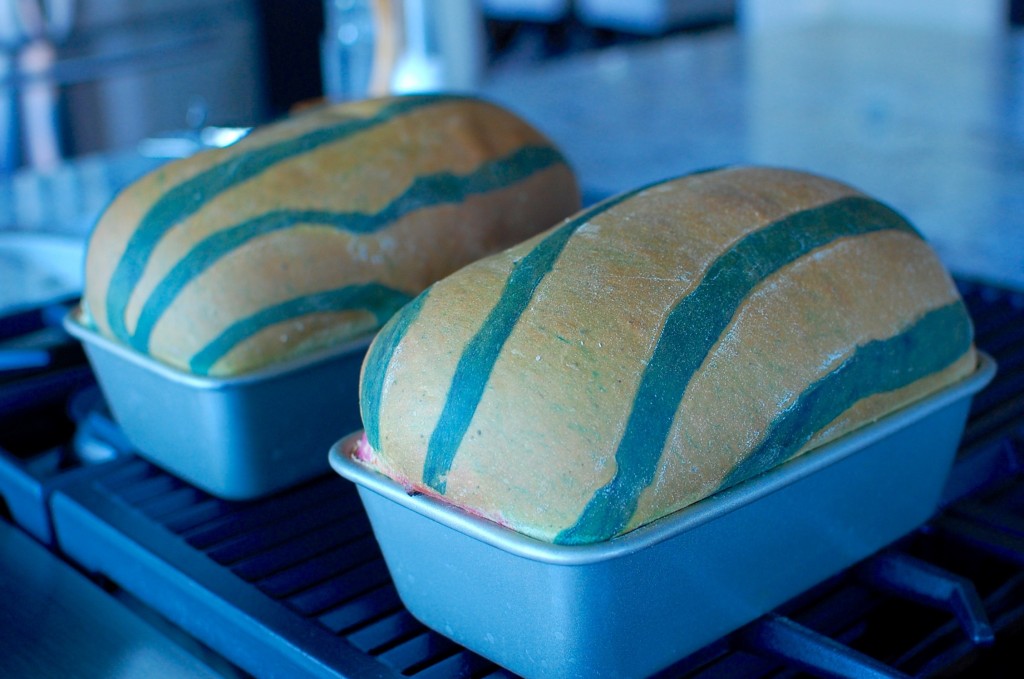
21. Bake for 30 – 35 minutes in the preheated oven. Remove the pan from the oven and allow to cool for 5 minutes.
22. Remove the loaves to a wire rack to cool completely before slicing.



Wow, you are a genius. Definitely will give this a try. However, it seems there are more work involve . Just wonder if the beet juice leave any distinct taste on the bread ( or just color only)? You should post more tangzhong breads recipes. Those seem to be you most popular posts. (hint, hint). Also, I think this would look even more bakery like if you let it rise in a pullman loaf pan
Hi Amy! The beet doesn’t have any strong flavor… it melds really well with the bread since beets have a natural sweetness to them. Yes, if I used a pullman loaf pan I think the loaves would come out more square… but I wanted to make it this time with regular loaf pans since that’s what most people have in their kitchen… I might try it next time that way for fun though. Thanks so much for your kind words.
Hi Mika
I forgot to ask, if you make the dough twice ( back to back with the breadmaker machine), would the first batch ( the white dough ) rise too much while waiting for the red dough to be done . Would that affect the final rise of the bread?
Not too much… when you knead in the food coloring/roll it out, you are effectively squashing down all the bubbles that have formed… so it ends up ok in the end.