
(Original Post Date: November 02, 2010)

Last year, our neighborhood didn’t do much for Halloween – with the exception of this one house down the street that went nuts with the lights and spooky decor. This year, (not to be outdone by that one house again) every house in the neighborhood stepped it up, and landscaped with tombstones, orange string lights, blow up ghosts, spider webs, and all kinds of scary decorations in their yard. We finally succumbed to “neighborhood peer pressure” and put up a couple of gravestones, and set out 3 Jack-O’-Lanterns just before the Trick-or-treaters showed up.
Now, I’m not the kind of person to look at these Jack-O’-Lanterns for a couple hours and just throw them away at the end of the night! That’s 15 pounds of pumpkin there! I saved the cut out eyes and mouth pieces of the pumpkins to use in Japanese Cream Stew. And on Halloween night, 9:30pm, I washed the Jack-O’-Lanterns thoroughly and baked them up to make pumpkin puree. Don’t use Jack-O’-Lanterns that have been sitting out in hot weather, or sitting outdoors for more than a few hours. Make sure you wash them well in the sink (inside and outside) before using.
 Normally, the best pumpkins to use for pumpkin puree are the smaller sugar pumpkins, as field pumpkins (the big Jack-O’-Lantern pumpkins) tend to be very watery. My method of making field pumpkin puree works pretty well (and is not watery), and I’ve had good results using field pumpkin puree in recipes instead of canned pumpkin. If you have a choice, and are specifically buying a pumpkin just to make a pie, buy a sugar pumpkin. But don’t listen to those people that tell you a field pumpkin doesn’t make good pumpkin pie or pumpkin bread – because it’s not true!
Pumpkin Puree:
- 3 field pumpkins
Hardware:
- 3 baking sheets
- foil
- mesh colander
- large bowl
1. Split your cleaned field pumpkins (or leftover jack-o’-lanterns) in half with a sharp knife. Put them cut side down on a foil lined baking sheet, and bake for 1 – 1 1/2 hours at 350 degrees until soft. (You should be able to pierce the pumpkin easily with a fork).

2. With a large spoon, scrape the top most fibrous/stringy layer off of the pumpkin meat and discard.

3. Now that you have removed all they goopy stringy fibers, scoop the pumpkin flesh into a large bowl. Discard the leftover pumpkin skin. Let the pumpkin cool for awhile.

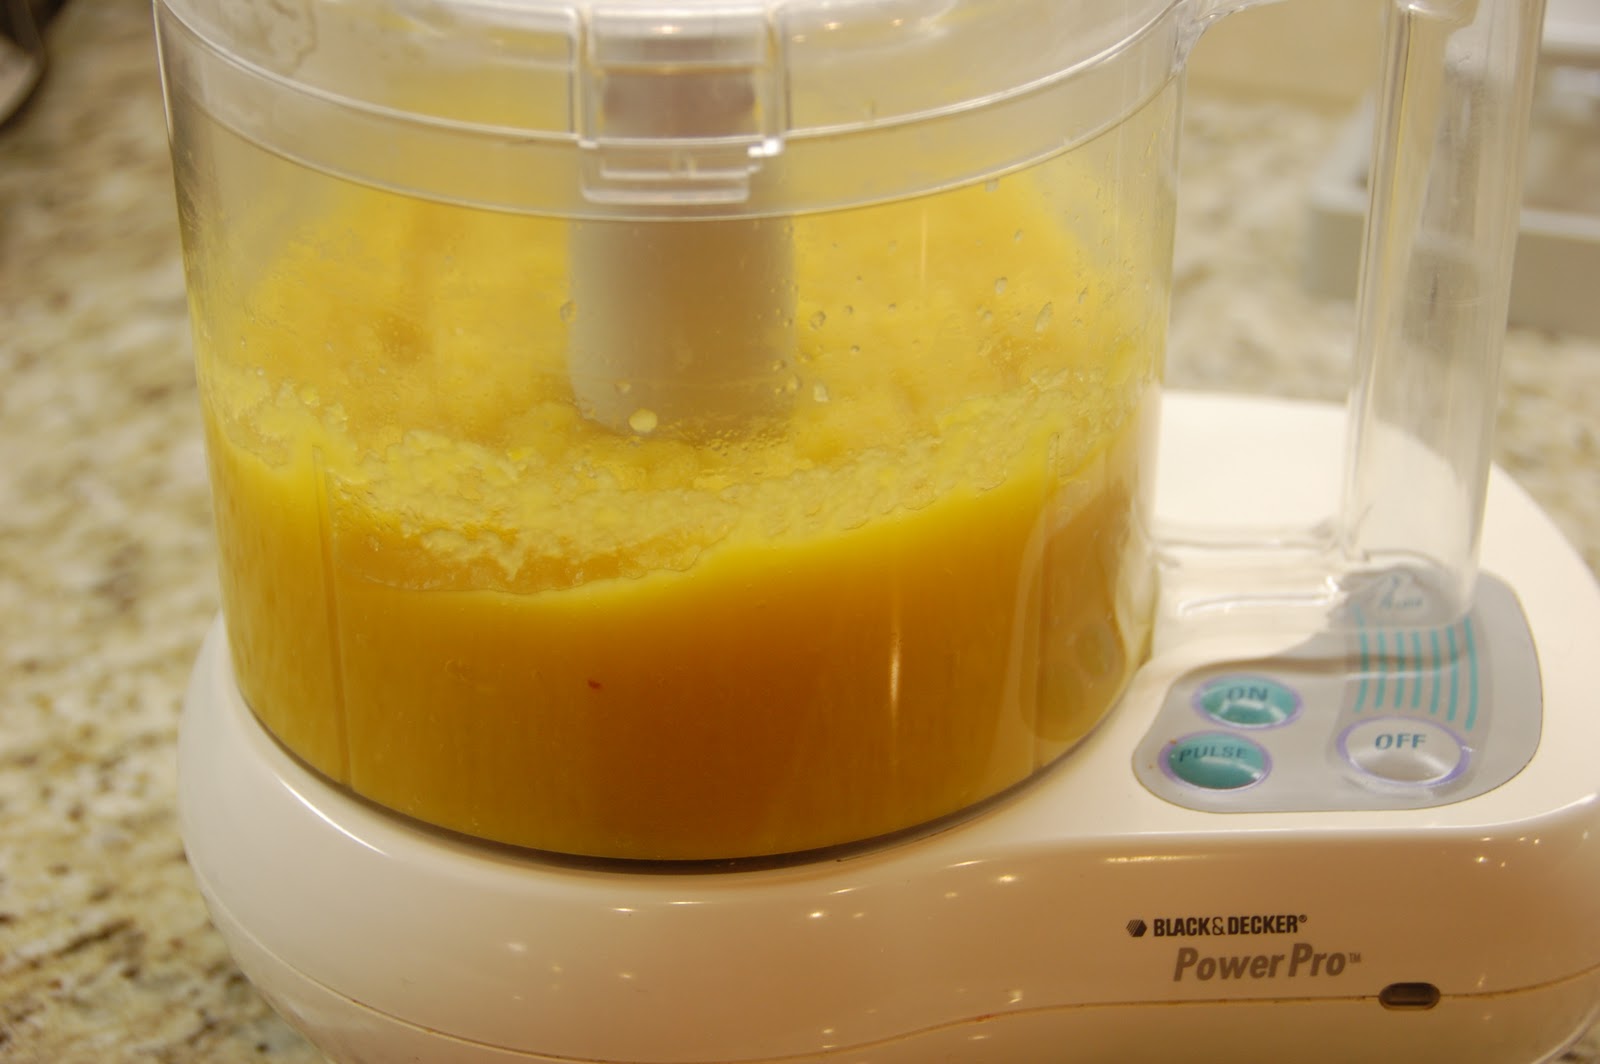
4. Working in batches, process the pumpkin in the work bowl of a food processor until smooth.
5. Set a colander over a large bowl. Pour the puree into the colander. (I used 2 wire mesh colanders over 2 bowls for the puree from 3 pumpkins).
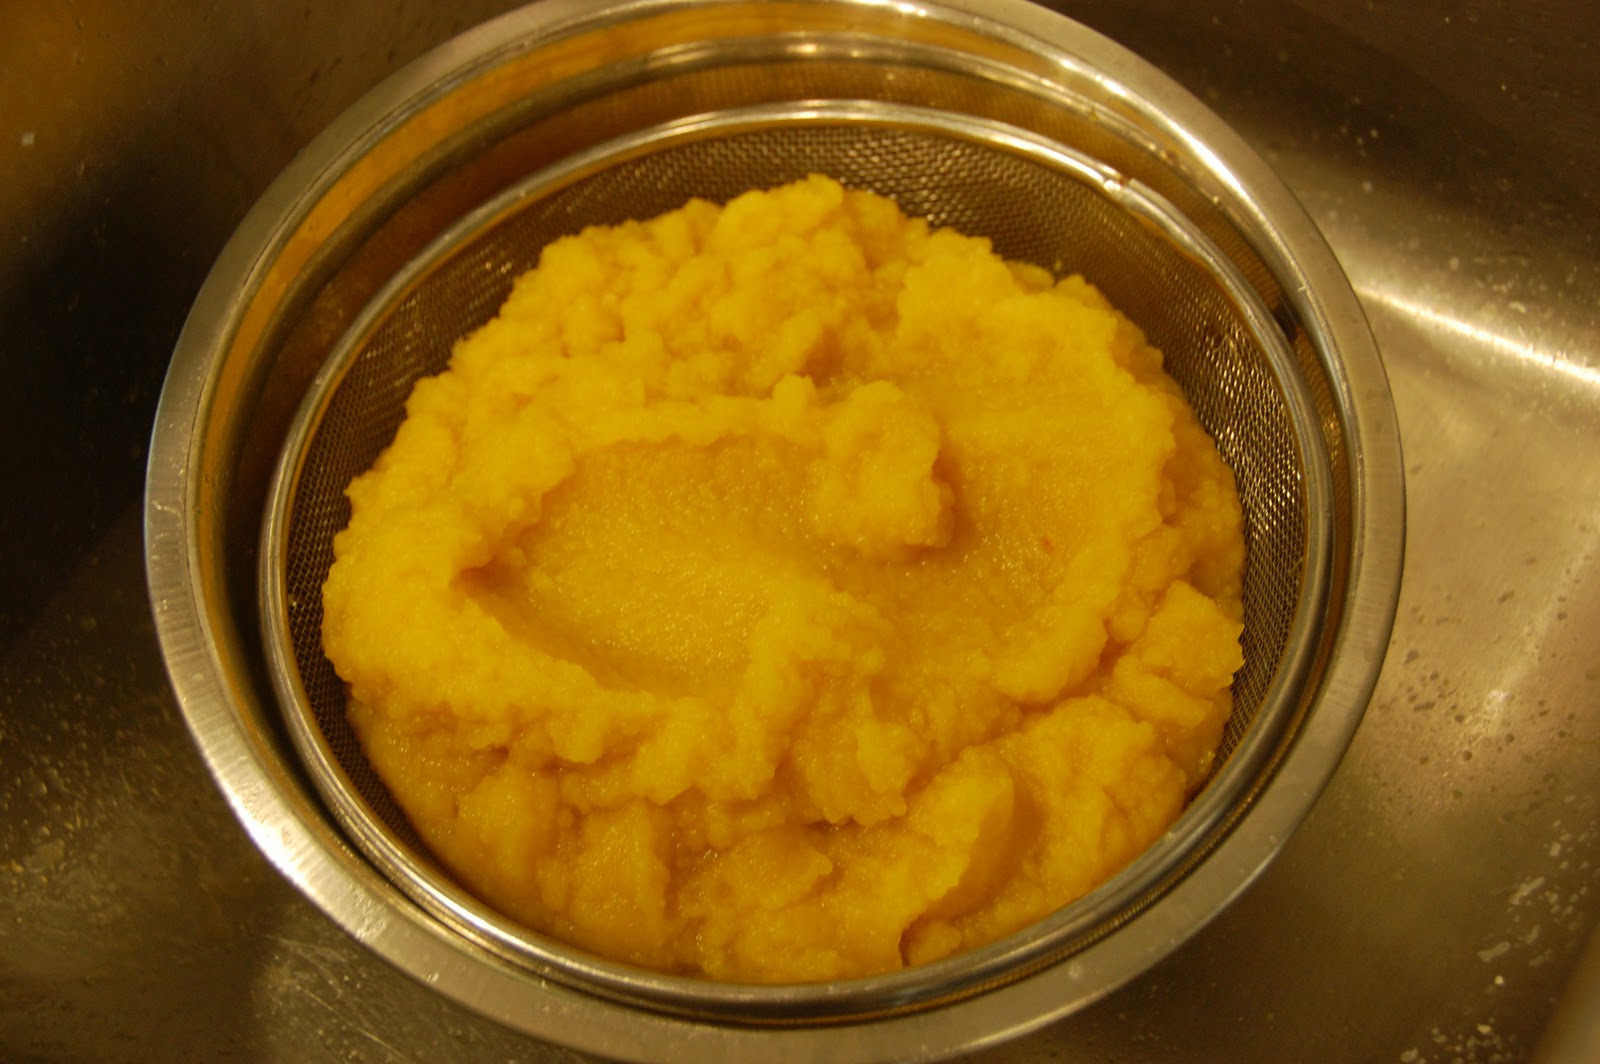
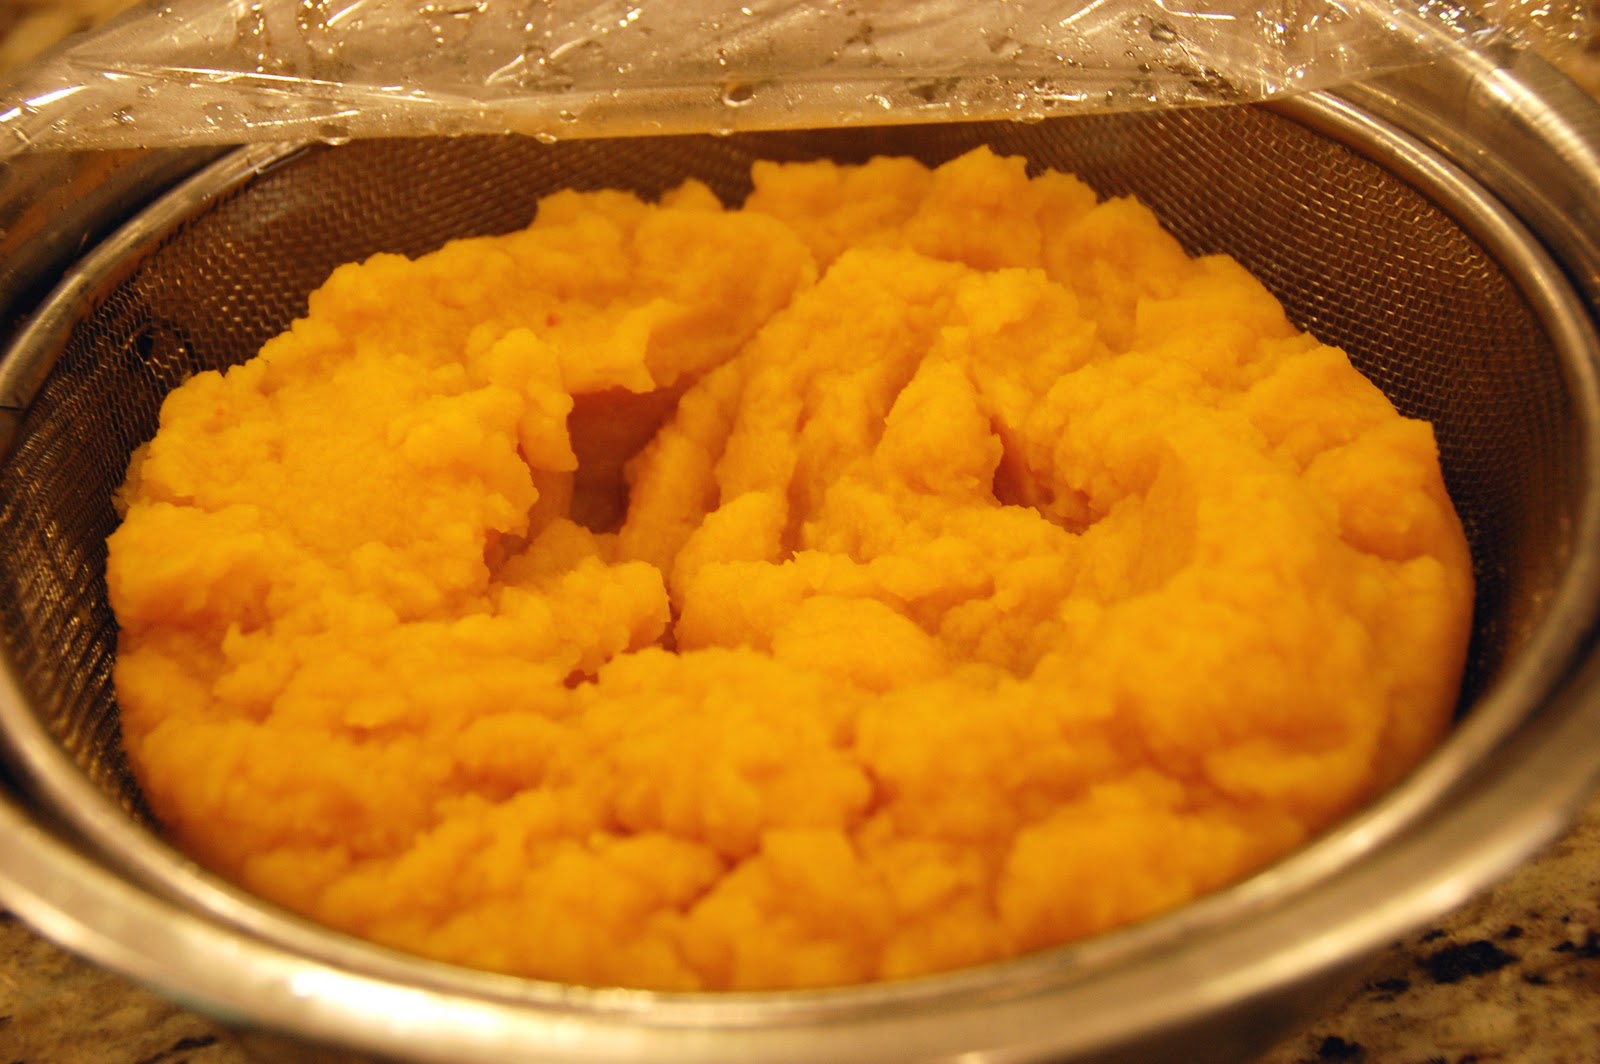
6. Allow the pumpkin to drain at room temperature for 1 hour. Dump the watery contents from the collecting bowl, and replace the colander of pumpkin in the bowl. Cover with plastic wrap and allow to drain in the refrigerator overnight.
7. Transfer the drained pumpkin puree into plastic containers and refrigerate. Freeze the containers for later use, or refrigerate and use within 1 week. This drained pumpkin puree can be used in any recipe that calls for canned pumpkin puree (pumpkin pie, pumpkin bread, pumpkin cheesecake, etc.). Three medium sized field pumpkins will yield about 12 cups of puree.


thank you. I love this post about using field pumpkins and not wasting them. I received one from my brother and was determined to use it. I am going to try it. It sounds promising! You forgot to mention to save the seeds for roasting.
You’re welcome – I hope it works out for you! I do have a roasted pumpkin seed post on my blog if you are interested… it’s in the “Holiday” section.
I made this last year and loved it. I am making it again right now.
I’m glad it worked for you!