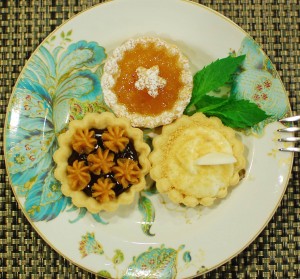
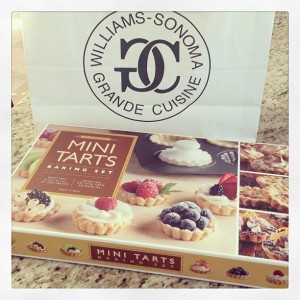
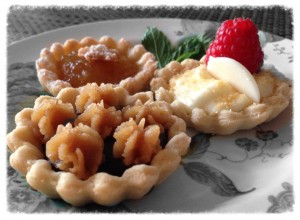
Last week, I posted a recipe and method for making mini tart shells using my new Williams-Sonoma mini tart baking set. You can make a few batches of these shells and fill with a variety of flavors for some very beautiful and impressive looking desserts! I made: pineapple tarts, chocolate ganache with peanut butter cream, and cheesecake cream tarts. There are so many variations you can do to make a bunch of really simple tarts – just check your pantry and see what you have… It’s actually much easier than it looks!
***If you are interested in making mini tarts, but don’t have a tartlet shell pan… I have a really easy method for making cute flower shaped tarts using a large cookie cutter and mini-muffin pan. You could use those flower shaped tart shells and use the filling recipes posted on this page for different flavor alternatives.***
Other ideas: You could try filling the shells with lemon curd and make cute little mini lemon tarts (garnish with lemon zest and powdered sugar – or even crushed lemon cookies). You can use other flavors of jam, any pudding flavor that you have on hand (I think pistachio pudding would be awesome!), any cooked custard… you could even pipe cooked pumpkin pie filling into a tart shell using an open-star tip. (To make pumpkin pie filling, just make your favorite pumpkin pie recipe without the crust).
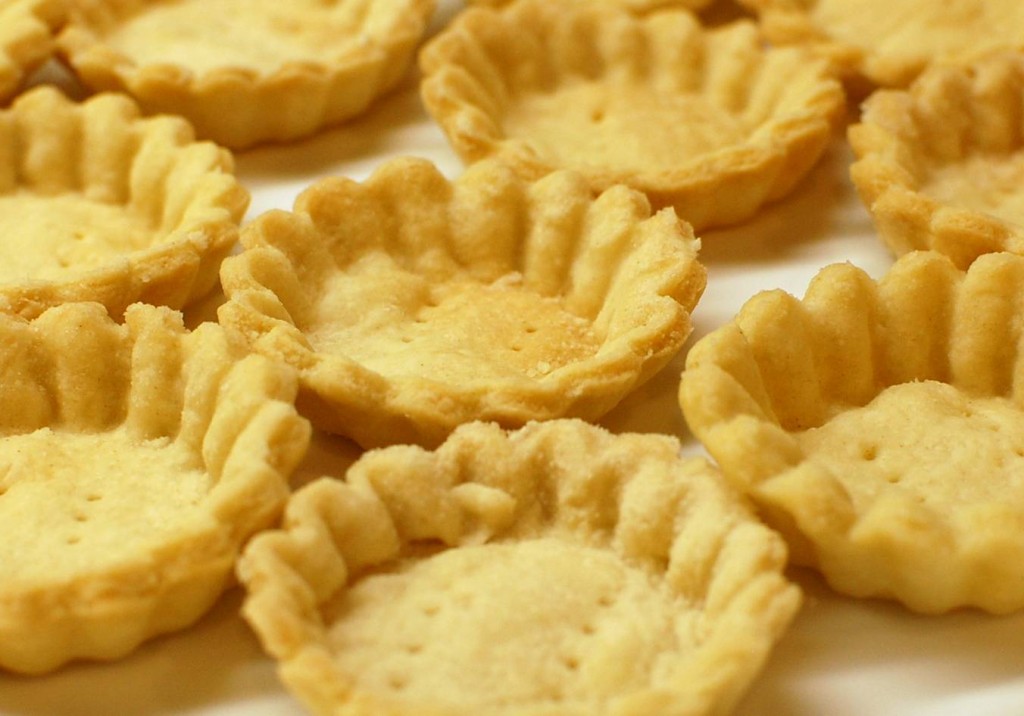
If you want to make all 3 flavors of mini tarts, then I would plan to make a double batch of tartlet shells… so that you end up with approximately 65-68 shells total. The tart shells can be stored at room temperature, but if you have any fillings that need to be refrigerated (like custard, pudding – or anything with dairy or eggs in it) – make sure you store those tarts in the refrigerator.
Basic Mini Tart:
- 1 recipe Tartlet shells (about 33 shells)
DESSERT FILLING IDEAS:
Chocolate Ganache:
- 5 oz chocolate (about 3/4 c. chocolate chips)
- 1/2 c. heavy cream
Cheesecake Cream:
- 3 oz. cream cheese
- 3 T. heavy cream
- 1/2 tsp. vanilla extract
- 1/2 – 1 c. powdered sugar
Fruit Filling:
- 2 c. jam (I like to use pineapple jam) or lemon curd
- pastry shape cut-outs with the leftover tartlet dough
- powdered sugar for sprinkling
TARTLET TOPPING/DECORATION IDEAS:
- powdered sugar/cocoa powder for dusting
- candy melts cut in half
- cake/cookie/graham cracker crumbs
- fresh berries (raspberry/blackberry/blueberry)
- cute shapes cut from leftover pastry (stars, hearts, flowers)
- peanut butter cream (1/3 c. PB + 2 oz. cream cheese + 1/2 c. powdered sugar)
1. First make your tartlet shells. (I recommend using the Williams-Sonoma tartlet baking set to make your shells… it’s much easier! For technique/instructions, see my post on how to make tartlet shells. If you don’t have a tartlet pan, you can make do with store-bought (or home made) piecrust, and use this technique with a flower shaped cookie cutter + mini muffin pan.) You will want to start out with fully baked (not raw) tartlet shells. Many supermarkets these days also carry pre-baked tartlet shells that you can just buy premade.
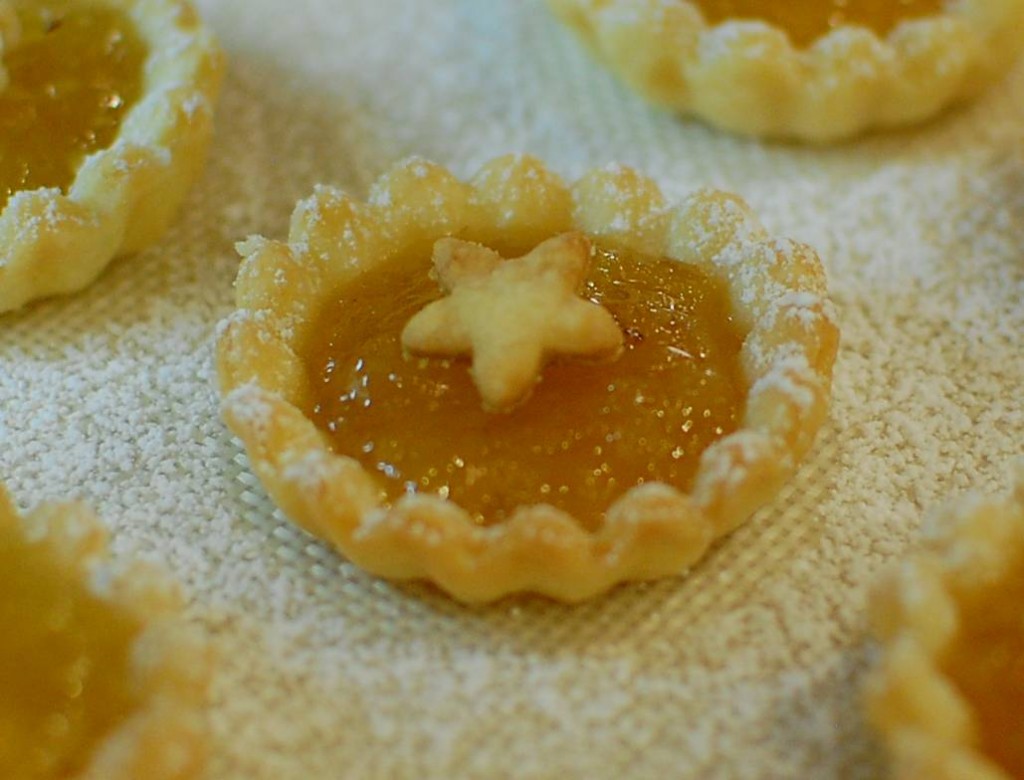
2. If you have any pastry scraps, use mini cookie cutters (like those from a Linzer Cookie Cutter Set) to cut out shapes. Bake the shapes for 5-10 minutes until light golden brown. These can be used to decorate the top of your jam tartlets, if you like. (I cut out little star shapes with my leftover pastry dough.)
3. Make your various fillings. Normally, I don’t make just one flavor of mini-tart… I prefer to have a variety of mini tarts, so I will make a double or triple batch of tart shells, and then fill them with about 3 different kinds of filling.
CHOCOLATE GANACHE TARTS:
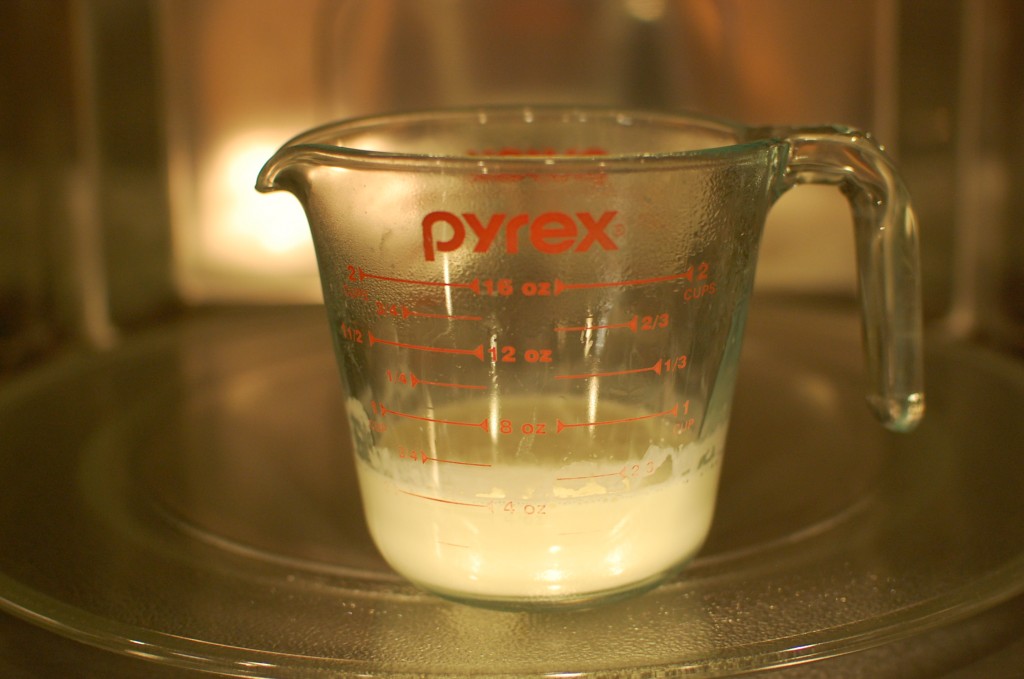
1. Place 5 oz. chopped chocolate or chocolate chips (approximately 3/4 c. chocolate chips) in a large pyrex measuring cup or heatproof bowl. Microwave the 1/2 c. cream for 90 seconds until hot and scalded.
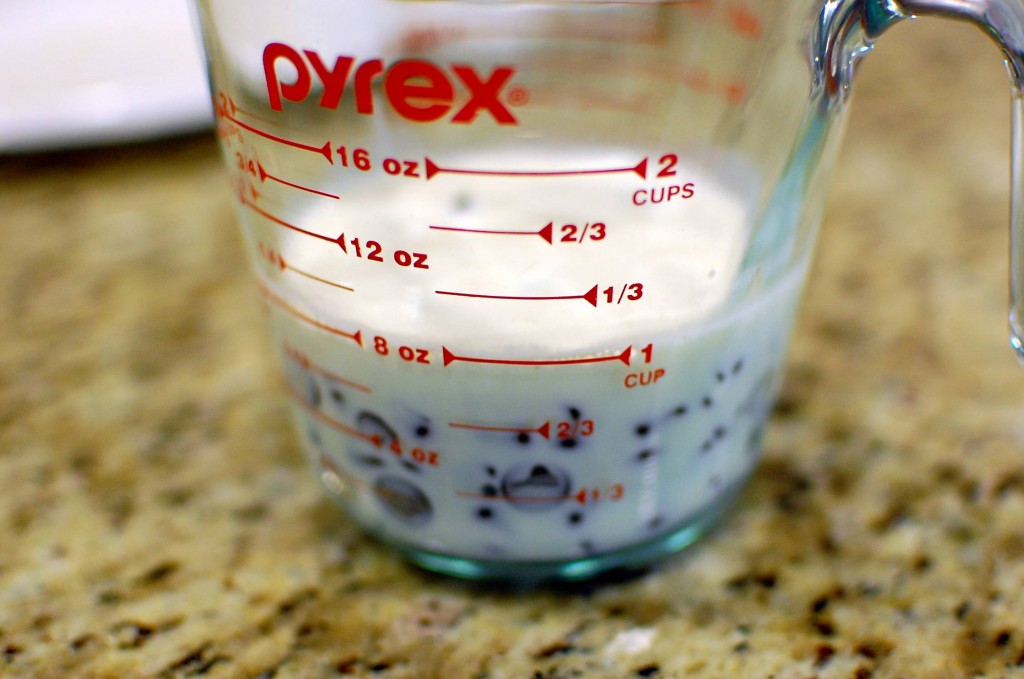
2. Pour the hot cream over the chocolate chips, and allow to sit on the counter undisturbed for 3-4 minutes.
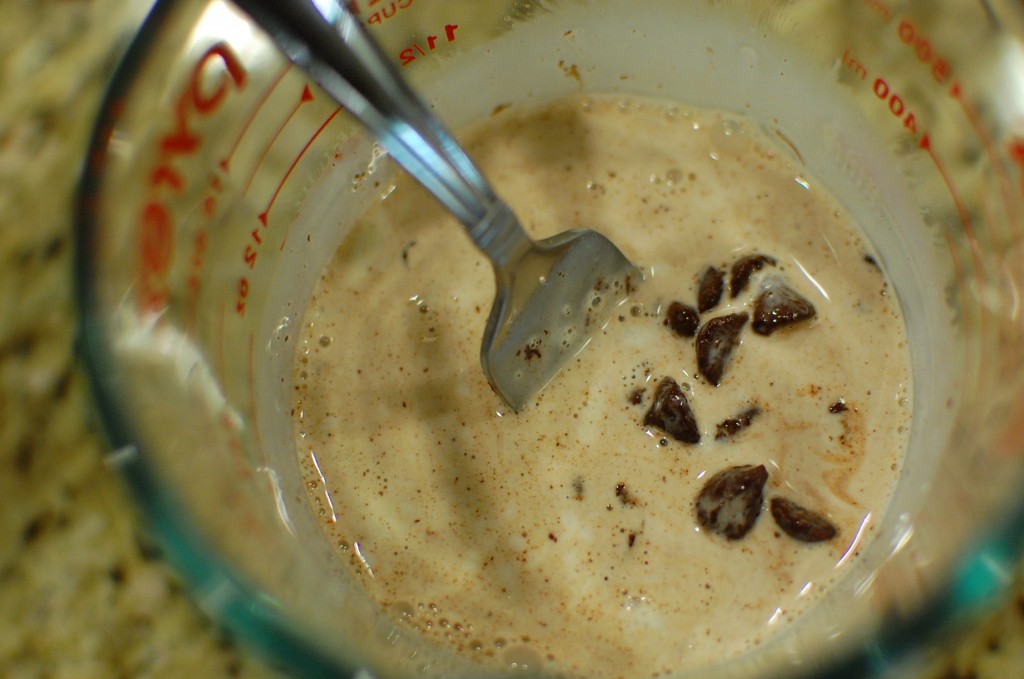
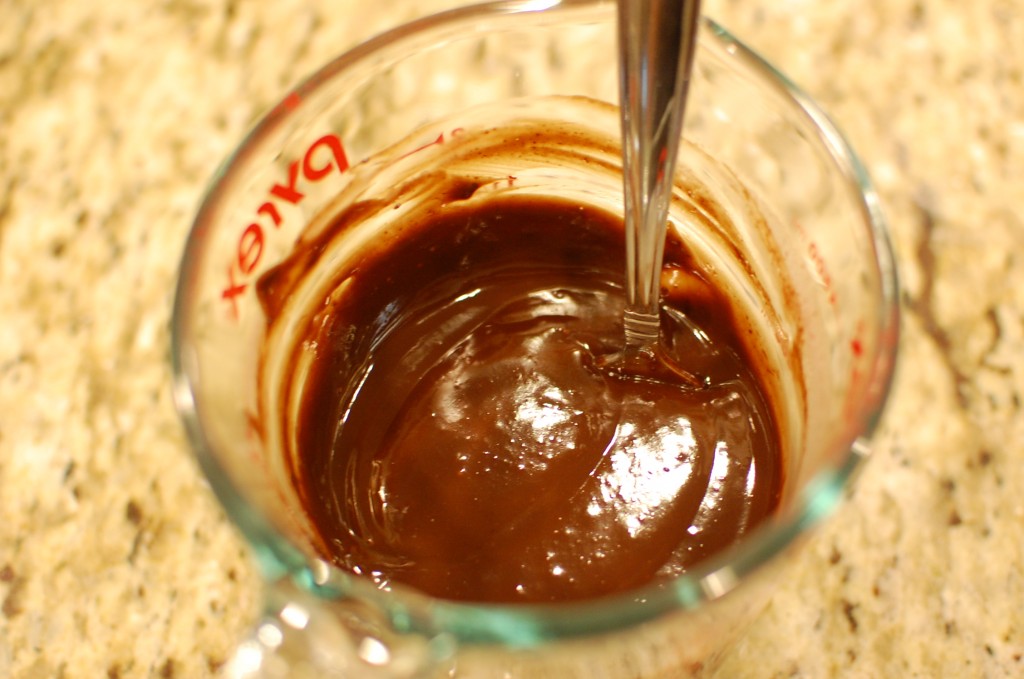
3. Using a fork, stir the chocolate chips and the hot cream. At first, it will be grainy and lumpy looking.
4. As you continue to stir, the chocolate will melt and the ganache will smooth out into a thick satiny mixture.
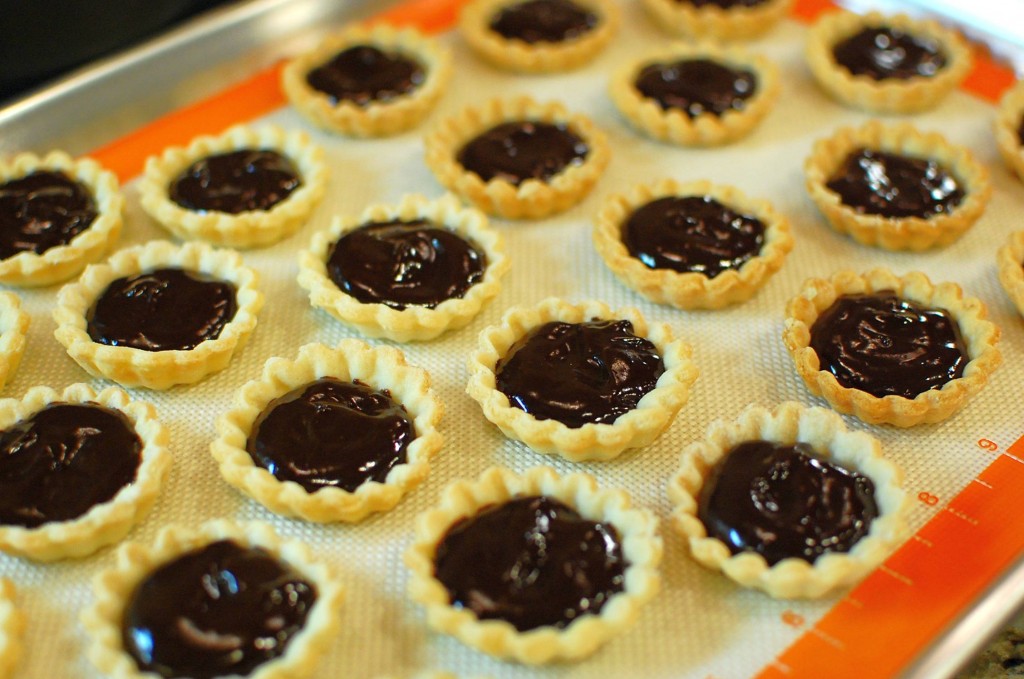
5. Fill the tart shells with the warm ganache (use a small teaspoon and avoid touching the edges of the tartlet shell). I was able to fill about 24 tartlet shells with one recipe of ganache.
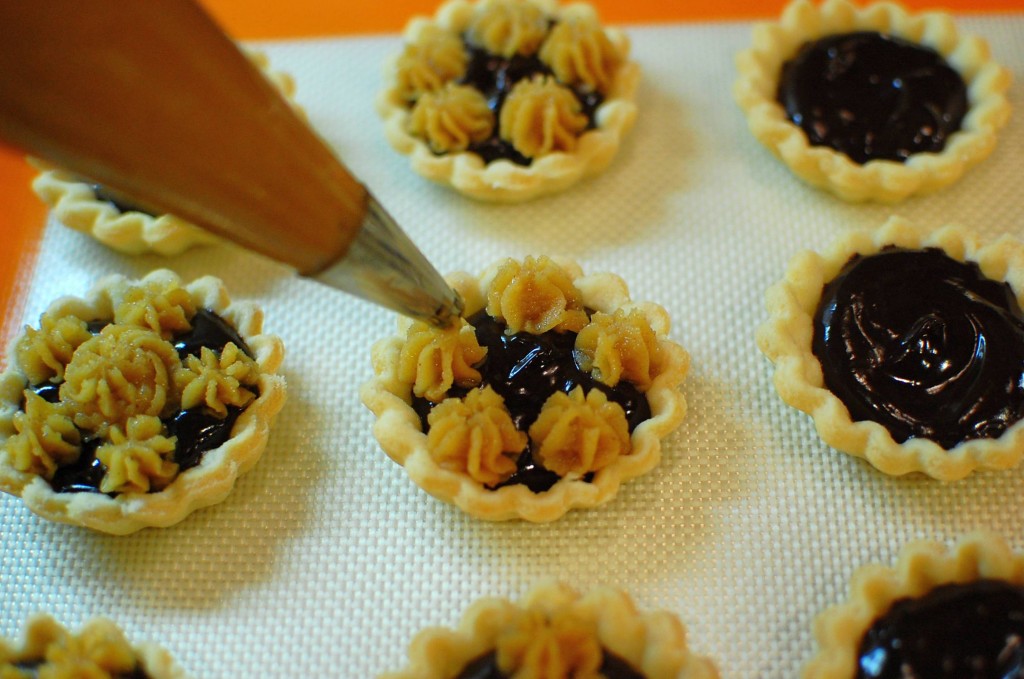
6. Before topping with fruit or other decorations, allow the ganache to cool. If you would like a chocolate-peanut butter variation, mix up the peanut butter cream: 1/3 c. peanut butter + 2 oz. cream cheese + 1/2 c. powdered sugar. Fit a piping bag or sturdy ziplock bag with a small closed star tip, and pipe a little bit around the edges and center of each tart. (A Wilton Decorating Tip Set will give you a variety of useful decorating tips that you can use for many things).
***If you don’t like peanut butter, you can top the chocolate ganache filling with whipped cream (whip 1/2 c. heavy cream with 2 T. powdered sugar) instead, then top with crushed cookie crumbs or chocolate sprinkles. Or, fresh raspberries also go nicely with chocolate ganache – sprinkle with a bit of powdered sugar and add a small mint leaf to garnish.
CHEESECAKE CREAM TARTS:
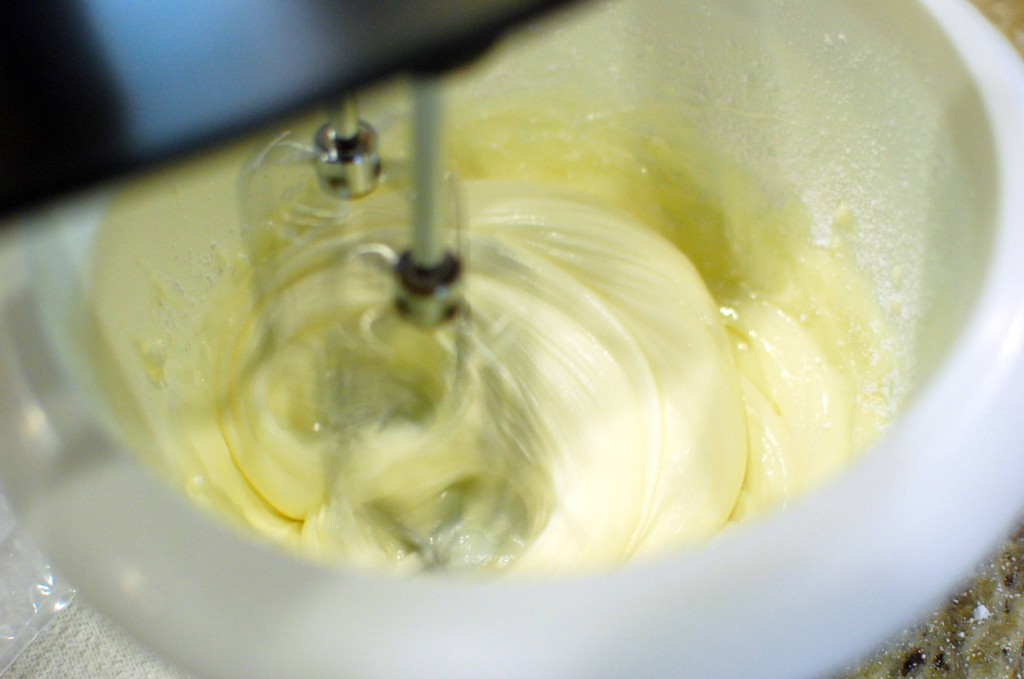
1. Mix together 3 oz. cream cheese + 3 T. heavy whipping cream + 1/2 tsp. vanilla extract + 1/2 c. – 1 c. powdered sugar in a small bowl. (You can use more or less powdered sugar depending on how sweet and how thick you would like the filling to be. I use the full 1 c. if I am going to be pairing the tarts with a sour fruit like raspberries… I use about 1/2 c. powdered sugar if I’m serving the tarts a little bit more plain, or with sweeter toppings.)
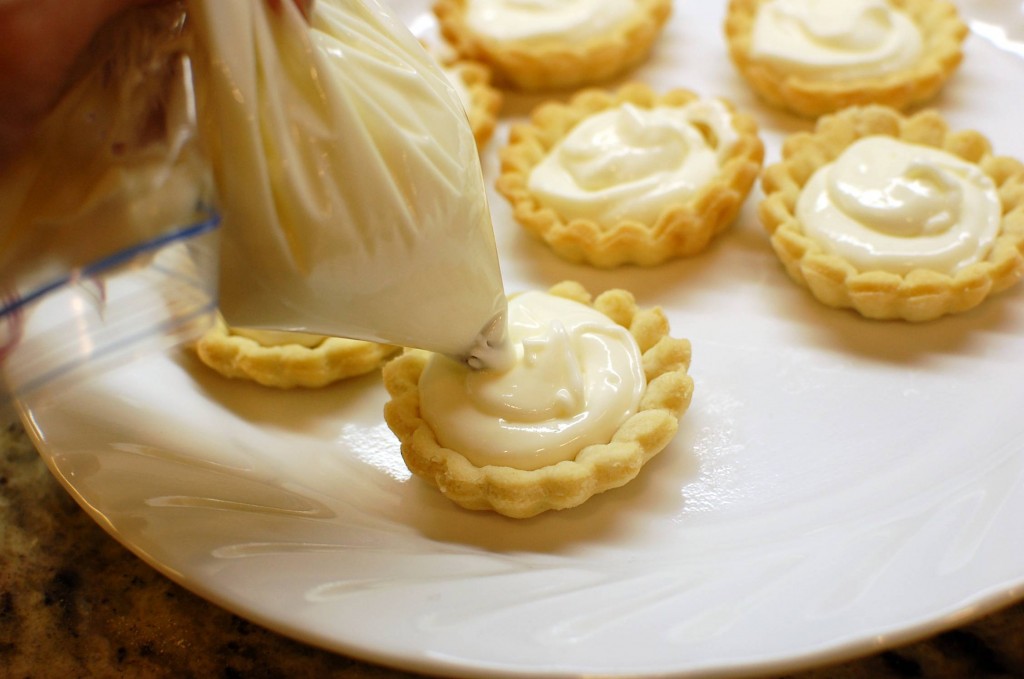
2. To fill the tart shells, you can use a small teaspoon – to make it easier (and less messy), I usually fill a sandwich sized ziplock bag with the mixture, cut off a small piece of the corner, and neatly “pipe” the filling into the tart shells. I was able to fill about 30 tarts with this mixture.
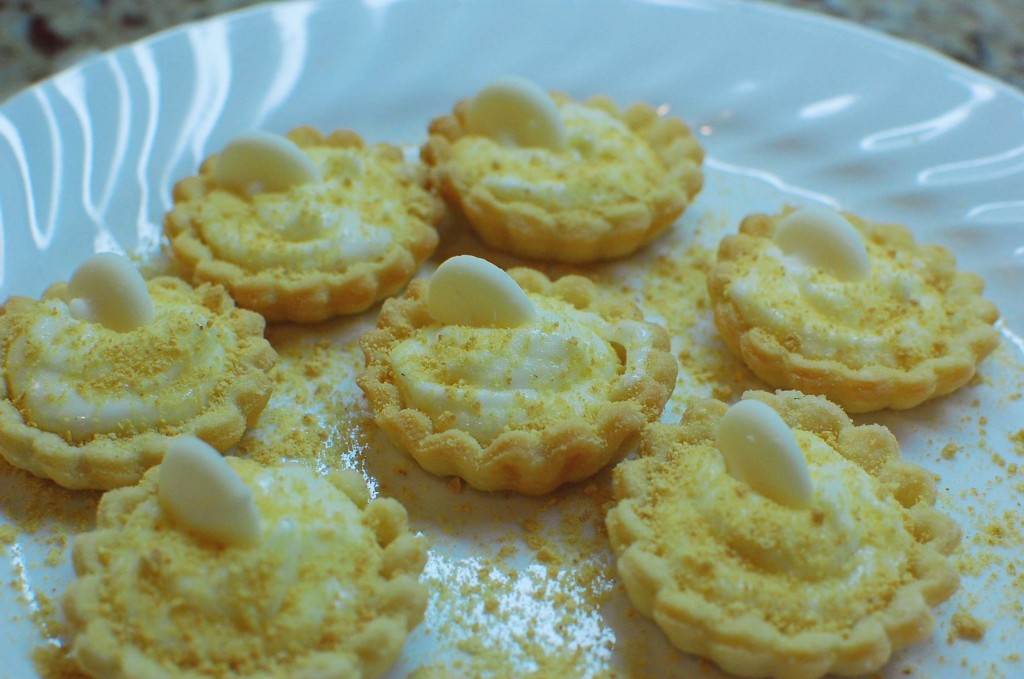
3. For a nice presentation, I sprinkled the tarts with graham cracker crumbs and added a white chocolate candy melt (cut in half).
***For a fruit variation, you can also top with raspberries.
PINEAPPLE COOKIE TARTS (or other jam-flavored tarts):
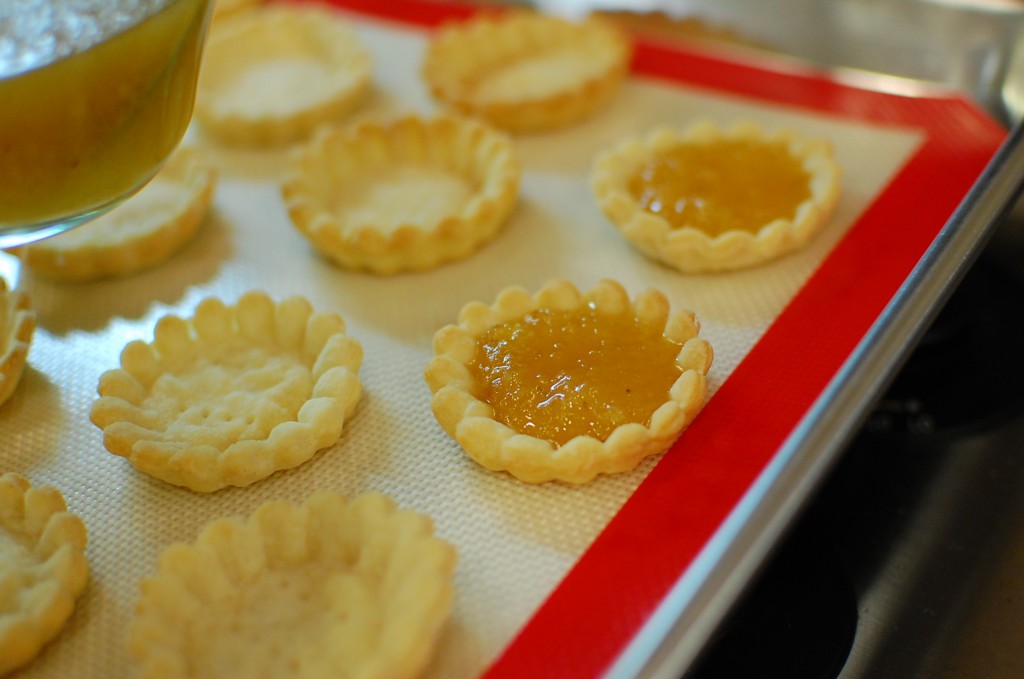
1. Microwave the pineapple jam for 30-60 seconds to loosen it up. It doesn’t need to be really hot – just hot enough that it is not as solid, and easier to spoon into your tartlet shells.
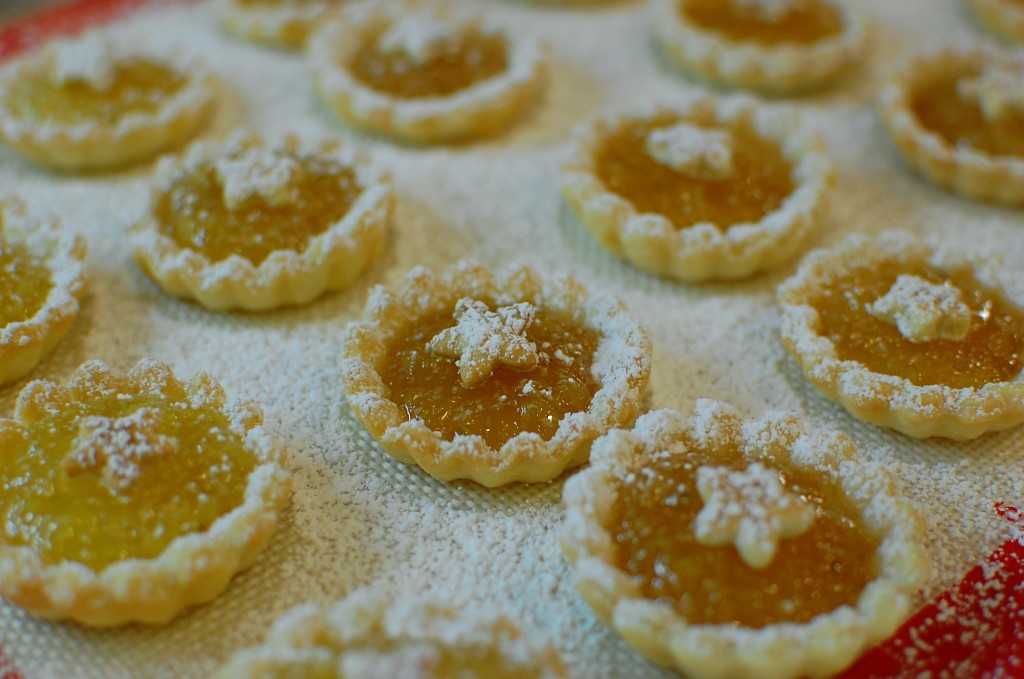
2. Once the jam filling is cool, place a small leftover pastry cut-out in the center. (Use the scraps from your leftover tart pastry dough to make little cut out shapes). Place some powdered sugar into a sieve, and dust over the tops of the tarts. The powdered sugar will cling to the pastry cut-out and the sides of the tart shell, and will dissolve into the jam. This is an optional step, but makes the tarts look a little bit more professional.



I would love to make the lemon curd, but it is only me and hubby how do I cut this recipe down. I love this new site I found roaming.
You can certainly cut the recipe in half. A half-recipe of lemon curd will give you about 4-5 cups of lemon curd. If that is still too much for you… I do have a recipe somewhere for a much smaller serving of lemon curd (that can be made in the microwave). I will look for it and see if I can find it later tonight.
Seems like these should be the easiest things in the world to make, but i am struggling. How do you get the pastry into the baking pans and make them look nice. Do you butter/spray the pans first? How in the heck do you get themout when done??/ Mine look like a three year old made them — HELP!!
Did you see my post on how to make the tartlet shells? I highly recommend the Williams-Sonoma Tartlet baking set to make tart shells. I have step by step instructions for how to make them:
http://www.the350degreeoven.com/2013/09/pastries-pies/homemade-mini-tart-shells-how-to-make-tartlet-shells/
To answer your questions:
1. I do not spray the pans first. The dough has enough fat in it that you will not have any problems removing them once done. In fact, I think it makes it easier to make if you do NOT grease the pan, otherwise it’s hard to make the shells “stick” to the pan when you push down with the tamper.
2. How do I get them out? I just stick the tines of a fork down the side and gently pry the tarts out.
If all else fails, this method makes really easy and cute presentable tart shells:
http://www.the350degreeoven.com/2011/06/pastries-pies/flower-shaped-mini-lemoncurd-tarts/#comment-2974
Hi Mika,
I’m thinking of making pumpkin tart using these tart mold for Thanksgiving. Any suggestion as to how I can make the filling? Thanks
Probably what I would do is make a pumpkin pie filling (just bake it without the shell). Then, use a stand or hand mixer to whip it up nice and fluffy (you could probably thin it with a little bit of heavy cream if needed). Then put it in a piping bag, and use an extra large star tip to pipe a pretty swirl into the baked pastry shells. Then decorate with a dollop of whipped cream, a chopped candied pecans, or baked pastry cut-outs.
You could probably also bake the filling into the tarts themselves… but I worry that they might be too shallow, so it could be easy to burn or messy to take out. Or, the pastry might be underbaked by the time the filling is done. One idea (I’ve never tried this… so you may have to experiment) would be to pre-bake the shells, and try microwaving the uncooked filling in the baked pastry shells.
Hope everything turns out for you!
Hi Mika,
Would you happen to know how much a piece of each tartlet costs?? and how much can I sell it?
I’m not a restaurant or bakery owner – just a home cook, so I can’t really give you very specific advice. But I will try… I would think that your individual cost per tart will depend on what ingredients you are using, the cost of those ingredients, and the cost for your labor and marketing. Off the top of my head, I can’t really tell you a set price- because you can make super expensive tarts and less expensive tarts, all which will vary in price depending on your ingredient sources. It also depends on if people will buy your tarts for the price you set – maybe check out local bakeries to see what their prices are as a guideline.
Hi there, such great recipes! Do you think you could us the same technique with butter tarts? Prevailing the shells and then finishing off the butter tart filling in the microwave? I wonder if that would work? Have you ever tried it?
Maybe? You can certainly experiment… I would suggest microwaving only one to start with, just to see if it works or not. (That way you don’t waste all your ingredients if it doesn’t turn out right).
Ok sorry, that didn’t come out right! Do you think you could prebake the tart shells in the oven and then microwave the butter tart filling to finish them off?
I am taking mini tarts to a wedding shower. I was going to make the shells the day before. Now I have to go travel for my job and won’t be home until the nigh before. Can I freeze the shells successfully for a week?
Yes, I think that should be fine. Just make sure you wrap them well with plastic wrap to avoid freezer odors getting into the pastry.
will the taste/texture still be the same if you make it a day in advance before consumption and store it away. or it wouldnt a wise idea?
It will probably be fine if stored overnight. But obviously, it depends on your fillings. If you are using something quite perishable that doesn’t hold up well, then you might have some problems. But most fillings would probably work out just fine.
Can I make the tarts a week before I want to actually fill them?
I wouldn’t make them that far ahead of time. Maybe the tart shells, which you can freeze… but don’t fill them until the day before otherwise they won’t taste fresh.
Mika,
I’m pretty sure that I will be using your tartlet recipes for finger foods at my best friend’s bridal shower next fall! They sound SUPER easy and delicious! I’d like to stick with “fall” flavors (pumpkin, the chocolate ganache and a strawberry cheesecake) but I’d also like to do a cinnamon apple flavored one. Do you think an apple butter work as a filling or would I be safer going with an apple preserve and adding the cinnamon? I’m so glad I stumbled upon your page!
Hi Anna. I think you can do either – they both sound great!
Great ideas for a fund-raising morning tea where mums and babies can just grab them as finger food. However, I can’t work out what the “c” means in the quantity of cream and choc chips??? Can you please interpret for this rural Aussie!!
The “c.” stands for “cups”. Cups are a volumetric measurement that we use here in the U.S. 1 c. = 240 mL.