Recently, a friend of mine asked me to bake a cake for a small gender reveal gathering of close friends and family. I guess all the bakeries she contacted will not bake a blue or pink cake… they will only use blue or pink filling for a white cake (which she didn’t want). I can understand why most bakeries won’t do this – most of them make cake batter in large batches, and tinting a small amount of batter would be too much extra work for them. So she asked me… would I mind having her doctor contact me with the results of the gender test, and would I be willing to make a blue or pink cake for her?
OMG! OF COURSE I WOULD BE HAPPY TO DO THIS! :)
I might have been just excited as she was… and also very honored to be trusted with the results! I was on pins and needles until I heard from the doctor… do I need pink or blue food coloring? When I found out it was a boy, I went to work!
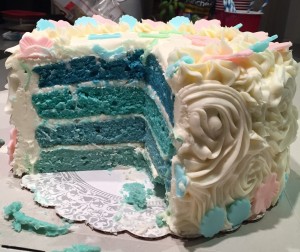
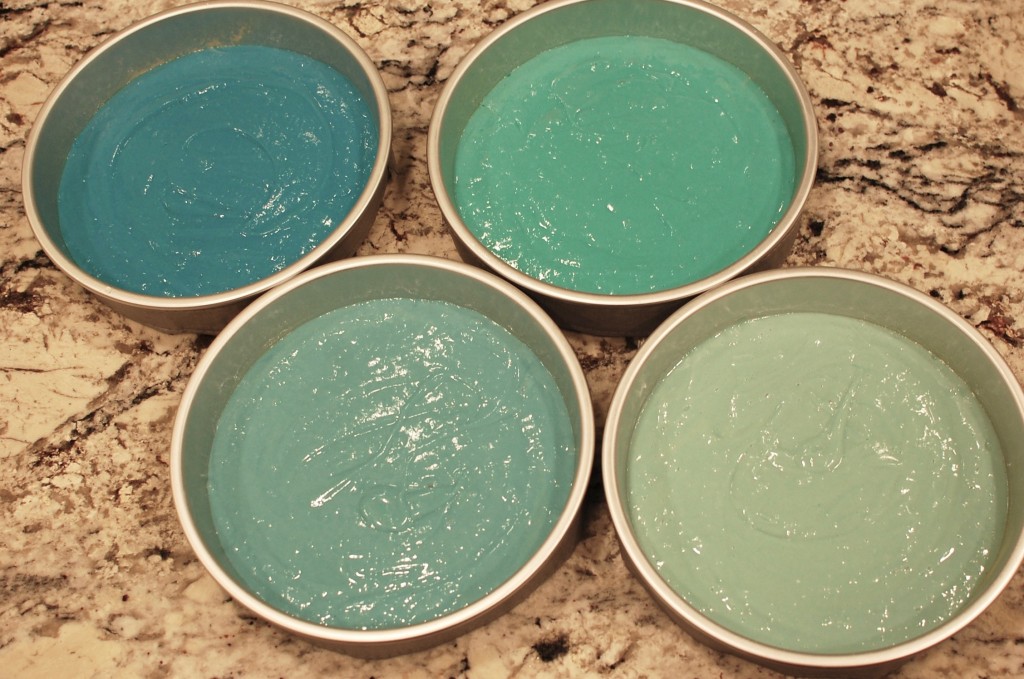
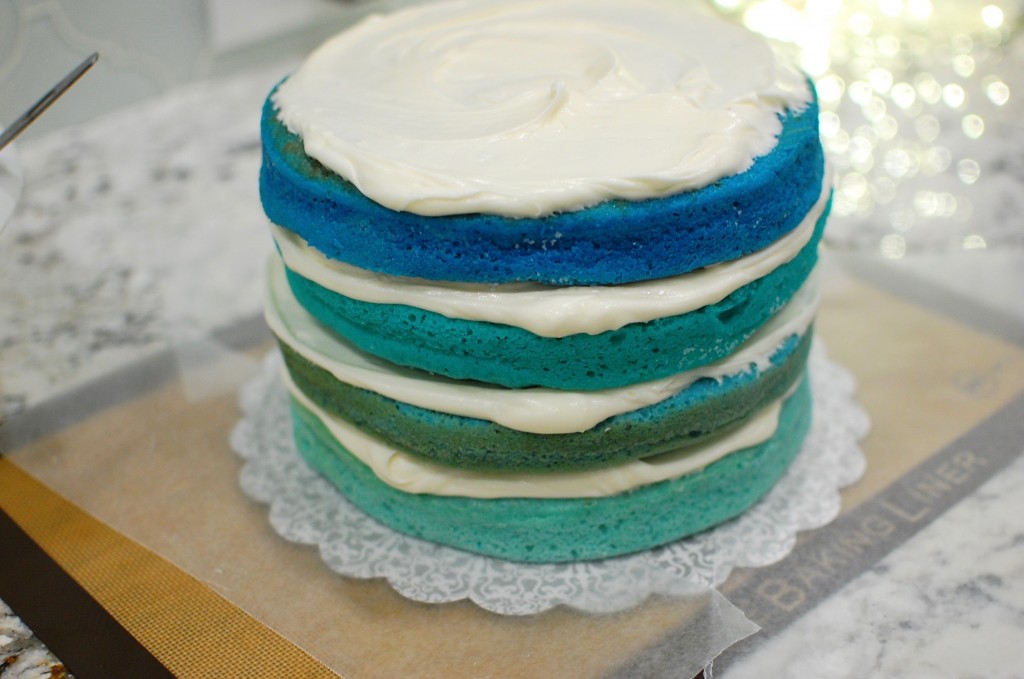
If you are looking to tint cake batter, I would suggest using paste or gel food color because these are more vibrant – a little goes a long way! If you want to do a pure ombré design, you will tint your batter from light to dark. My cake isn’t TOTALLY ombré because I was tempted by a little jar of teal food coloring, which I mixed into two of the cake layers to add a pop of extra color to the standard blue… but I was happy with the colors that turned out.
Because I did 4 layers here, this ended up being a really tall cake… so I also needed extra frosting (I tripled my normal frosting recipe). The cake also didn’t fit into a standard cake box – a problem I solved by extending the top of the cake box with some clever folding and scotch tape!
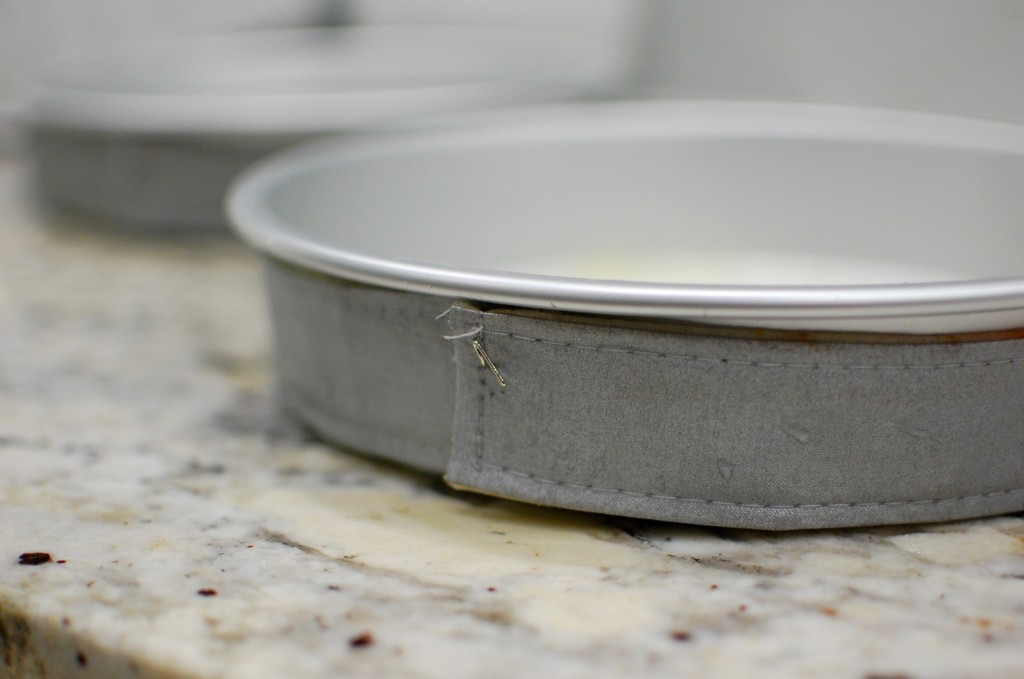
By the way – if you have had issues in the past with your cake layers baking up into a domed shape (instead of flat)… try using Wilton Bake Even Cake Strips! These will save you the extra step of having to saw off the domed tops of your cakes, because it will make your cakes bake FLAT. You soak the strips with cold tap water, then pin the strips around the sides of the cake pan. The extra insulation helps the sides of the cake bake at the same rate as the center… leaving you with an even flat top, instead of a big hump in the middle!
4 layer Ombré cake:
- double recipe of Pudding Cake (made with vanilla or white chocolate pudding mix) or 2 boxes of white cake mix prepared
- blue or pink gel food coloring
Cream Cheese frosting:
- 24 oz. cream cheese
- 1 1/2 c. unsalted butter
- 2-3 tsp. vanilla extract
- 1 1/2 tsp. salt
- 6 – 10 c. powdered sugar
Hardware needed:
- four 9″ round cake pans
- waxed paper
- Wilton Bake Even Cake Strips
- fondant rolling pin + silicone mat
- Wilton 2D star tip
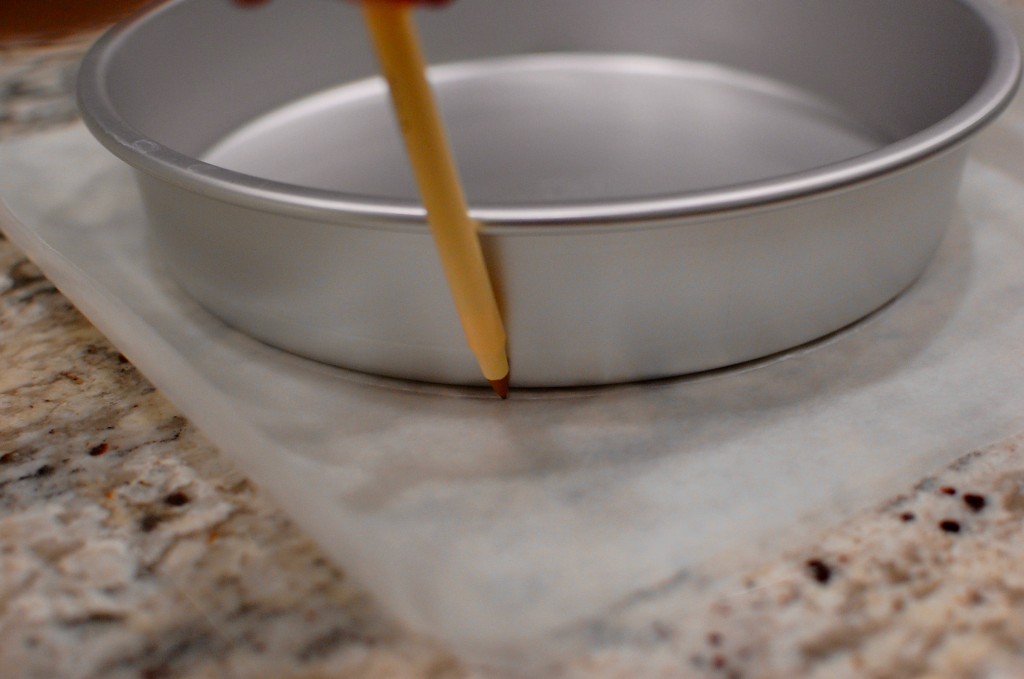
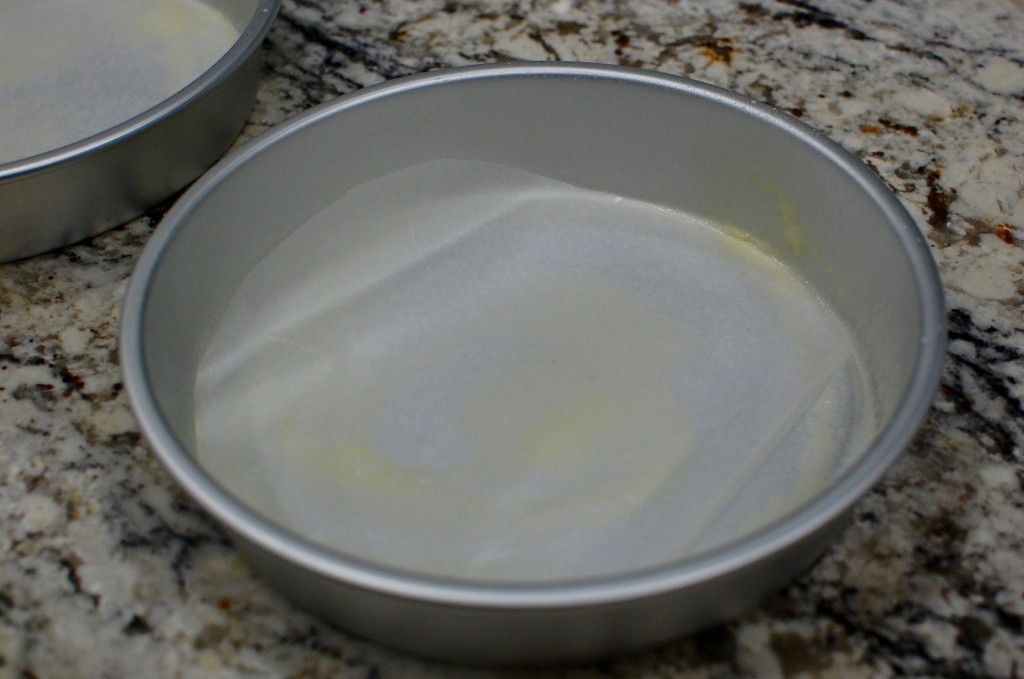
1. Prepare the cake pans. First cut 4 circles of waxed paper by tracing the bottom of a 9″ cake pan.
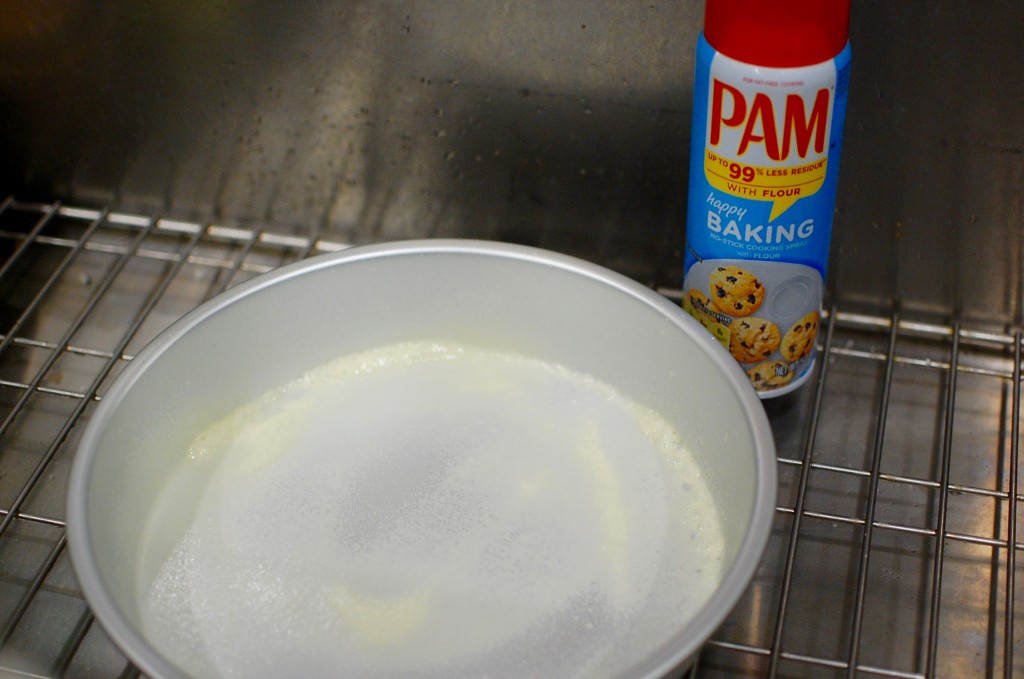
2. Spray the bottom and sides of each cake pan with Pam for baking non-stick spray.
3. Gently press the waxed paper circles in the bottom of each cake pan.
4. Soak the Bake-Even cake strips in cold water, then carefully pin around the edges of the pan. The instructions say not to wring out the water – just gently run your fingers down each strip to remove the dripping water. (Why are we doing this? Well, in theory, the Bake-Even strips provide insulation to the edges of your cake so that the edges bake at a similar temperature to the center of the cake, ensuring even rising and flat (not domed) cake tops. In reality/actual practice – the cake strips actually work to make flat cake layers! How did I not know about these Bake-Even strips before?) If you don’t have Bake-Even strips, no big deal – just make sure you level the cake tops with a knife or cake leveler before putting your cake together.
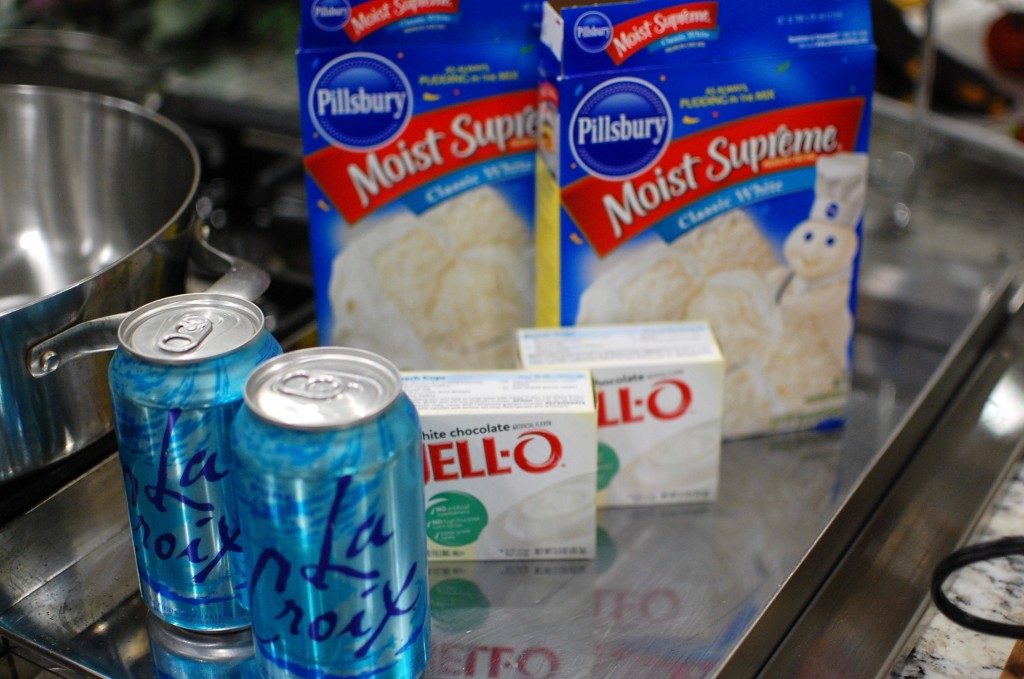
5. Make your cake batter. I used my pudding cake recipe (which can be customized using whatever flavor of boxed cake mix + whatever flavor of pudding mix). Because you are tinting the cake, I would suggest using white cake mix and some type of white or light colored pudding mix like white chocolate or vanilla. **Remember, if you are using the smaller 15.25 oz. boxed cake mixes, you will need to decrease the oil in the recipe linked above to 3/4 c.** Or, if you prefer to use boxed cake mix, then just prepare the batter according to the instructions on the box.
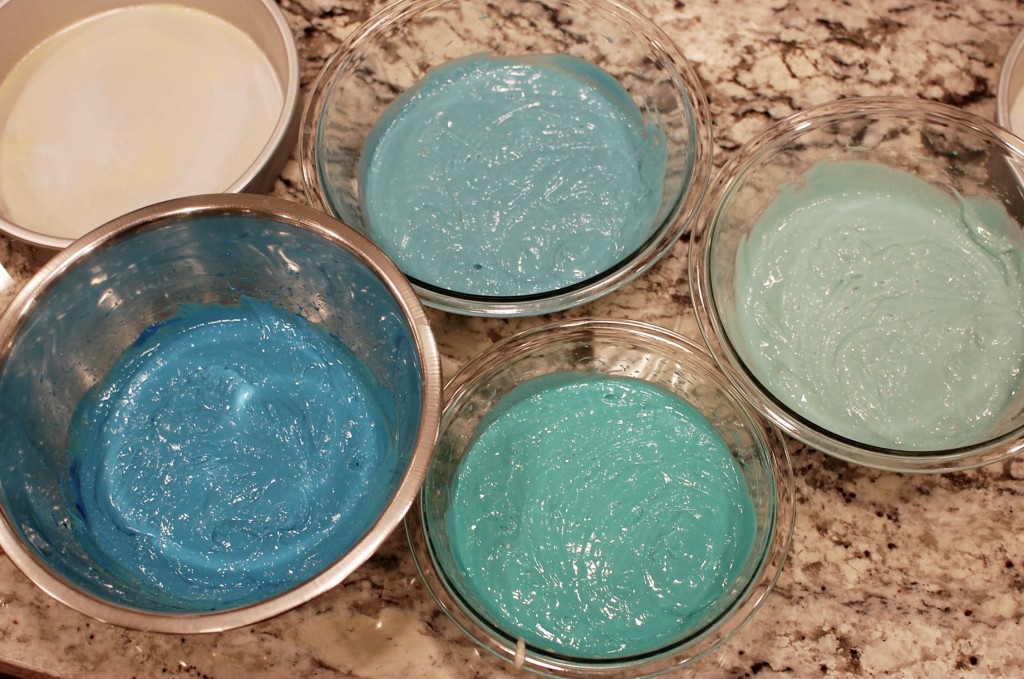
6. Divide the batter evenly into 4 bowls, then use varying amounts of food coloring to tint your cake batter 4 different shades of blue (or pink) from light to dark. I prefer to use gel food coloring because the color is more vibrant, and a little goes a long way.
7. Bake your cake layers in a 350 degree preheated oven for about 25-30 minutes, or according to the instructions on the box. (Start checking a few minutes early.)
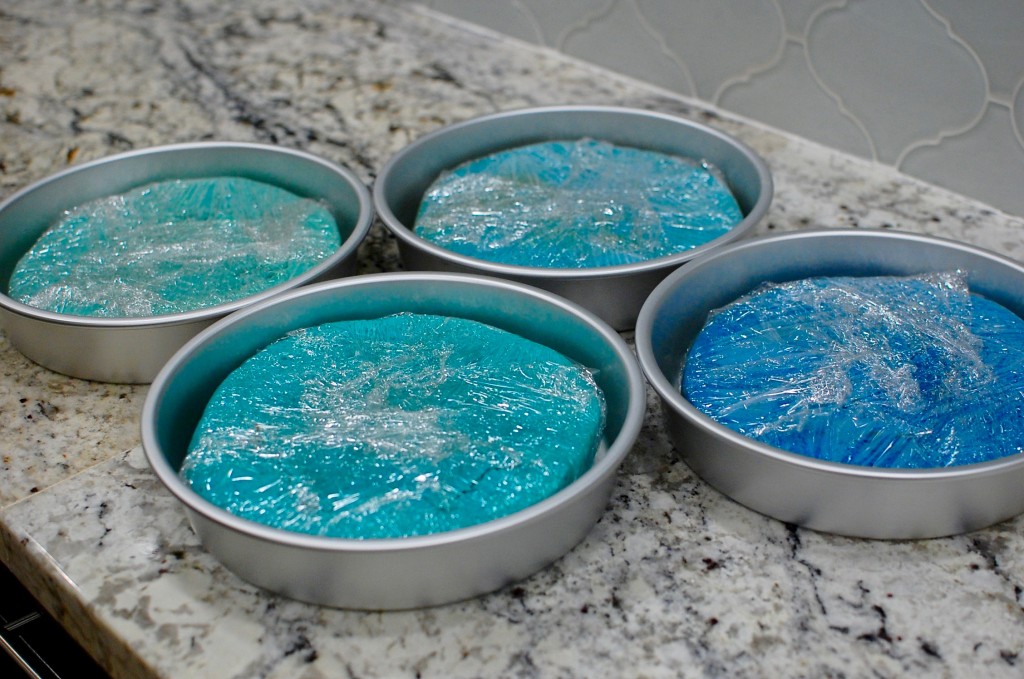
8. Cool your cake layers, remove from the pan and remove the waxed paper from the cake tops, then wrap in plastic wrap (tightly), then freeze. (I like to put the wrapped cake bake into the clean cake pans – the cake pans will provide support in the freezer so that your cake layers don’t accidentally freeze in a wonky shape.) You can prepare the cake layers up to 2 weeks in advance so that the night before (or the morning of) your event, you can just mix up a batch of frosting and assemble/decorate the cake. I also feel that freezing the cake layers helps keep them more moist.
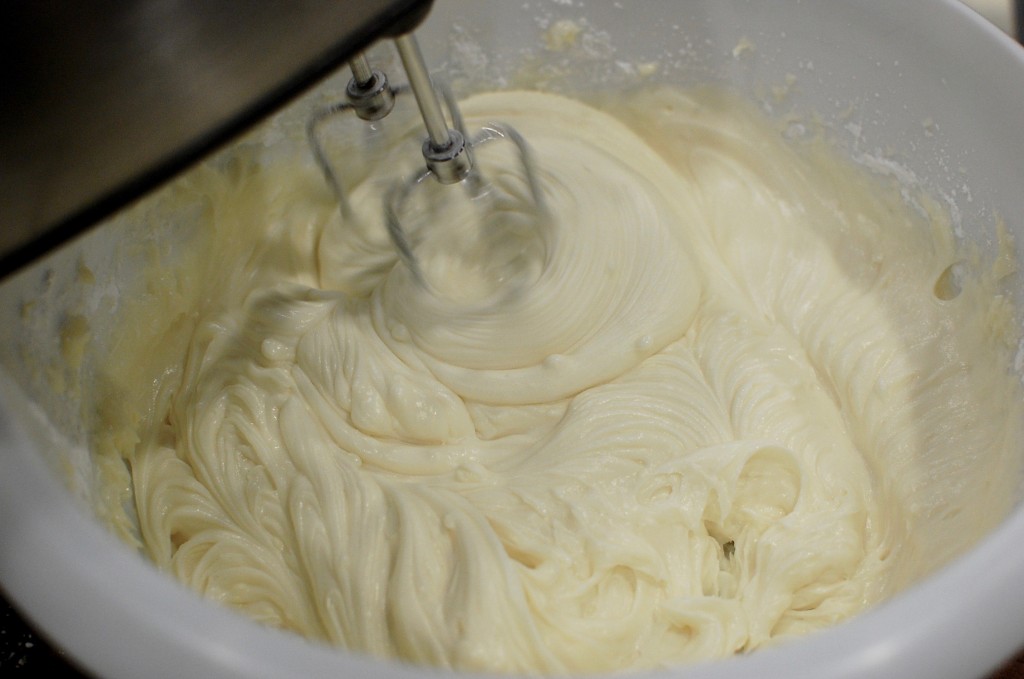
9. When you are ready to assemble your cake, remove the cake layers from the freezer (sometimes being frozen or partially frozen makes it easier to frost). Then make the cream cheese frosting: Mix the cream cheese, butter, salt, and vanilla extract until uniform. Add the powdered sugar, and mix on low until combined. Then, mix on high speed for 1-2 minutes to make fluffy.
**You will need to determine how much powdered sugar to add in order to achieve the right consistency. I would start with 6 cups of powdered sugar, then just keep adding more (1 c. at a time) until your frosting is thick enough to hold up without running down the sides of the cake. Use the 6-10 c. powdered sugar amount called for as a suggestion only – the true amount of powdered sugar will depend on many factors (including how much moisture is in your butter and cream cheese, humidity/weather, etc.).
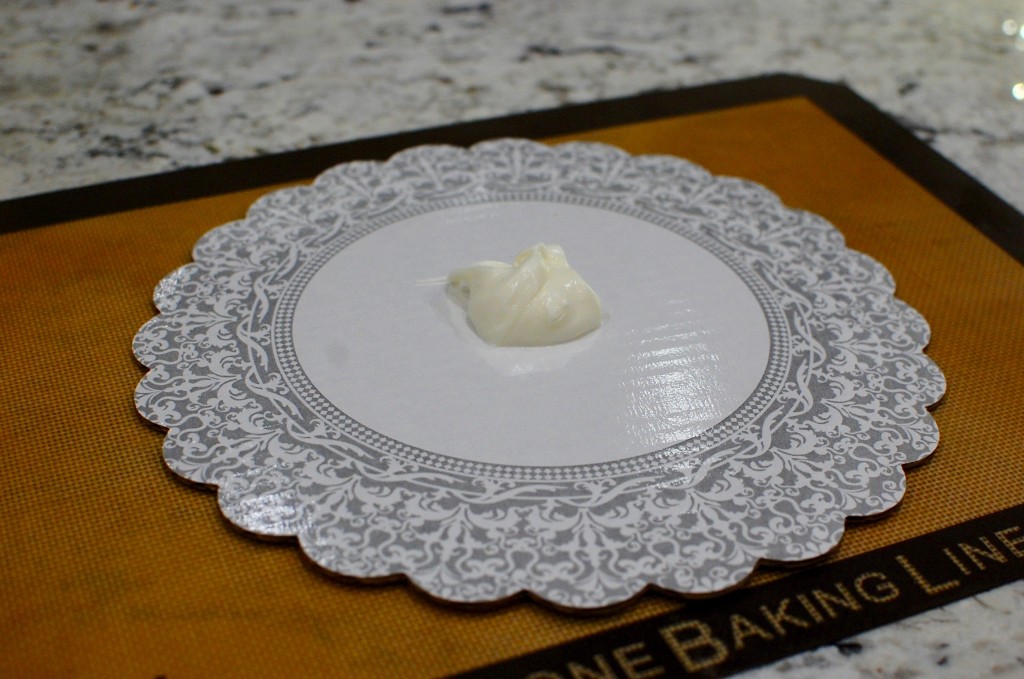
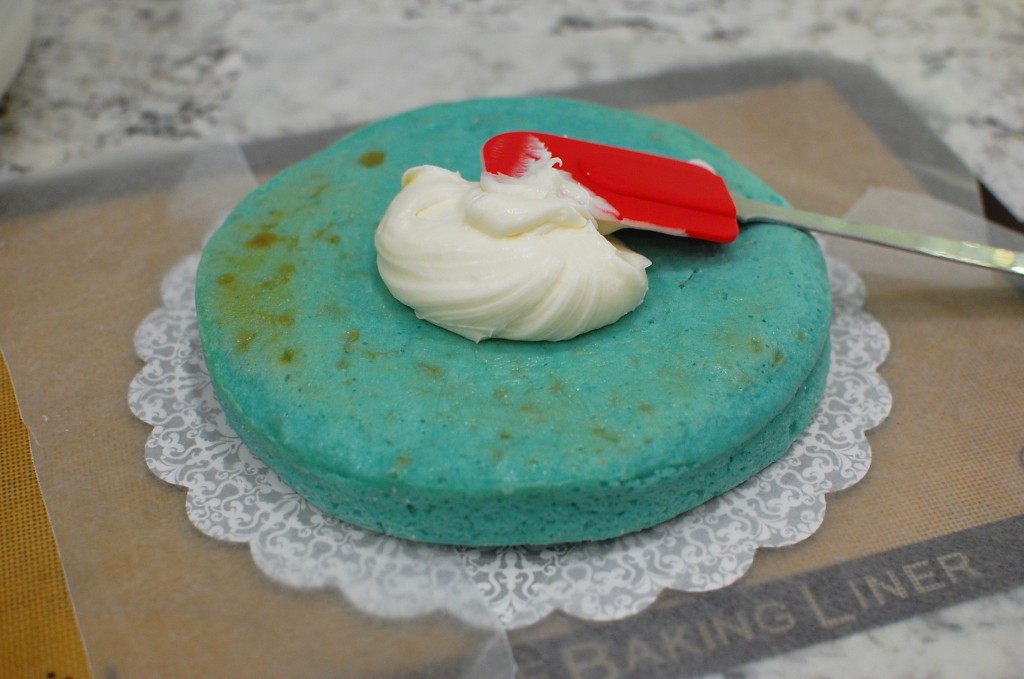
10. Add a dollop of frosting to a cardboard circle (so your cake layers don’t slide).
11. Add your first cake layer (you can start with the darkest or lightest layer – whichever you prefer). Spread frosting over the first layer.
12. Top with the next layer and repeat until all 4 cake layers have been evenly stacked.
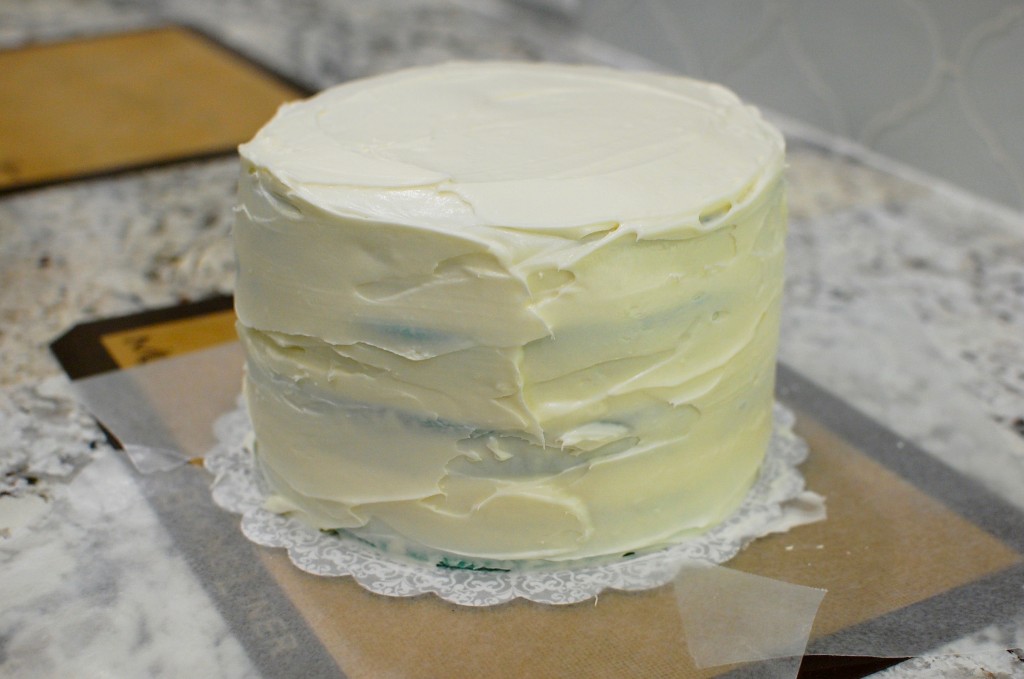
13. Spread frosting (thinly) around the sides of the cake (this is your “crumb coat”), and more thickly across the top. You can refrigerate the cake again at this point while you get ready for the next step.
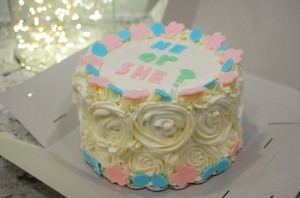
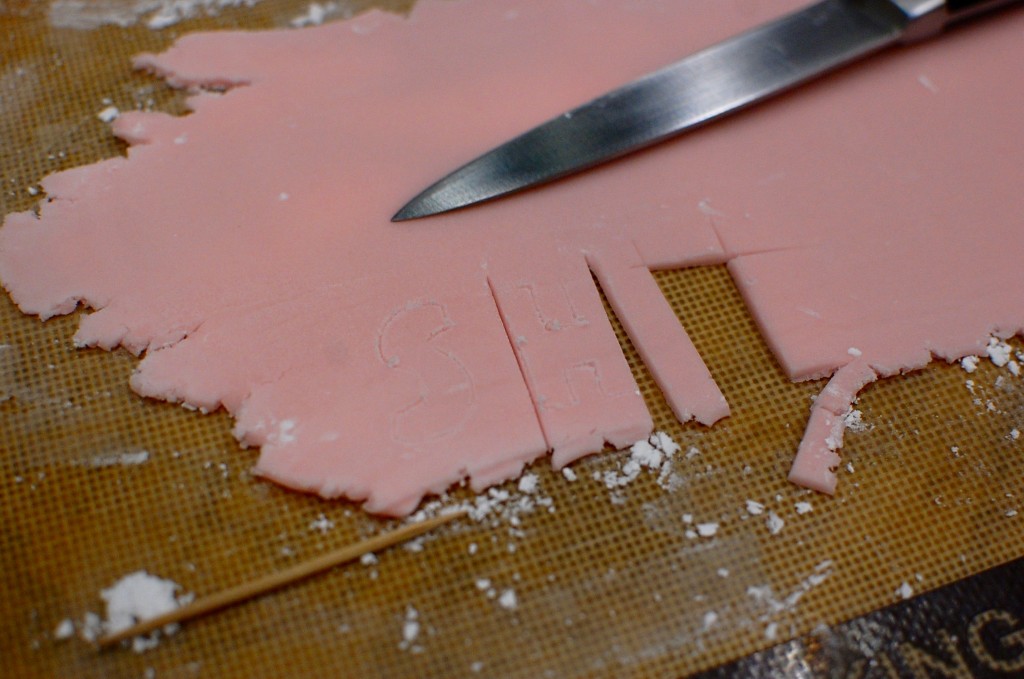
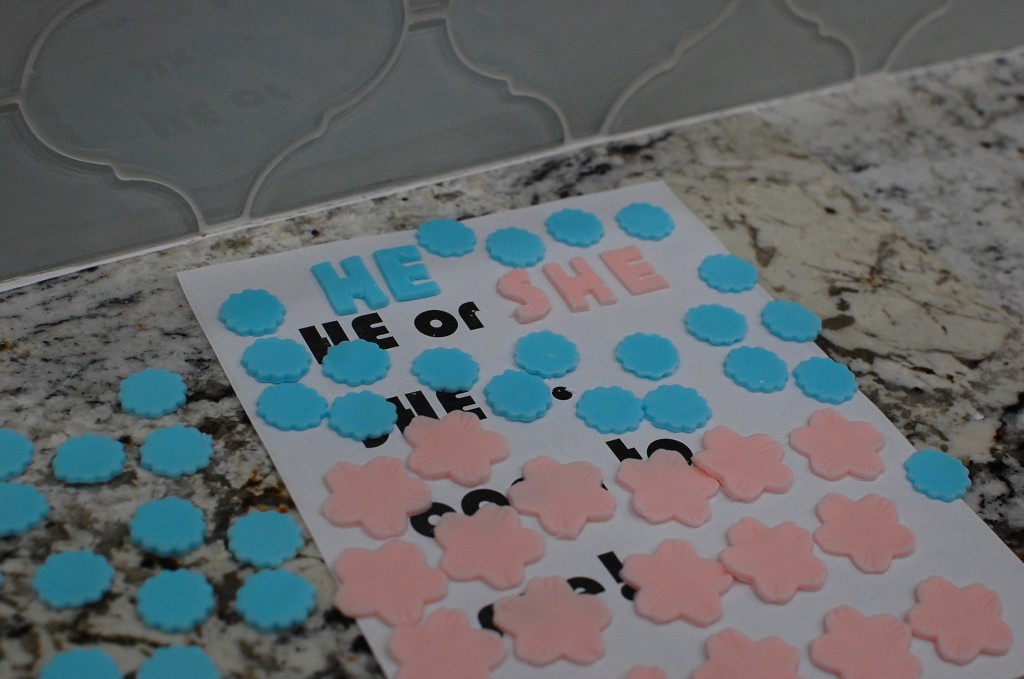
14. Roll your fondant out to about 1/8″ thickness. (I wanted to decorate the top of the cake with the phrase “HE or SHE?“) Use a toothpick to trace the letters you want onto the fondant, then use a paring knife to carefully cut out the letters. I used blue fondant for the word “HE”, pink fondant for the word “SHE”, and green for all the other letters and characters. (If you don’t want to bother with the fondant step… you can tint a little bit of the cream cheese frosting pink, blue, and green… then use a fine decorating tip to write on the cake with the tinted frosting.)
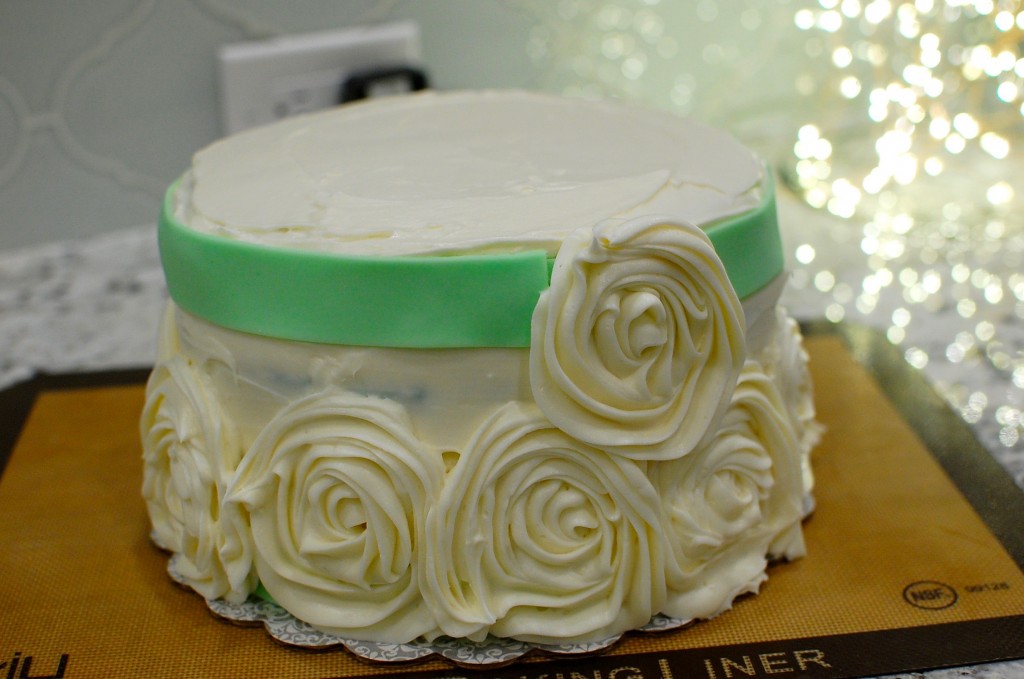
15. I used the extra pink and blue fondant to make little flower shapes (use a small cookie cutter to cut out the flower shapes). With the extra green fondant, I rolled out some strips to wrap the base and top of the cake sides with (to help hide the color of the cake through the frosting).
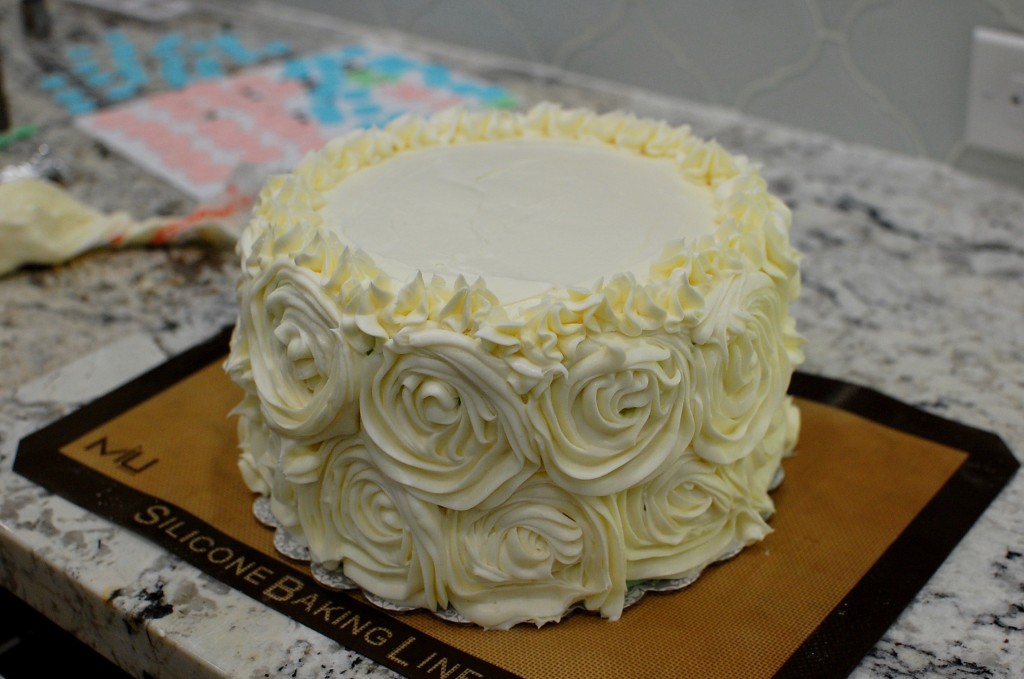
16. Place the green fondant strips around the base of the cake and around the top of the cake. This step is optional – I did it mainly because I was afraid the blue from the cake layers would be visible through the frosting on the top and bottom, so I was trying to hide it with some fondant. Take the remaining cream cheese frosting and place a Wilton 2D star tip into the corner of a piping bag (you can also use a gallon sized ziploc bag with the corner cut off). Pipe roses around the sides of the cake. Basically, you start in the center, then pipe a spiral outward to form a rose. Then, move to the next spot and repeat. As long as you make all the roses equal distance from each other, and roughly the same size… they will look fine.
17. Once you are finished piping roses around the cake, use small puffs with your piping bag to go around the diameter of the top, and also fill in any cracks or open spots between the roses. (If you wanted, you could pipe more roses across the top of the cake – that would give the cake a nice, maybe more elegant look. You could also decorate the top of the cake with fondant roses.)
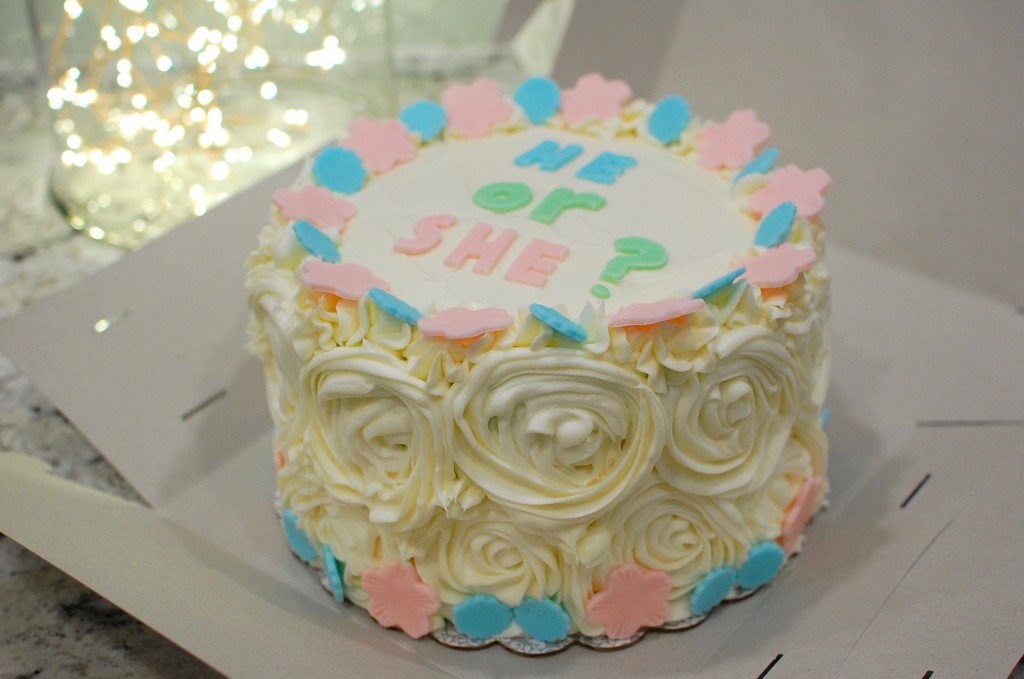
18. Place the letters on the top of the cake. Press your fondant flowers or shape cut outs round the base of the cake and around the diameter of the cake. (Normally, I think less is more in terms of cake decoration… I probably put too many decorations on the cake (below) for my taste… but I was trying to go for a more whimsical and colorful look that emphasized the big pink vs. blue question, and also make this cake look more appropriate for a baby shower than say a wedding.)
Now all we had to do was wait for the mom & dad-to-be to cut open the cake at the Gender reveal party to see what they are having!
(….It’s a boy!)



Hi, Mika!
I loved the pictures of your Gender Reveal Cake! It looks so pretty — and delicious! I’m sure your friend was very happy with the results. But I have a question. Was her doctor REALLY able to contact you and tell you whether her baby is a boy or girl? Isn’t there some kind of confidentiality agreement the doctor has to follow? I’m just curious!
Keep up the good work! I wish I lived closer to you! I’d definitely hire you to do some baking for me if I were going to have a party or something — and if you had time in your busy schedule, of course!
Hope to see you soon!
Kim
Yes, she gave her doctor permission to contact me. As long as the doctor has permission from the patient, it’s all good!
Your pudding cake mix, what does the soda water do for the cake? How many drops of coloring did you use for your blues? It looks really moist.
You can use any soda. Seven-up, sprite, or just plain club soda. La croix sparkling water works well too.
Your cake looks very pretty! I just don’t use cake mixes as I don’t care for the taste or the heaviness do you have a from scratch recipe that you have used food coloring with?
You can use the same technique for ombre with any basic cake recipe… if you have a favorite one, I would go with that.