Long ago, I struggled with making bread – no matter what, the dough wouldn’t rise or something would go wrong – and I would end up with a gummy or yeasty heavy loaf that didn’t turn out. (Or my hands would get tired kneading and I’d give up too soon.) I’ve made a lot of mistakes… and since then, I’ve realized that it really isn’t that hard to make bread! To ensure that your bread is successful, make sure that your yeast is fresh (check the expiration date) and has been stored appropriately. Second, make sure you use a forgiving/easy recipe that has a high chance of success. And in my opinion, if you can get a machine to do the kneading for you (or use recipe that require no kneading at all)… even better!
Once I got my Zojirushi Bread Machine, I found it super easy to create wonderful and fluffy yeast dough recipes like my Japanese Milk Bread (shokupan), Chinese Coconut Milk Bread, Carrot Raisin Shokupan, An Pan, or Cream Pan recipes. The machine does all the mixing and kneading for you – I use the bread machine more as a dough maker and finish the dough off in the regular oven (so that I can control the temperature and length of time baking). I highly recommend the Zojirushi machine to make the best Asian style breads… you will not be disappointed! Although it’s a pricey machine, I love mine and feel that I have used it enough to make up for the cost. (There are cheaper bread machines out there, but I feel that the Zojirushi is the best, and it is my personal favorite.)
But what about making European style breads with a CRISPY crust and CHEWY interior? While my popular tang zhong technique works well to create soft and fluffy Asian style breads, these are the opposite of rustic European loaves. Last time I went to buy a rustic loaf of European style bread, it was $10. TEN dollars for flour + water + yeast. I can buy a 10 pound bag of flour and a jar of yeast for less than that! It’s much cheaper to make bread if you know how. Plus… when you make the bread yourself, you can control all of the ingredients, and you can have exactly what you want – whenever you want it! There is something kind of wonderful about the smell of fresh baked bread… With the recipe below, you can make a master batch of dough in about 2 minutes (no kneading necessary!), then store that dough in the refrigerator for up to 2 weeks. Anytime during the 2 weeks, you can pull out a hunk of dough and bake it for fresh bread. This recipe will yield about 4 loaves… and the flavor (like sourdough) will develop during the 2 week storage. So your first few loaves will be more mild in taste, your last few loaves will be more sourdough like in taste. It’s great to have this dough in the refrigerator so you can bake up a loaf of fresh bread whenever you want!
If you are going to use a lot of yeast – it’s much cheaper to buy yeast in a jar or in bulk from the health food store, rather than buy those little envelopes from the supermarket. In the baking aisle of the regular grocery store, you can buy a 4 oz. jar of active dry yeast for about $4 to $9 (check the expiration dates, and make sure you choose the jar with the longer life left). Store your yeast in the refrigerator, and it will last a long time. For the flour, if you want your bread to be WHITE… like what you would have in a french baguette, then use BLEACHED all purpose flour. If you want a more rustic look, or if you don’t care about the whiteness of the bread, then go with UNBLEACHED all purpose flour.
This recipe is adapted from the master recipe in the book The New Artisan Bread in Five Minutes a Day: The Discovery That Revolutionizes Home Baking by Jeff Hertzberg and Zoe Francois. I HIGHLY recommend this book!!! This is a book that was designed for regular people (like you and me) with easy to understand instructions, pictures, and explanations. The authors give great directions on how to adapt this basic recipe to create different kinds of breads… in a very simple and easy to accomplish method. It really isn’t hard to make wonderful, authentic, artisan bread – you will be surprised by how easy it is!
Master Bread Dough (makes 4 loaves):
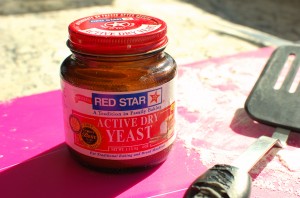
Buy your yeast in a jar - it's much cheaper than those little envelopes. Store the jar in the refrigerator.
- 3 c. lukewarm water
- 1 to 1 1/2 T. granulated yeast (instant or active dry)**
- 1 1/2 T. coarse or kosher salt (use 1 T. only if using regular table salt)
- 6 1/2 c. all purpose flour
- large bowl or dough container
- ceramic pizza stone or heavy baking sheet
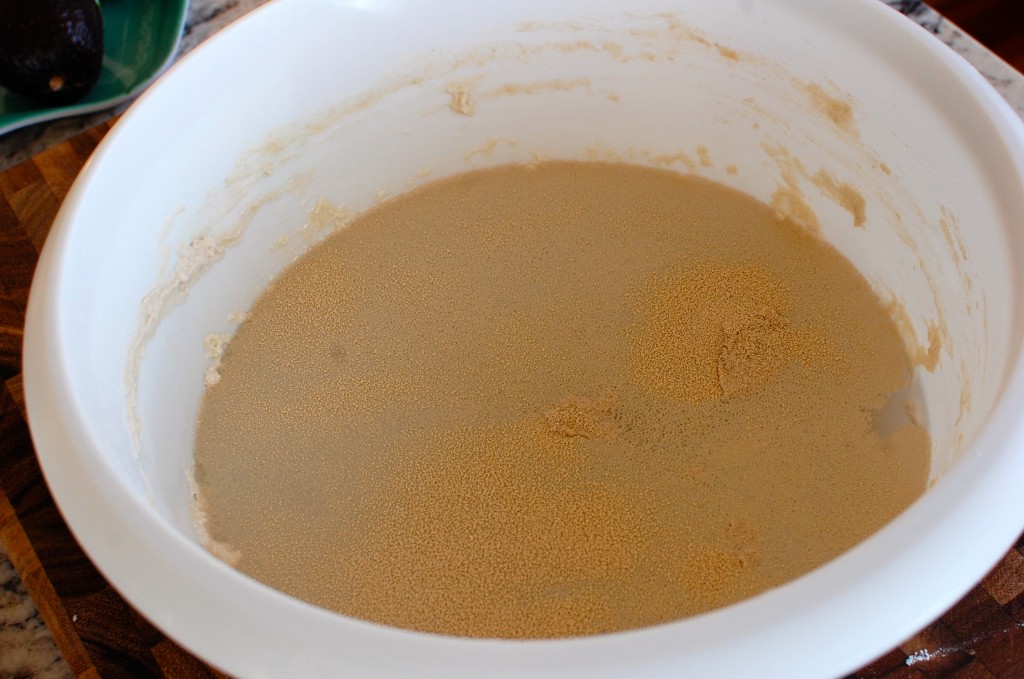
1. Add the warm water to a large bowl. Add the yeast** and salt, mix briefly. You do not need to proof the yeast. (If this is your second batch of dough – you will have more flavor in your first loaf if you don’t clean the bowl and utilize the remaining stuck on bits of old dough for flavor. Stir those leftover dough bits into the warm water.)
**The new revised edition of the book recommends 1 T. yeast, instead of the previous recommendation of 1 1/2 T. I initially used this recipe with the higher amount 1 1/2 T. yeast – which worked well. If that works for you, you might consider decreasing the yeast in your next batch and see how it works out for you with less. (So the yeast you need might be somewhere between 1.5 T. yeast = 4.5 tsp. yeast and 1 T. yeast = 3 tsp. yeast.) Using only 1 T. yeast seems to be working just the same for me – and it makes the bread cheaper, since you are using less yeast per loaf.
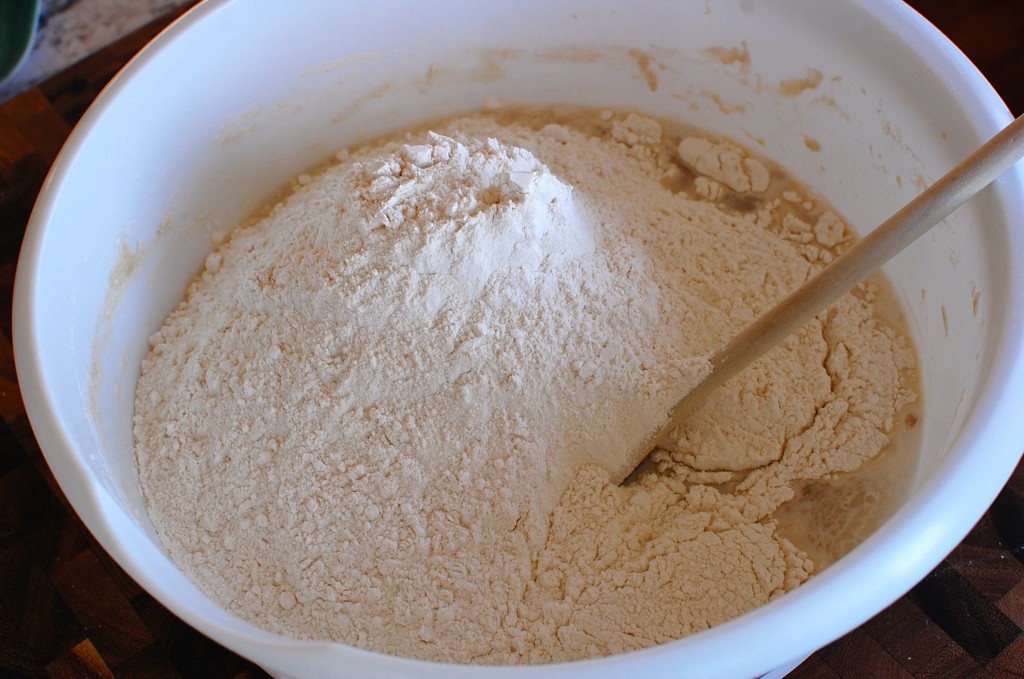
2. Add the flour.
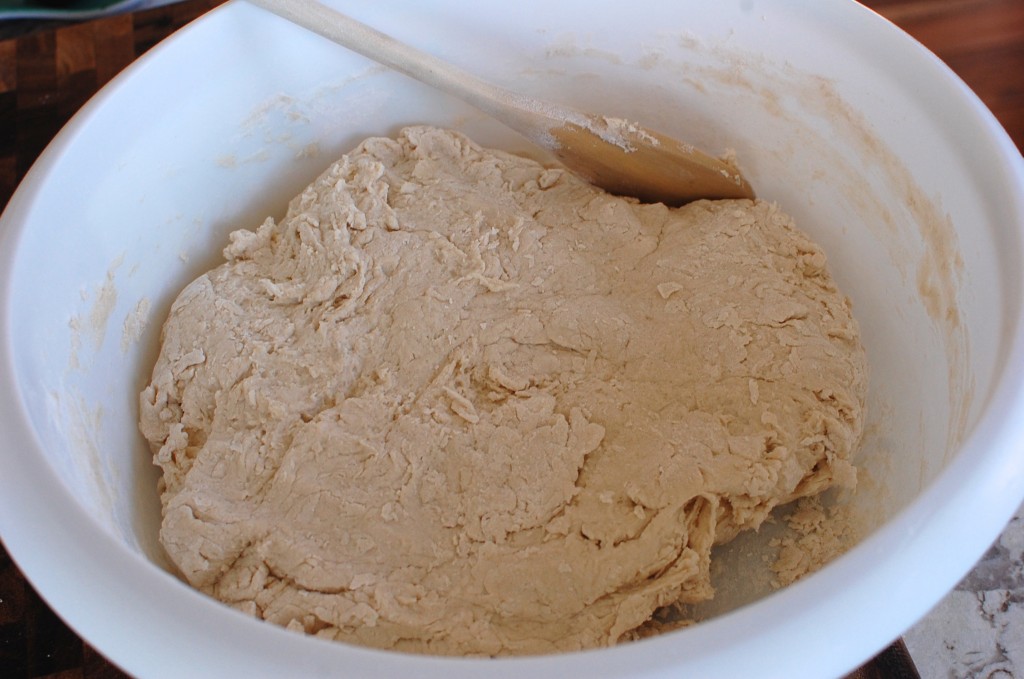
3. Mix the flour into the water using a wooden spoon. You can use your hands towards the end if it’s easier – but you do not have to knead the dough. Just mix until the dough comes together, and that’s it.
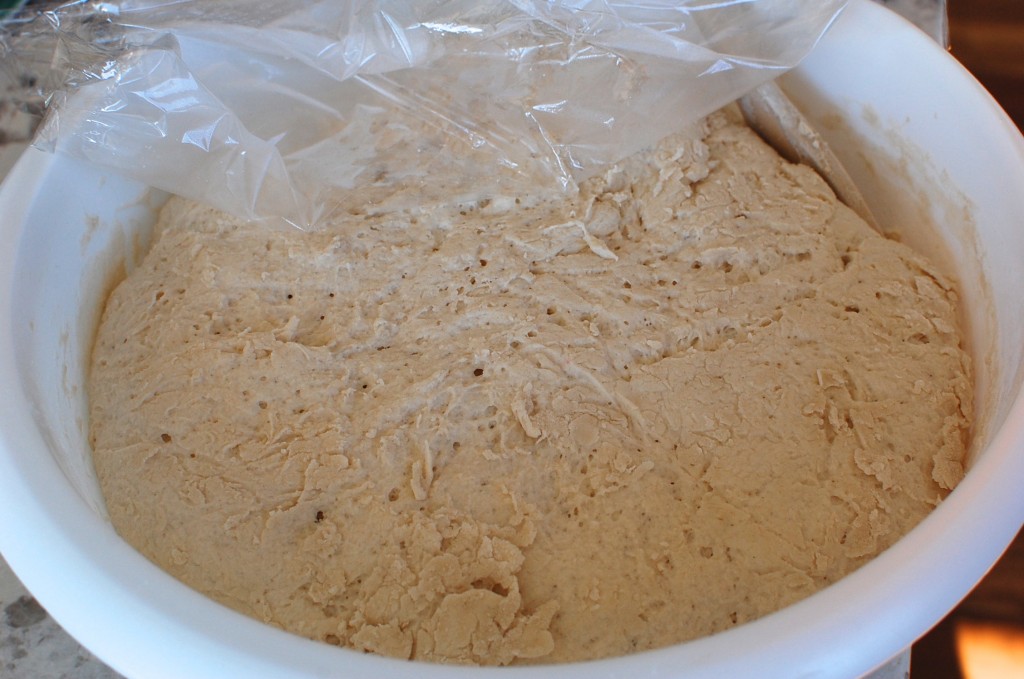
4. Now you will loosely cover the dough (I use plastic wrap and leave an air gap on the side of the bowl to allow venting) and allow it to rise at room temperature for about 2 hours. The dough will rise and start to look spongy, then it will eventually begin to flatten and collapse on itself – this is what you want. (If after the 2 hour rise, your dough has not collapsed, it’s ok. Just cover (vented) and store in the refrigerator.) The first time you make this dough, it’s best not to make the bread the same day – wait at least a day. The dough will be much easier to handle when cold, and the flavor will be better past the first day.
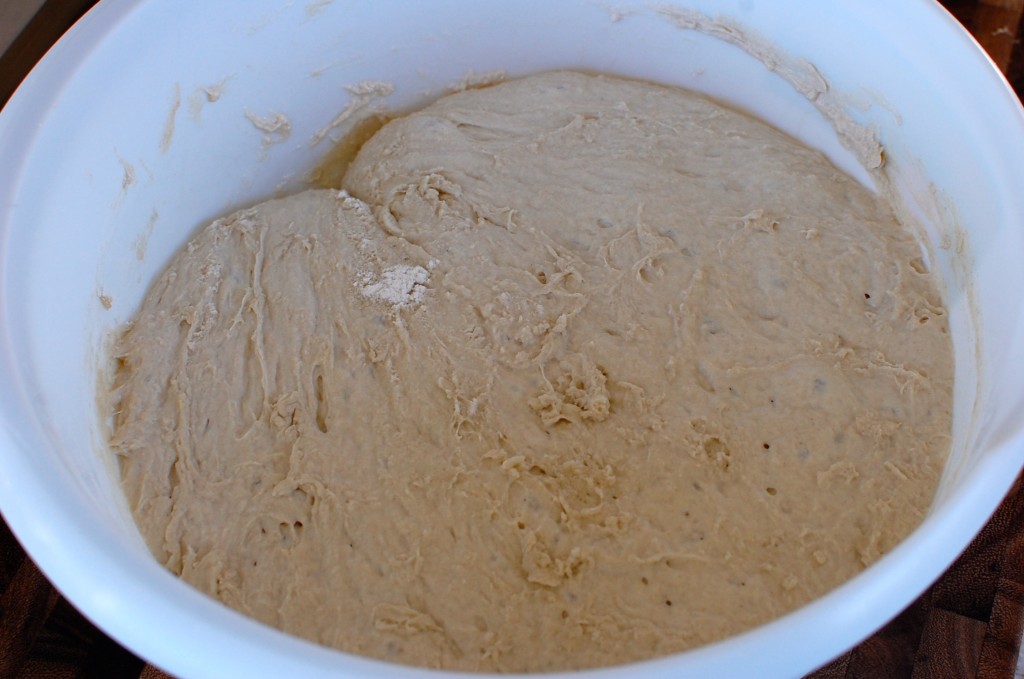
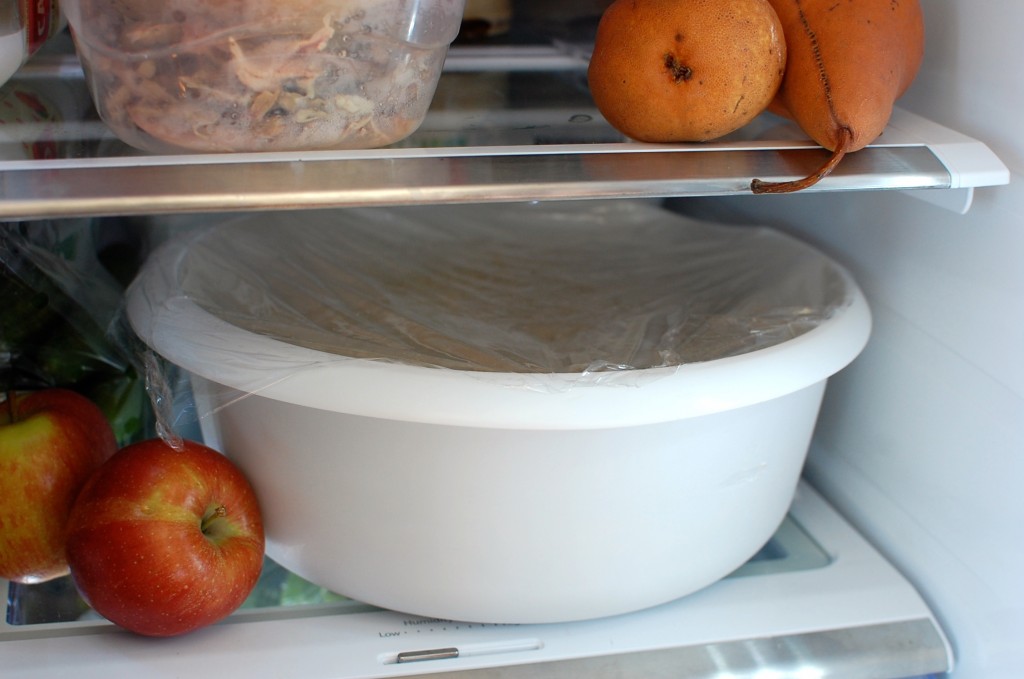
5. After your initial rise, you will store your dough in the refrigerator for up to 2 weeks, loosely covered. Because this is a very “wet” dough, the gluten protein (that gives structure and texture to the bread) will develop over time, no kneading required – much like in Alton Brown’s no knead bread recipe. (Traditionally you have to use the labor intensive kneading process to develop the gluten strands in the bread dough.) Anytime during the 2 weeks, you can pull out a hunk of dough and bake it for fresh bread. This recipe will yield about 4 loaves… and the flavor (like sourdough) will develop during the 2 week storage. So your first few loaves will be more mild in taste, your last few loaves will be more sourdough like in taste. (The photo below shows 3/4 of the dough left, after I have already used 1/4 of it to make bread, and have refrigerated this batch for about 4-5 days. Do you see how the dough is much more flattened in the picture below, compared with the risen dough in step 4? It has a distinctly yeasty and sour smell… similar to sourdough.)
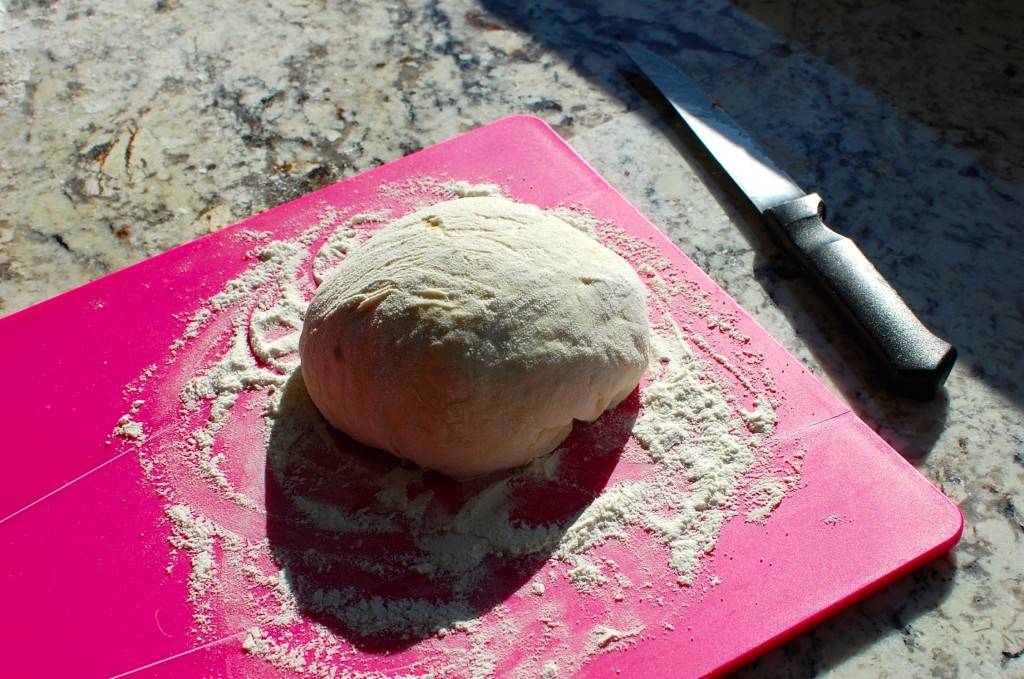
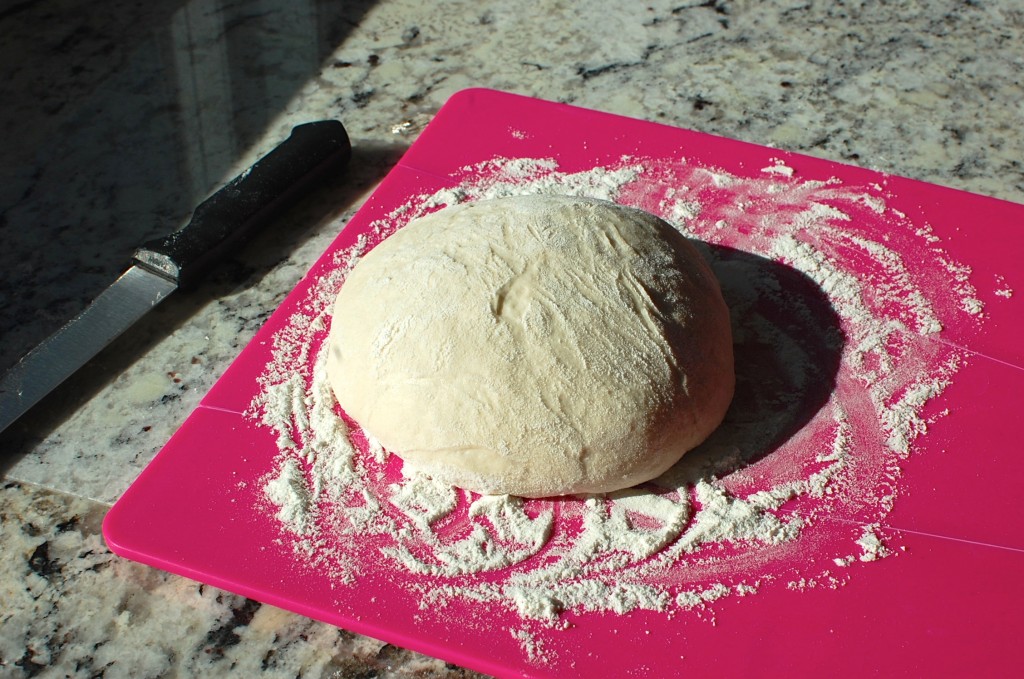
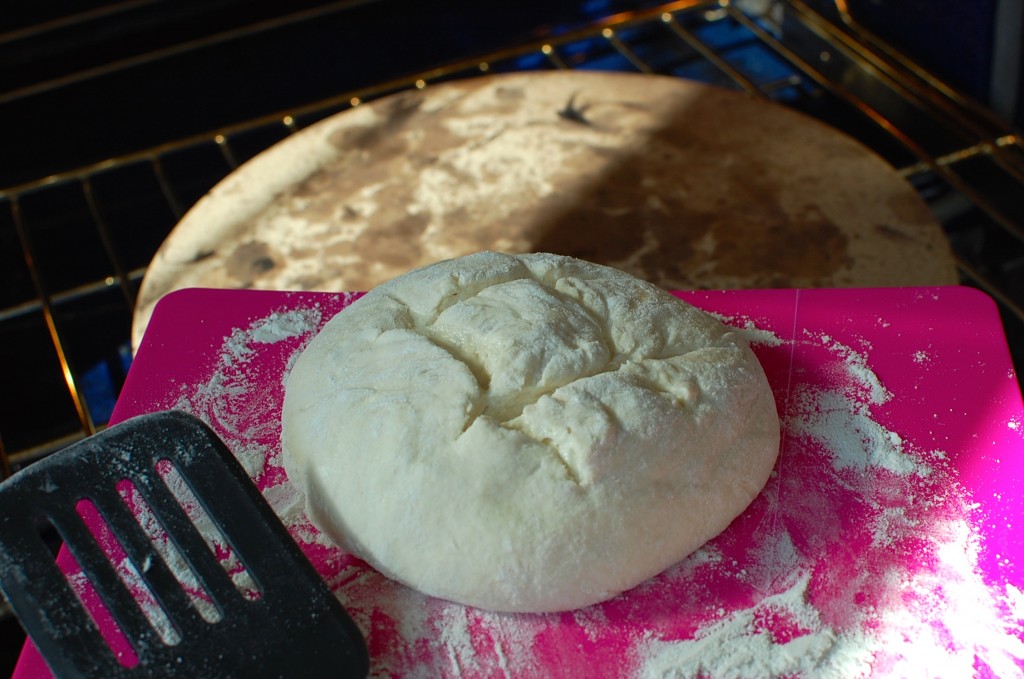
6. When you are ready to bake, cut a 1 lb. portion off to shape. (If you mentally divide the dough into fourths, you will basically use 1/4 of the entire dough to make one loaf.) With floured hands, on a floured surface, lightly shape the dough into a round boule. You want to try to create a smooth surface to the dough or “gluten cloak”. You can do this by stretching the surface, and tucking the edges under into the bottom. The bottom can be ugly and jagged, the top should be nice and smooth. **If you are making a boule or regular loaf, allow it to rise on a heavily floured pizza peel or un-rimmed baking sheet so you can easily slide it onto the baking stone.**
(In the picture below, I used my Chop 2 Pot Plus Folding Chopping Board – this is a handy lightweight $13 cutting board that you can use in place of a pizza peel. It’s also great for chopping veggies and herbs – the sides of the chopping board fold up and make it easy to add food to a pot or cooking pan.)
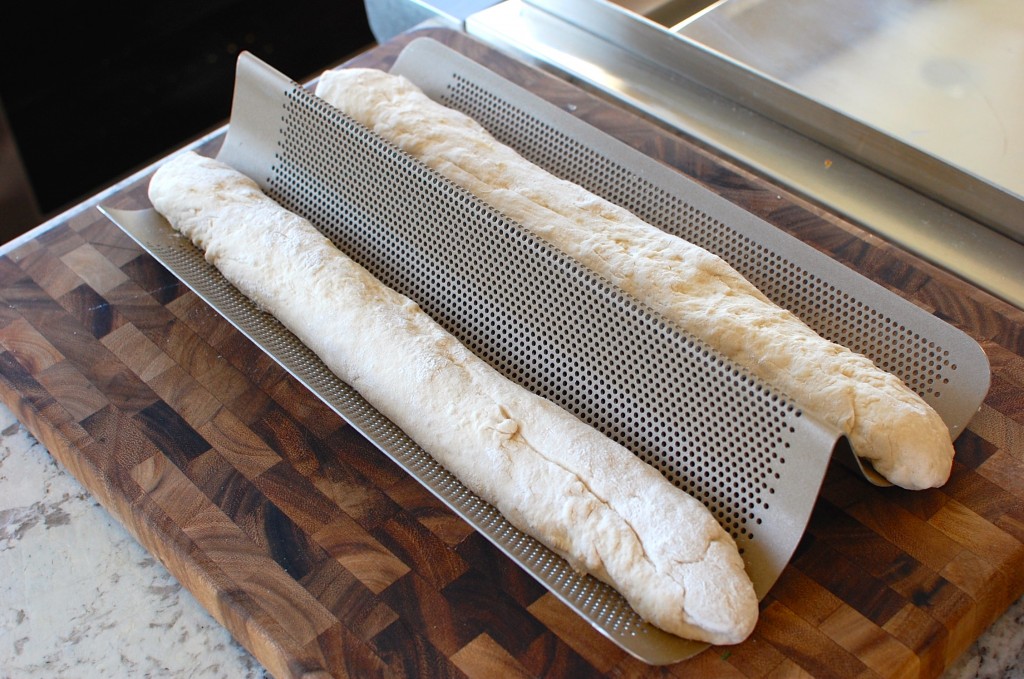
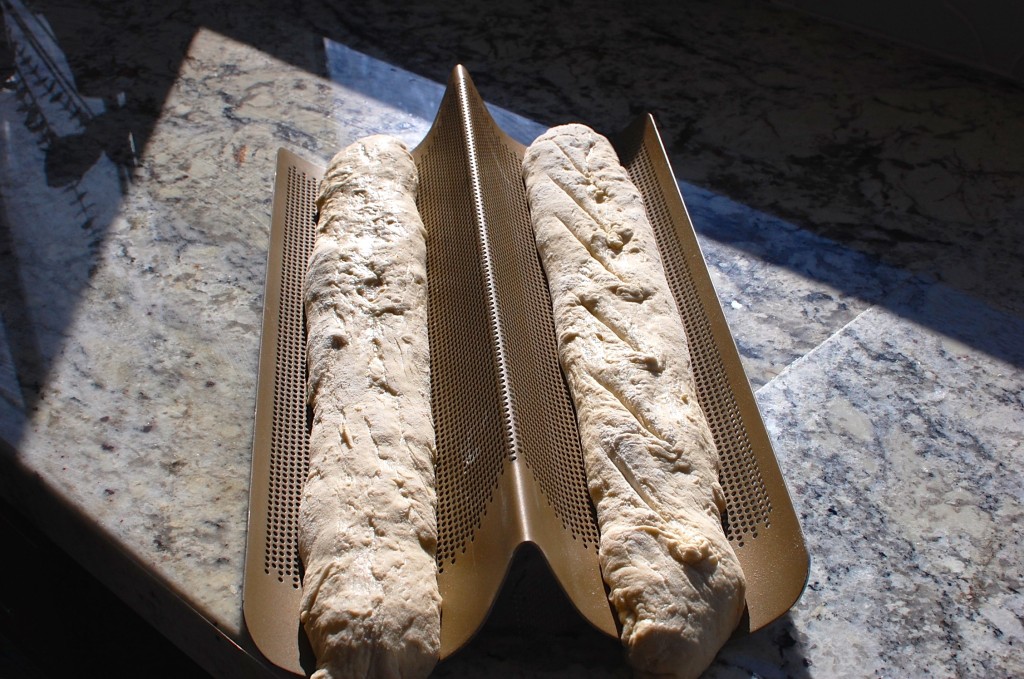
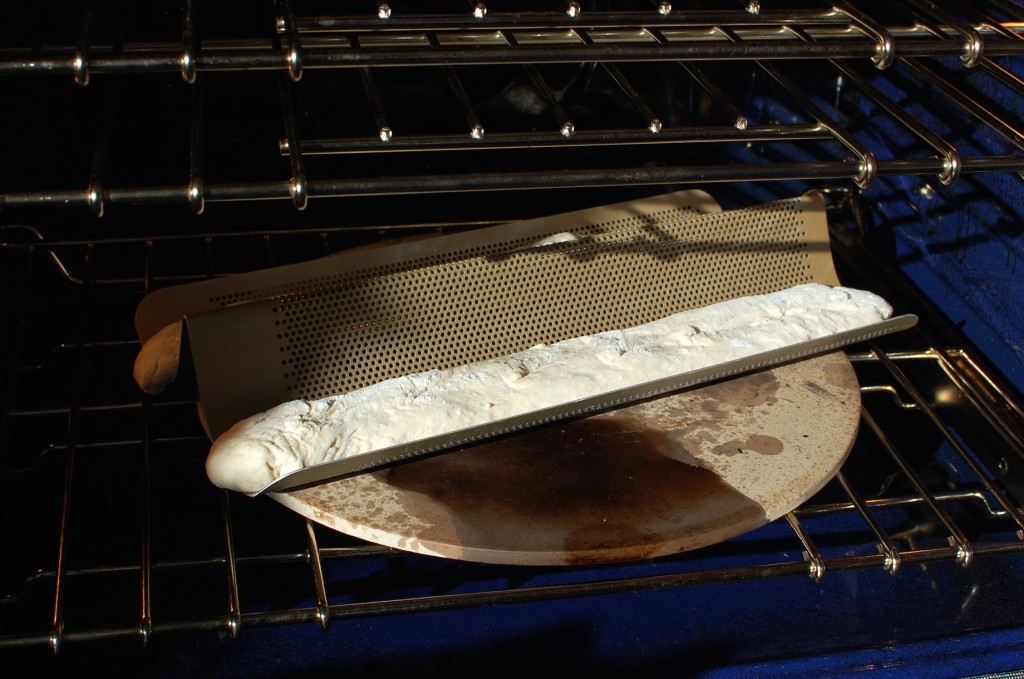
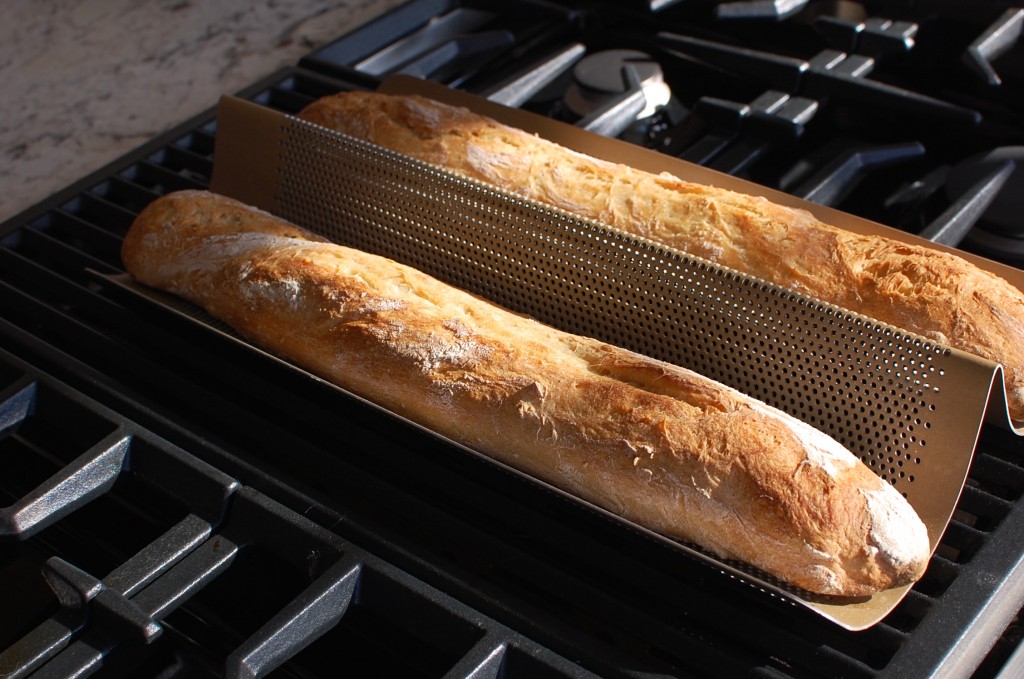
While the round boule shape is easiest, you don’t have to limit yourself to this shape. You can make rectangular batards, or even long baguettes. Here, I shaped two portions of dough into long baguettes. Same technique – just try not to handle the dough too much, make sure the bottom is well-floured, and try to create a smooth surface on the top. If you are making baguettes, it seems to work best if you place them on a perforated metal baguette pan for the rising step and baking step. I got this “Goldtouch Nonstick Perforated French Bread Pan” at Williams-Sonoma for $28. Amazon sells a similar Non-Stick Perforated French Bread Pan for about $19.
7. Let the loaf rise for about 40 minutes, uncovered. It’s ok if the dough doesn’t look like it has risen much – it will rise much more in the oven.
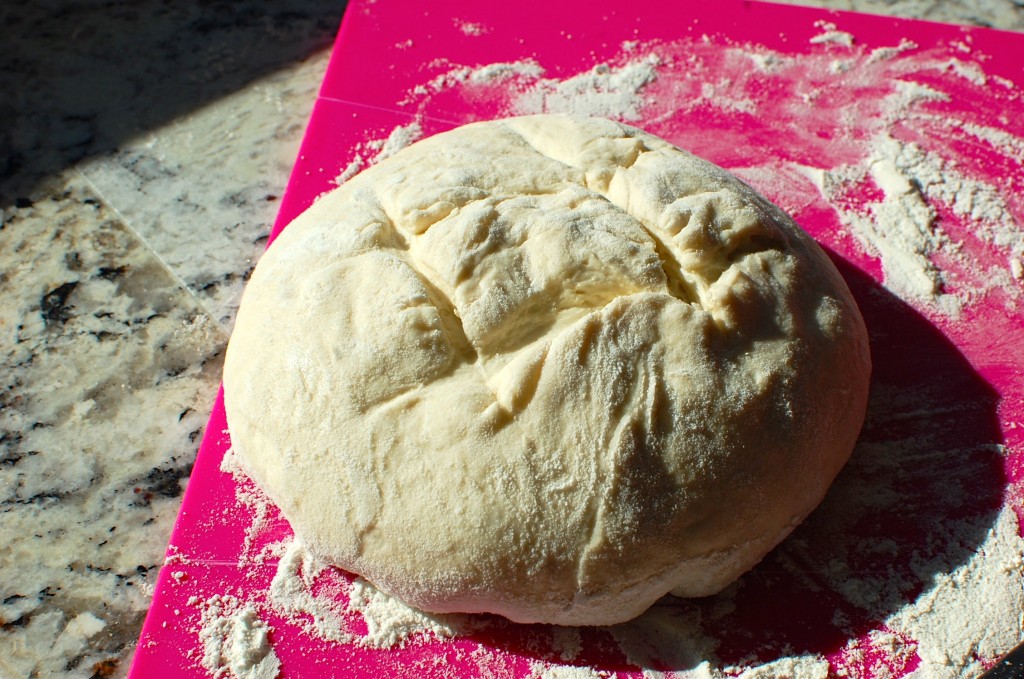
8. Dust the loaf top with some flour, and make some 1/4″ deep slashes in the top of the dough with a sharp knife. The purpose of the scoring step, is to allow the bread to “bloom” in the proper direction when baking. The slashes will guide the direction of expansion. For a round boule, either a cross or a tic-tac-toe pattern of slashes seems to work the best. (You aren’t supposed to drag the knife across the dough and pull it – but sometimes this is inevitable if your hand is unsteady, or if you aren’t really sure how deep you are cutting. It’s ok. If your slashes aren’t perfect, it will be fine… your bread is supposed to look “rustic”, so it’s not a big deal if the surface is imperfect.)
If you are making baguettes, make diagonal slashes down the loaf (see slashes on the loaf to the right, in the photo below).
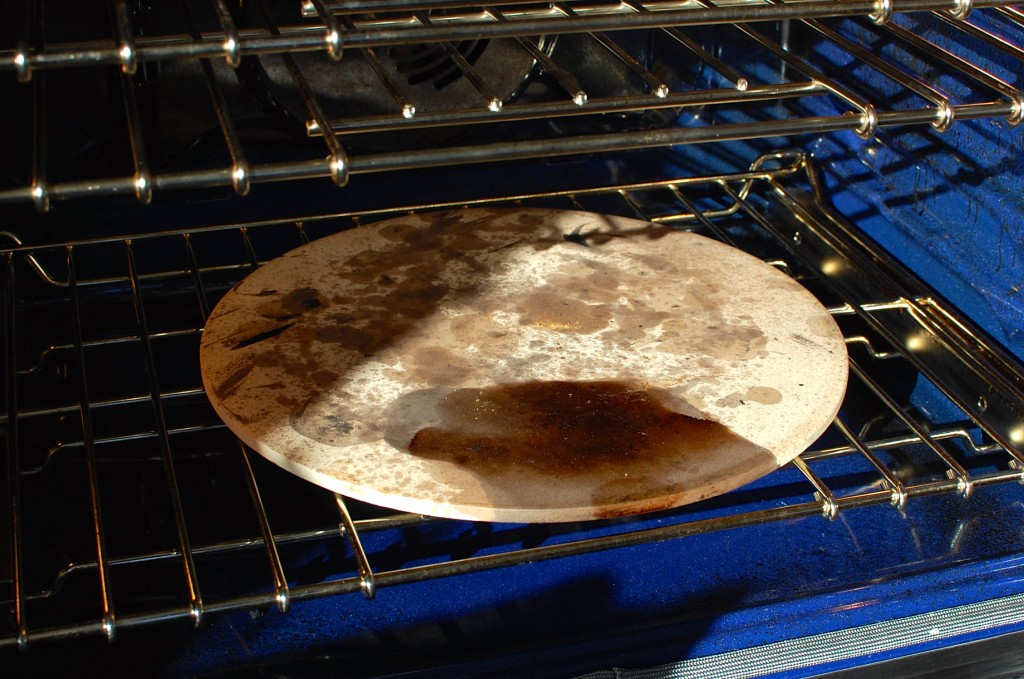
9. 20 minutes into the rise step, preheat the oven to 450 degrees. It is best if you can put a ceramic baking stone or pizza stone into the bottom of the oven – the bread will bake best directly on the surface. (They do get dark and stained over time [see my Ceramic Pizza Stone in the photo below]… this is normal and will not affect what you bake on it.) Even a smooth flat cast iron griddle might work ok. If you don’t have anything like this, then put a thick baking sheet into the bottom of the oven to preheat. (I have found that if making baguettes, a 425 degree oven works best for me – but I still prefer 450 degrees for thicker loaves or boules.)
10. Gently slide the dough directly onto the 450 degree preheated baking stone. Bake boules or loaves for 30-35 minutes, depending on the size of your loaf. The crust will be a deep golden brown when done. (The master recipe calls for adding a cup of water to a pan in the bottom of the oven to create steam during baking. I don’t do this step – knowing me, clumsy as I am, I’ll end up with a steam burn… plus it’s just an extra pan to clean and take care of. I find the bread bakes just fine without the steam – so I always omit this step.)
If you are making baguettes, put the perforated pan directly onto the preheated ceramic baking stone, bake baguettes for about 30 minutes at 425 degrees. **I use a slightly lower temperature for baguettes only**
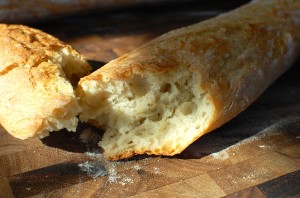
11. Remove the baked loaf and allow to cool. You may hear the crust crackle during the initial cooling step – this is called “sing” and is totally normal. If you can wait until the bread is cool, the texture will be much better. Voila! You have made bread!!!!
12. Store the remaining dough with a vented cover (you can use plastic wrap over a bowl with a few holes poked) in the refrigerator. Use the remaining dough up within 2 weeks.
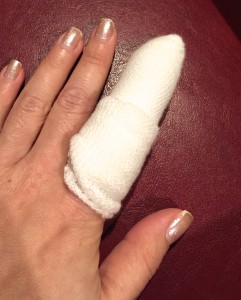
I only have one caveat. If you slice your bread, be careful!!!!!!! I was really tired, and using my nice sharp Wusthof Bread Knife… I sliced some bread… and MY FINGER…. really badly. I stood there in disbelief as the pain surged up my hand into my brain… and AHHHH! My husband had to drive me to the Emergency Room while I clutched my finger in a kitchen towel trying to get the bleeding to stop… I sat there for 3 hours with gauze and green tape wrapped around my finger until they had the time to glue the laceration back down with steri-strips. It didn’t hurt so bad once they injected my finger with some kind of numbing agent – but man did that injection burn and hurt like crazy! Thank goodness I didn’t need stitches! Moral of the story: Make sure your fingers are FAR AWAY from the loaf when slicing!!!!! Don’t make bread just to end up in the ER!
This is why I haven’t posted anything for awhile… it’s hard to cook when you have the use of one hand only!





Hi Mika
Happy New Year. Sorry to heard about your cutting accident. Hope your finger is heal by now. Thanks for all your hard work that you have put into this blog and share with us your knowledge and skills. And more important, thank for always promptly reply our questions regardless of how idiotic or mundane they can be at time. Keep up the good work and I hope to see more of your recipes in 2015. I bet it is hard to cook with 1 hand but it probably just as hard typing this post with 1 less finger.
Haha you’re right! It took me forever to type out that post… it’s funny how you don’t realize how much you use one finger on your non-dominant hand! Thank you for the good wishes… hope you have a wonderful New Year too!
Hi Mika
Love your site. Going to give this a try on the weekend. Got a few questions with the yeast, whats the difference between dry active yeast and just dry yeast. Is it the same thing?
Also if i store my yeast in the fridge, do i need to get it to room temperature before using? How long will it last. I was hesitant picking up a container of yeast and opted for the mini pouches which costed like 10 times more thinking the container I will never be able to use that quickly.
Thanks
Hi there! Most cans of yeast will have an expiration date on it somewhere. Store it in the refrigerator (tightly closed), and your yeast should be good until that date. For me, I just use it cold right out of the refrigerator because most recipes involving yeast will have some kind of “warm up” step (like using warm water, or warm rise location). As for how long will the can last… it’s kind of a calculation with how often you bake. If you bake a lot, then you might save more money buying a can/jar of yeast vs. the small envelopes. If you don’t bake that much, then go for the envelopes.