
(Original Post Date: August 2, 2010)
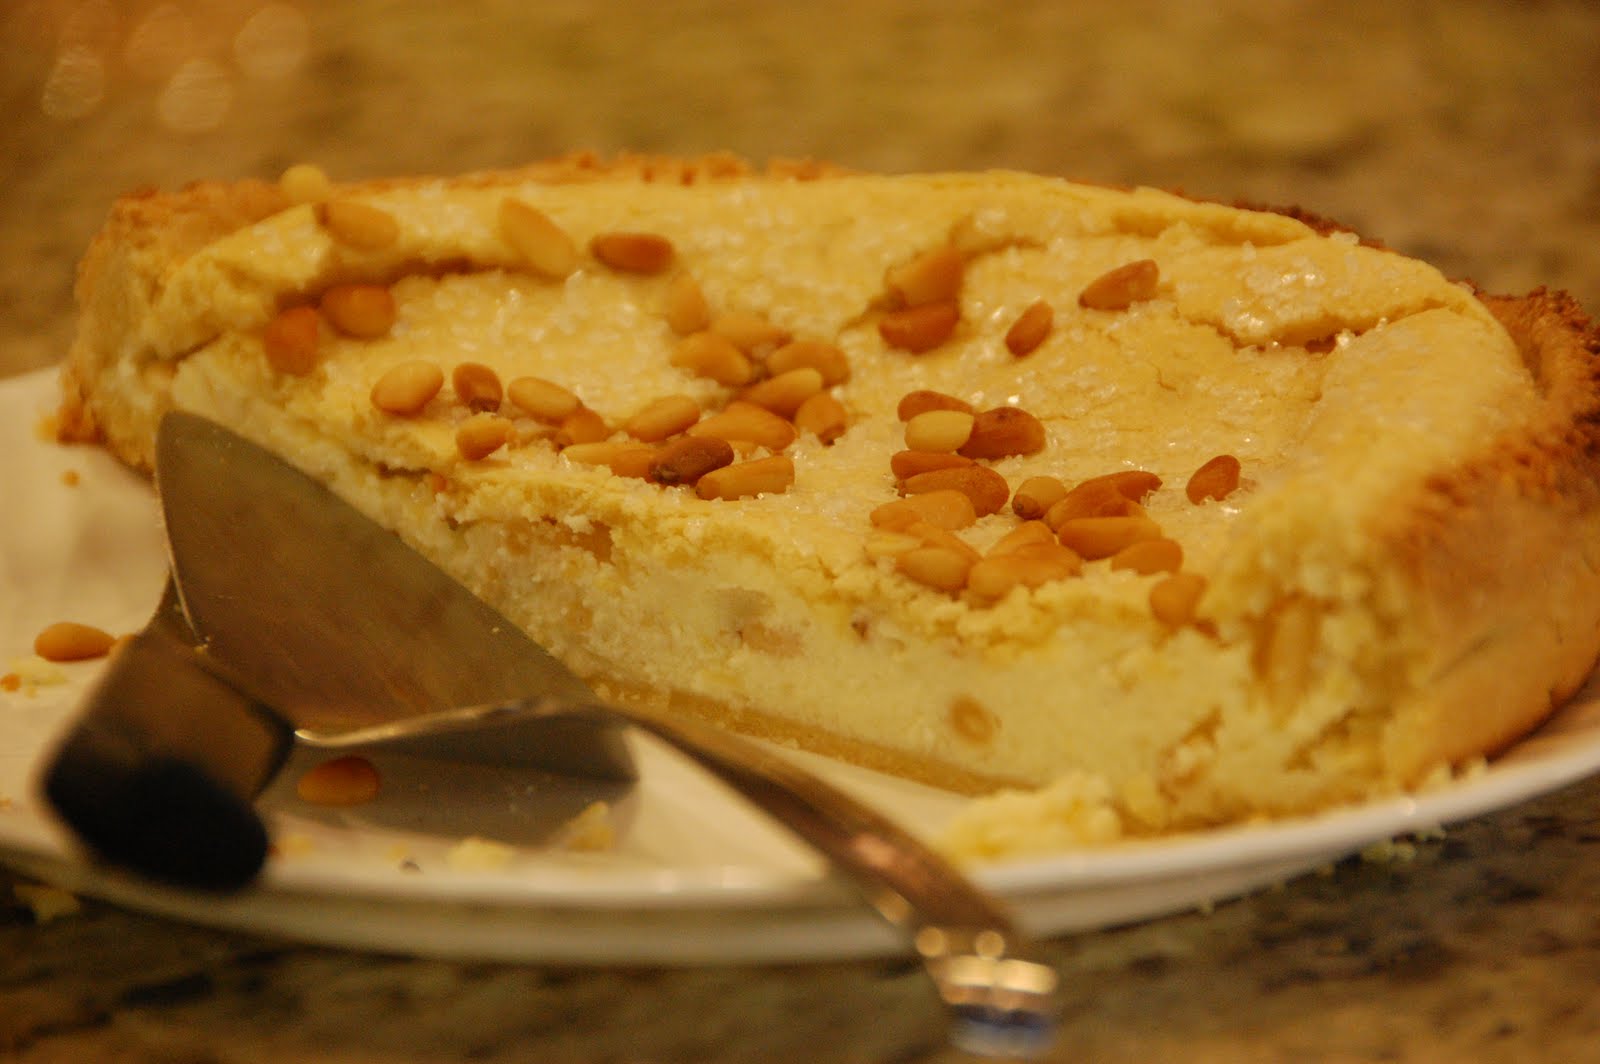
When I was in grad school at UCLA, there was this little Italian restaurant that I used to love to go to… Giovanni’s Trattoria. It was located in a small strip mall on Venice Blvd. and run by two brothers who were originally from Italy. Their food was always fresh, and really delicious… but what kept me going back was the dessert – especially the torta della nonna.
Translated, torta della nonna literally means, “Grandmother’s cake”. One of the brothers (Giovanni’s brother, I think), told me (many years ago) that their recipe came directly from their very own grandmother. Of course, he wouldn’t give it to me, because it was a secret recipe. (!!!*!@??!!!!!!$%!)
The memory of that wonderful Tuscan cheesecake has haunted me over the years… but I think I finally hit on the right combination of ingredients. Doing several online searches, I found that there seem to be two versions of this cheesecake: a cream-based cake, or a ricotta-based cake. Remembering back to Giovanni’s torta della nonna… I remembered a more “floury” cake with ricotta, so I tried to make mine more in that style.
Torta della Nonna:
Crust
- 2 c. flour
- 3 T. unsalted butter
- 3 T. olive oil
- 1 egg + 2 egg yolks
- 1/2 tsp. vanilla
Filling
- 2 eggs + 2 egg whites
- 15 oz. package ricotta
- 1/2 c. sugar
- 1/4 c. flour
- zest of 1 lemon
- juice of 1 lemon
- 1/2 c. pine nuts (+ 1/4 c. extra pine nuts for decorating the top)
1. Place all crust ingredients into the work bowl of a food processor.

2. Pulse to combine until the dough comes together. (It will look like coarse crumbs)

3. Using your hands, knead the dough until it becomes a smooth ball. Allow the dough to rest for 30 minutes.
4. Meanwhile, zest and juice the lemon.

5. Prepare the filling: combine the lemon zest, lemon juice, eggs, egg whites, flour, sugar, and ricotta. Stir in the 1/2 c. pine nuts.
6. Preheat the oven to 375 degrees.
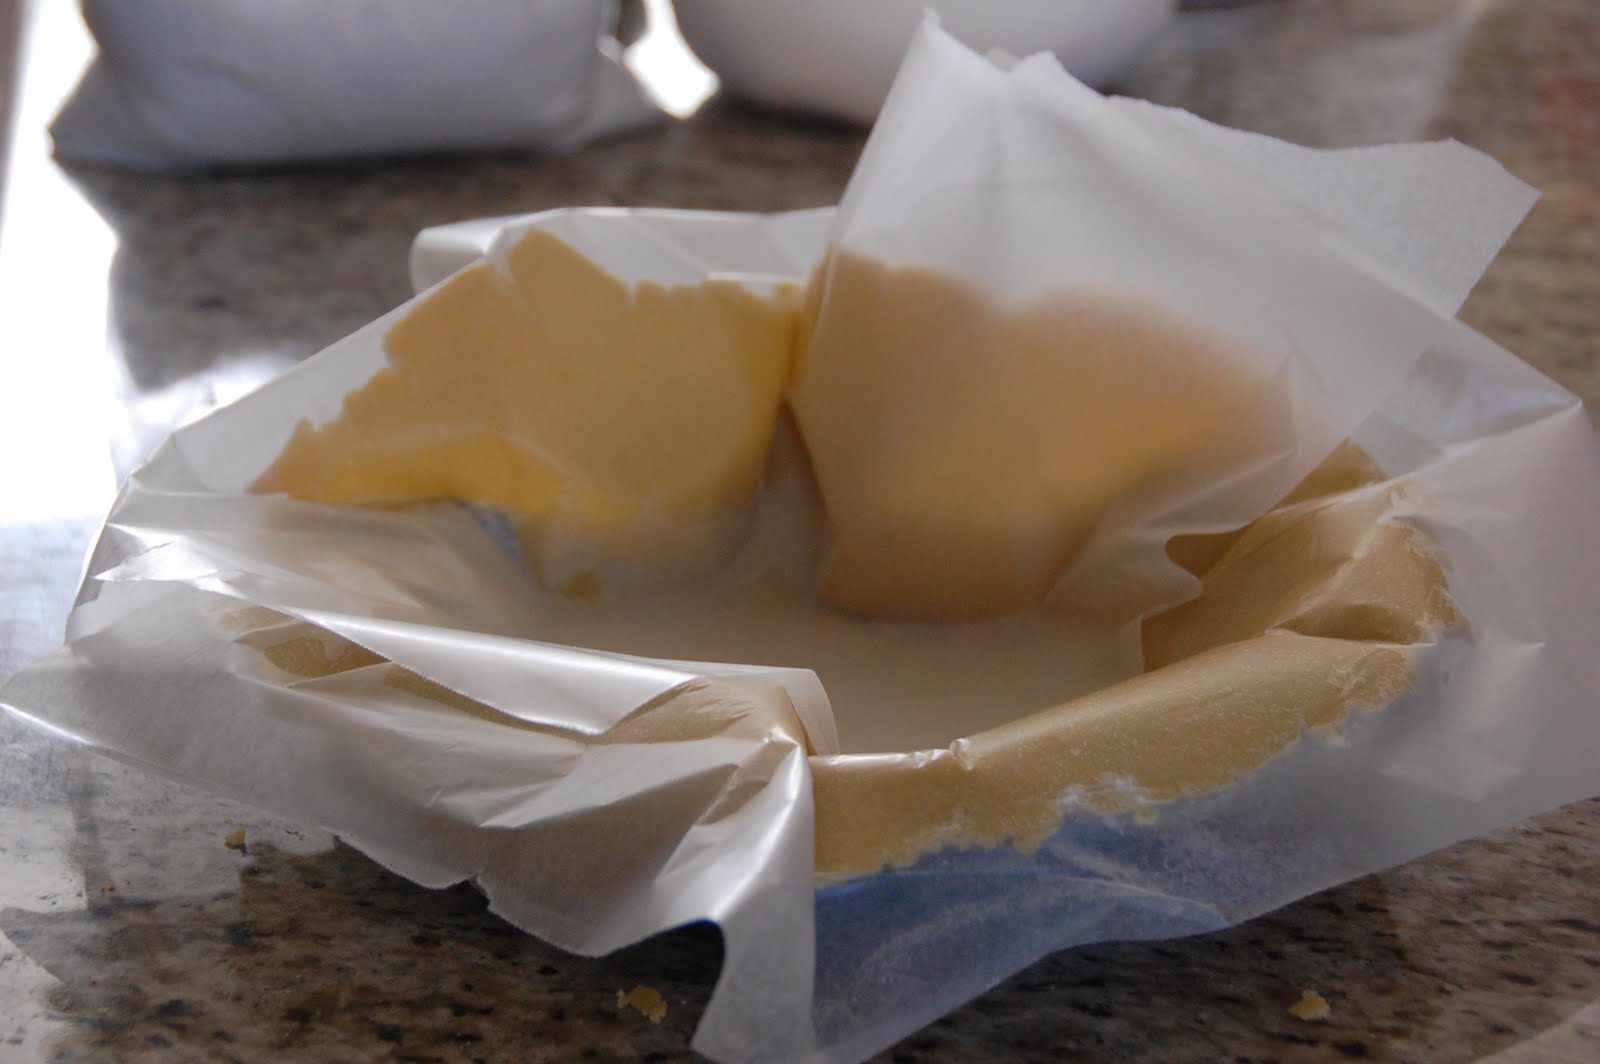
7. Divide the dough into thirds. Take two of the portions of dough, and roll out one large crust between sheets of waxed paper (this will become the bottom crust). Be careful, because this dough is very fragile… it helps to flour the surfaces of the dough before rolling. Using the same technique, also roll out the smaller ball of dough (to form the top crust).

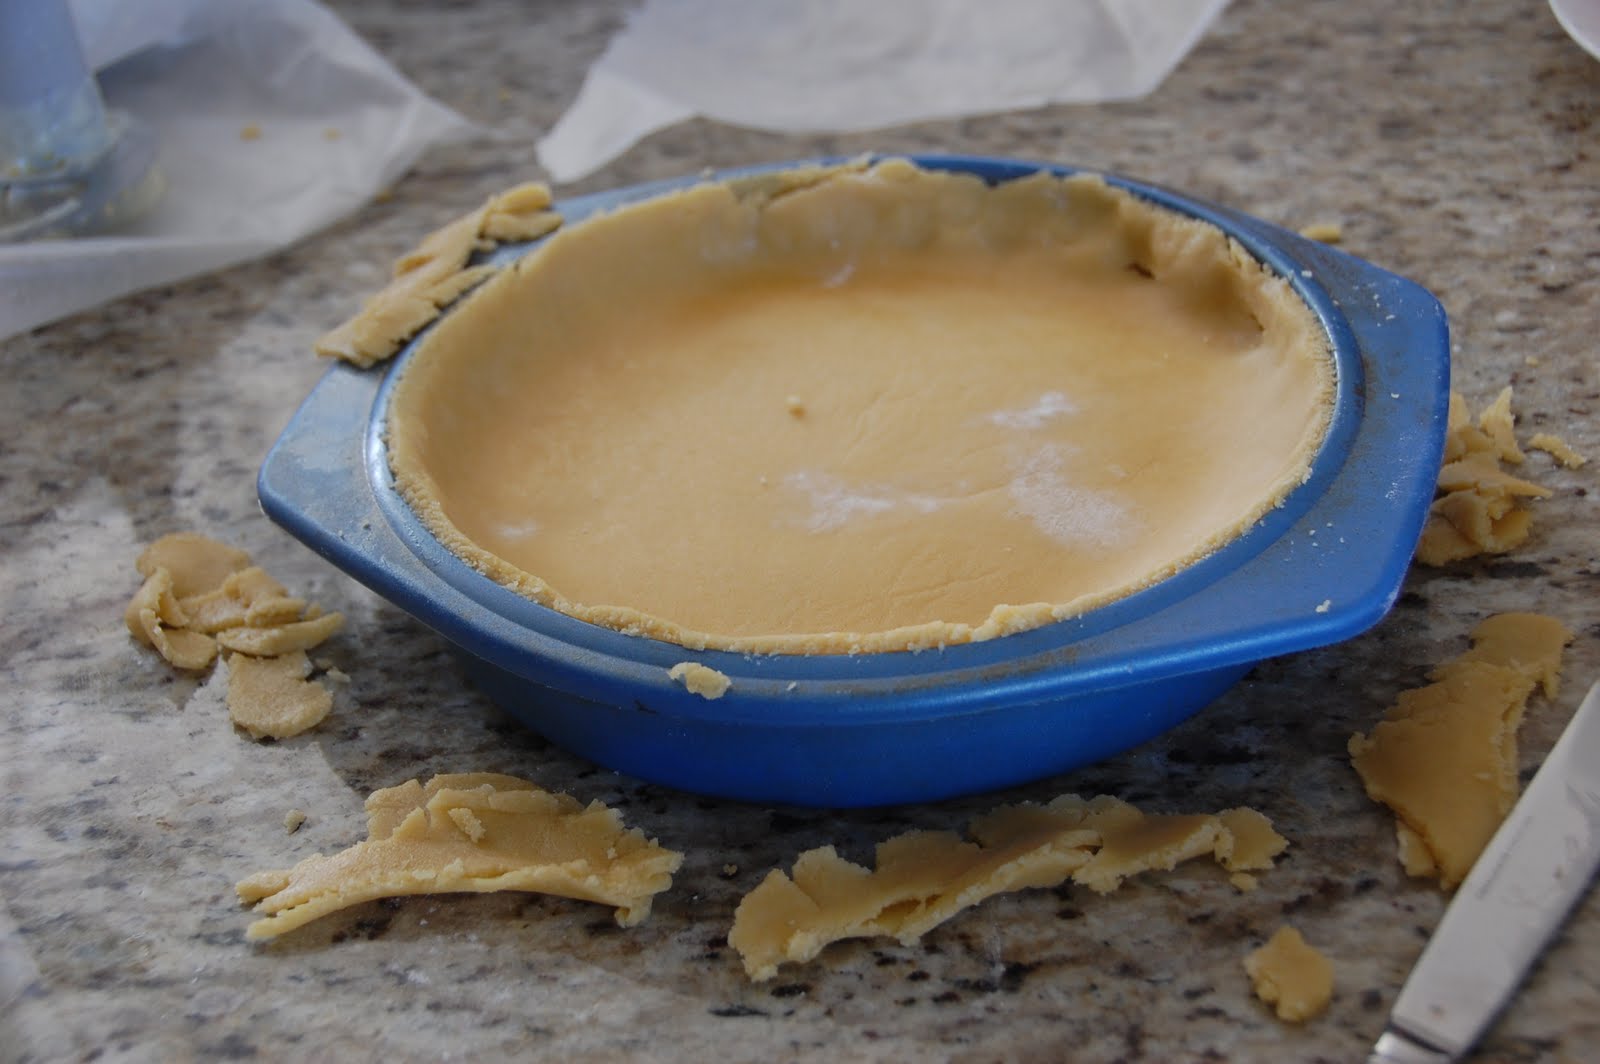
8. Peel the top layer of waxed paper off the large crust, and place a 9 inch pie pan or cake pan inverted on top of the dough. Slide your hand under the dough, and flip the entire thing over so that the crust is now inside the pan. Peel off the waxed paper, and ease the dough into the pan, allowing the edges to overhang.
9. Pour the filling into the crust. Peel the top layer of waxed paper off the top crust, and flip it over on top of the filling. Peel the remaining waxed paper off the top. Using a knife, trim the edges of crust from around the pan.
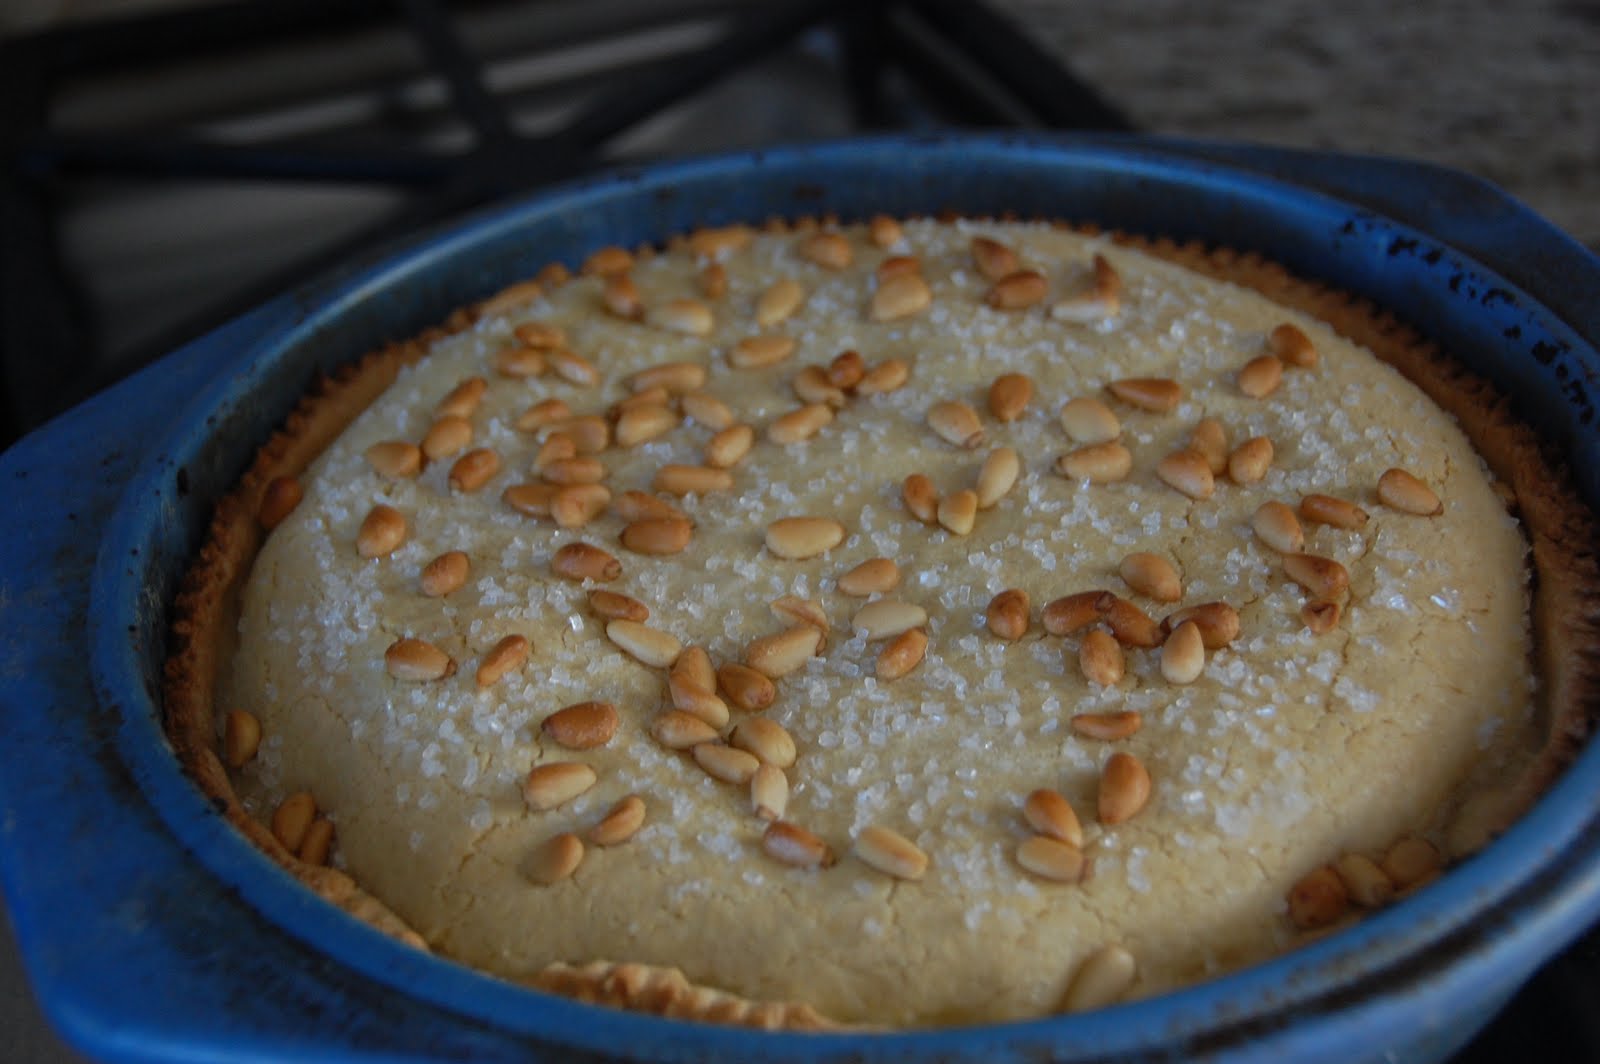
10. Using a fork, crimp the edges of the crust together, pushing the crust slightly downward. Brush the top of the crust with a little bit of water, and sprinkle 1/4 cup of pine nuts over the top. You can also sprinkle some large crystal decorating sugar over the top.

11. Bake at 375 degrees for 35 minutes. The cake will be slightly jiggly when removed. Set aside to cool for 1 hour.
12. Place a rack on top of the cake. Flip the cake over to de-pan so that the cake is now upside-down.

13. Place a plate on top of the cake, and flip over again so the cake is now right-side up.

14. Serve warm or at room temperature. Refrigerate any leftovers.


I just made this recipe without the top crust. I have been making Torta della Nonna for a few years and this one was a definite hit with my family. So many others are too dry or too custardy. I added extra nuts, walnut and pecans in the crust and pistachios and almonds with the pine nuts inside, with very tasty results. It takes well to the additions and my Mother loved it with a spoon of jam. Thank you for a new addition to my recipe book!
Stacye,
I’m so glad you liked it! I’ve spent a lot of time trying various Torta della Nonna recipes over the years, and so far this one is my favorite too. I might try it with jam next time – thanks for the tip!
Hello Mika!
So I made this recipe yesterday for Thanksgiving as an alternative to the standard apple and pumpkin pie fare. This was definitely a hit! The lemon flavor is super, and the use of ricotta was a nice change-up from other cheesecakes as well. The crust was new to me, and thus difficult to work with. I managed decently so even a baking newbie like me can make this! My only tiny thing is I was hoping for something sweeter so I’ll probably throw in a Tad more vanilla to the crust, and maybe some sugar to the ricotta mixture. The dish was still fabulous, I just personally want a little more of a sweet flavor.
I have used SO many of your recipes since first baking the Milk Bread and they’re always a huge success. so thank you very much for sharing!
Hi Caitlin! I’m so glad you liked it! Yay!!! The crust is rather delicate… but even if it tears or cracks, it still looks nice and tastes the same. Since posting the recipe, I have found that sometimes it is a bit easier to roll the dough out onto a piece of saran wrap rubbed with just a drop of cooking oil (less sticking, and easier to peel off compared to waxed paper – but waxed paper works too!).
Next time that I make this I’ll give that a whirl. The wax paper was a bit trying to work with.
Mika, what do I do with the 1/2 cup of pine nuts? Can only find referrence to the 1/4 cup decorations. Did I miss something?
Thanks, Lorraine
Sorry – it looks like I forgot to mention the 1/2 cup pine nuts gets stirred into the filling.