Every now and then, I liked to make a double batch of Lasagna from scratch – one pan to bake for dinner, and one pan to freeze for a busy time in the month ahead. I buy ground beef at the market when it goes on sale, then freeze the packages and defrost when needed. The last time I went to the market, the ground beef was all “marked down for quick sale” – so each package ended up being close to $1.75/lb (…not bad considering that the current price is about $3.99/lb around here).
What prompted me to make lasagna this time, is that I had a carton of milk and heavy cream in the refrigerator that was going to expire soon – so I made a big (double batch) of homemade ricotta cheese. You can easily make fresh ricotta cheese at home if you like, but if you don’t want to – no problem – just buy a big tub of ricotta at the supermarket and use that instead.
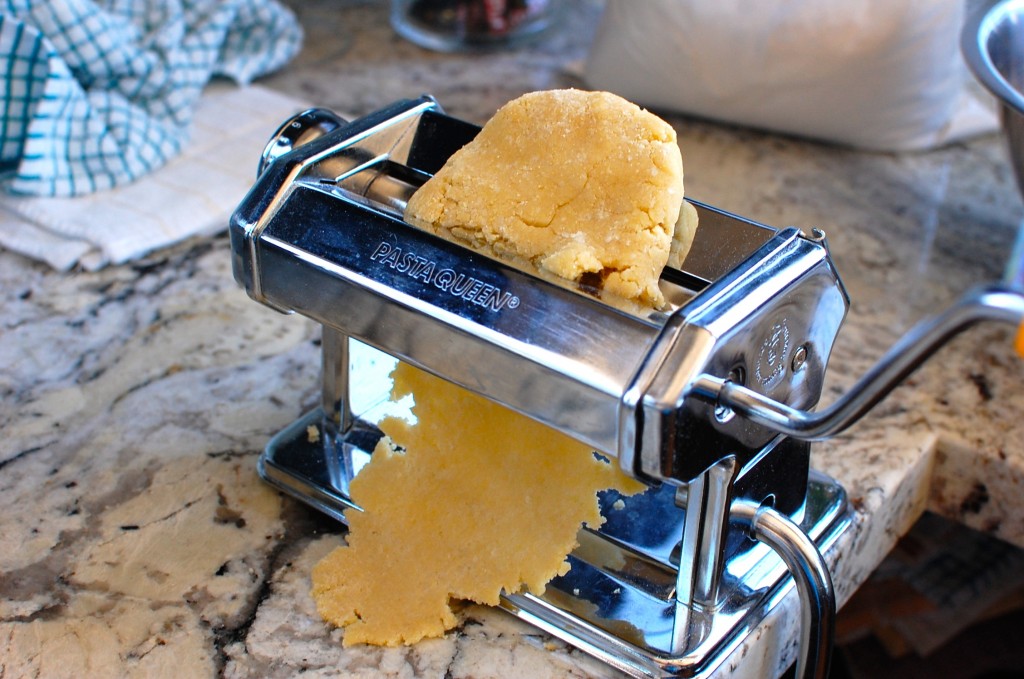
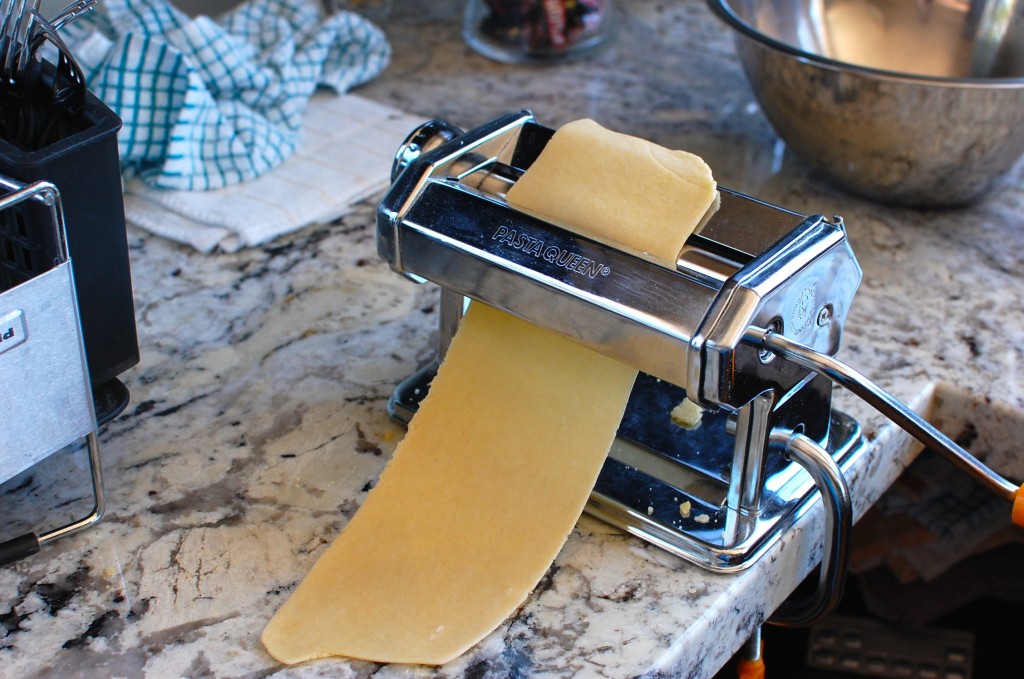
I make my lasagna noodles from scratch, because it takes almost no time, and since you layer the uncooked noodles into the lasagna – it makes assembling/cooking the lasagna really easy. If you don’t feel like making your lasagna noodles at home, just use cooked lasagna noodles from the store instead. But if you are health/ingredient conscious, or on a budget, consider learning to make your own pasta at home. It’s easy, economical, and you can control the ingredients that you put in the pasta – plus it tastes better! I got my hand crank pasta machine for $19.99 in the mid 90′s… I’ve been using it ever since, and it’s still as good as new. The price hasn’t gone up that much in the last 20 years… I found almost the same Pasta Machine online for about $28. (It looks identical, down to the plastic hand crank handle.) With these metal hand crank pasta machines, you can fit the handle in either side of the device (so it’s interchangeable for right and left handed people), and the main pieces are easy to attach and detach for storage. Just clamp it onto your counter top, and roll out your pasta! The pasta dough is very easy to make – just throw flour, an egg, some olive oil, and a bit of water in the food processor and there you have it! You roll out the dough into large sheets, then if you like, there is a separate attachment to cut the pasta sheets out into either thin spaghetti noodles or wider fettuccine noodles. The large uncut sheets can be used to make lasagna, ravioli, tortellini… you can even make wonton or gyoza wrappers from scratch.
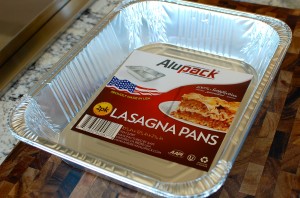
For lasagna, I prefer to use foil lasagna pans because they are great for the freezer (and also for sharing – it’s easier to give away a meal in a disposable pan). The 99 Cent store sells a two pack of lasagna pans for $0.99 – which is a pretty good price (it’s much more expensive at the regular supermarket). My recipe makes enough lasagna to fill two of these disposable pans, so make sure you read the instructions carefully – the ingredients in each step are meant to be divided between the TWO pans, not just in one pan. You can bake one for now and freeze the other for later (like I do), or bake all at once if you have a large group of people to feed.
Lasagna Noodles:
- 2 c. flour
- 2 T. olive oil
- 2 eggs
- 1/2 tsp. salt
- 1-3 T. water
Lasagna Filling:
- 3 lbs. ground beef
- 1 tsp. salt
- 1/2 tsp. pepper
- 5 cloves garlic
- 2-3 c. diced tomatoes
- 6 oz. can tomato paste
- 3 (24 oz.) cans/jars spaghetti sauce
- 4 c. ricotta cheese
- 1 c. grated parmesan cheese (divided)
- 2 c. shredded mozzarella cheese
- salt, pepper, sugar to taste
- 3 T. chopped fresh basil (or 1 T. dried basil)
Hardware needed:
- Pasta Machine
- 2 foil lasagna pans
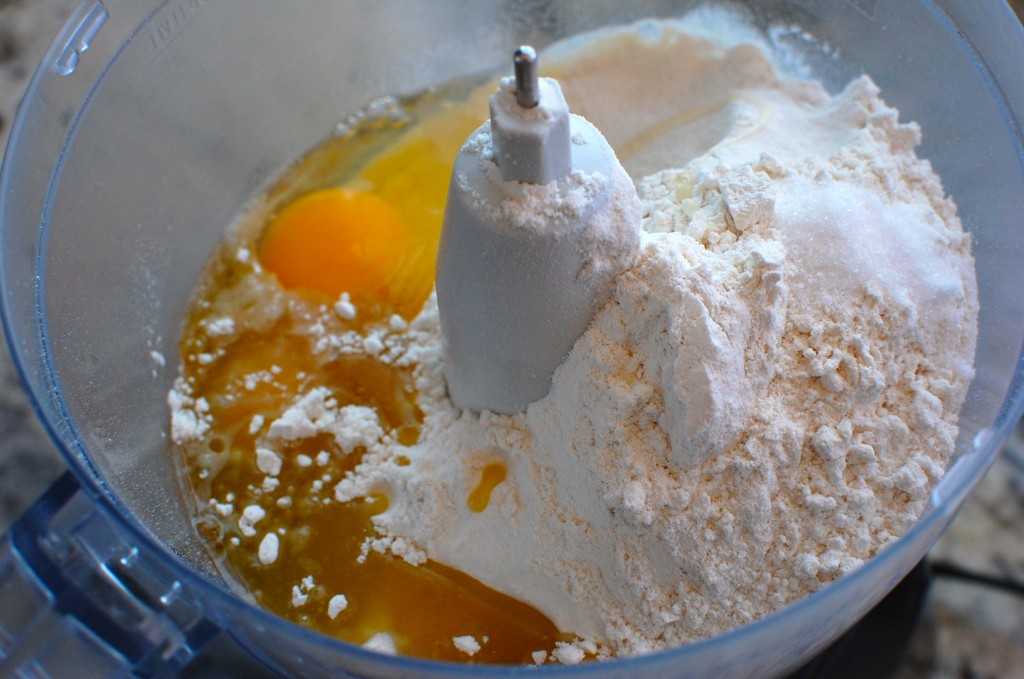
1. First you will need to make the fresh lasagna noodles. Pulse the flour, oil, eggs, and salt into the work bowl of a food processor.
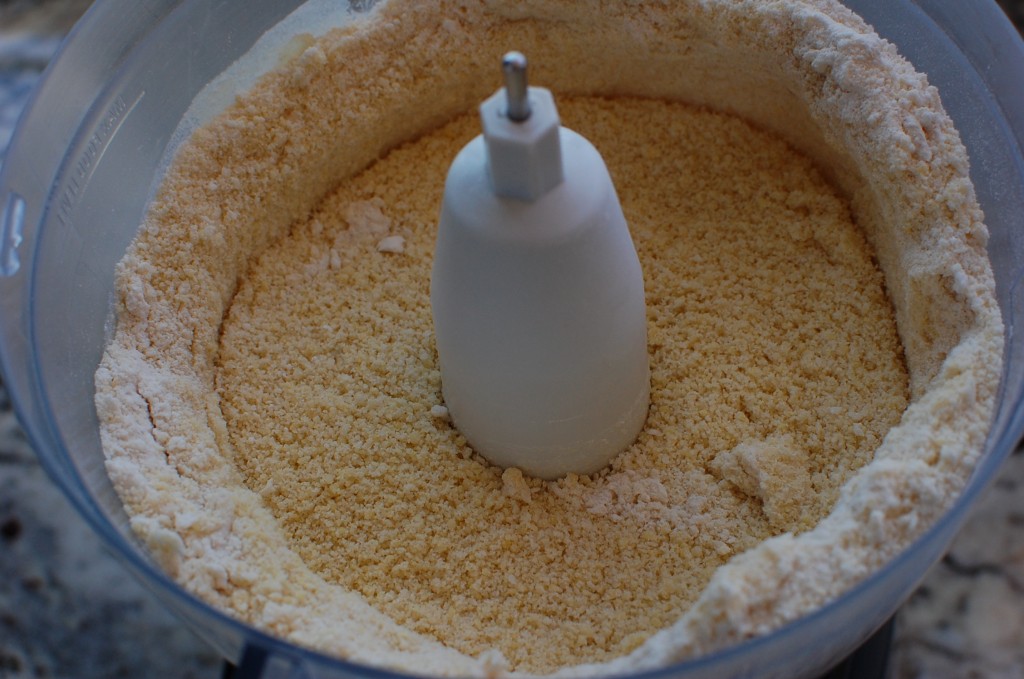
2. Once you have fine crumbs – similar to couscous – take a pinch of the pasta mixture, and press it together to see if it sticks together, or if it is dry and crumbly. If too dry and crumbly, add 1 T. water at a time, pulsing in between, until the dough holds together without crumbling.
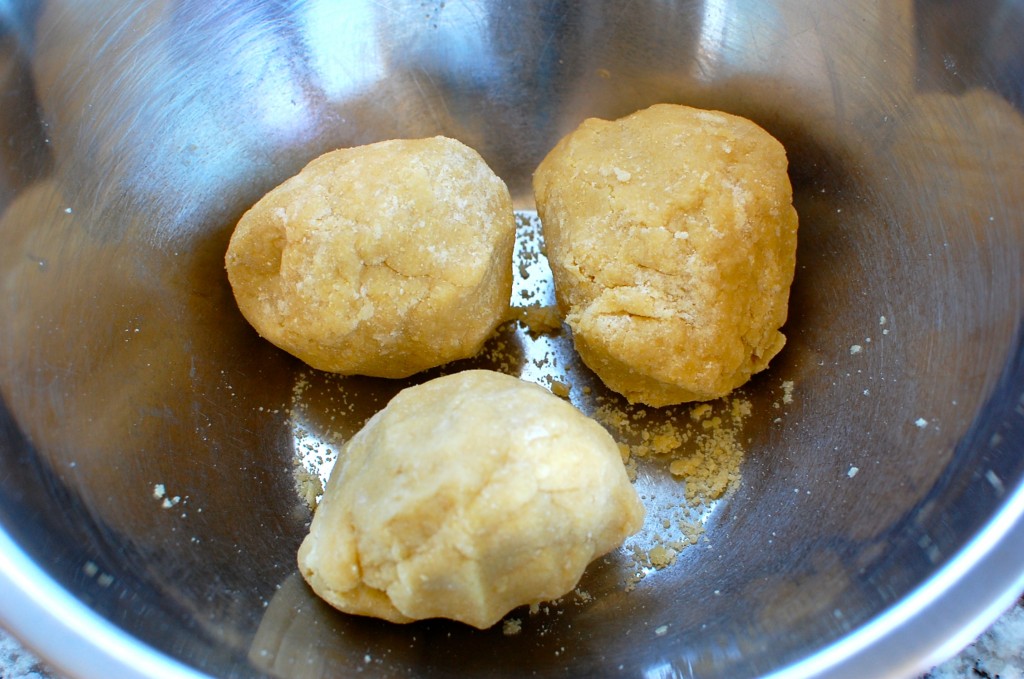
3. Form 3 balls of dough, then set aside to rest (cover with damp cloth) for 20 minutes. (This will allow the flour granules to hydrate.)
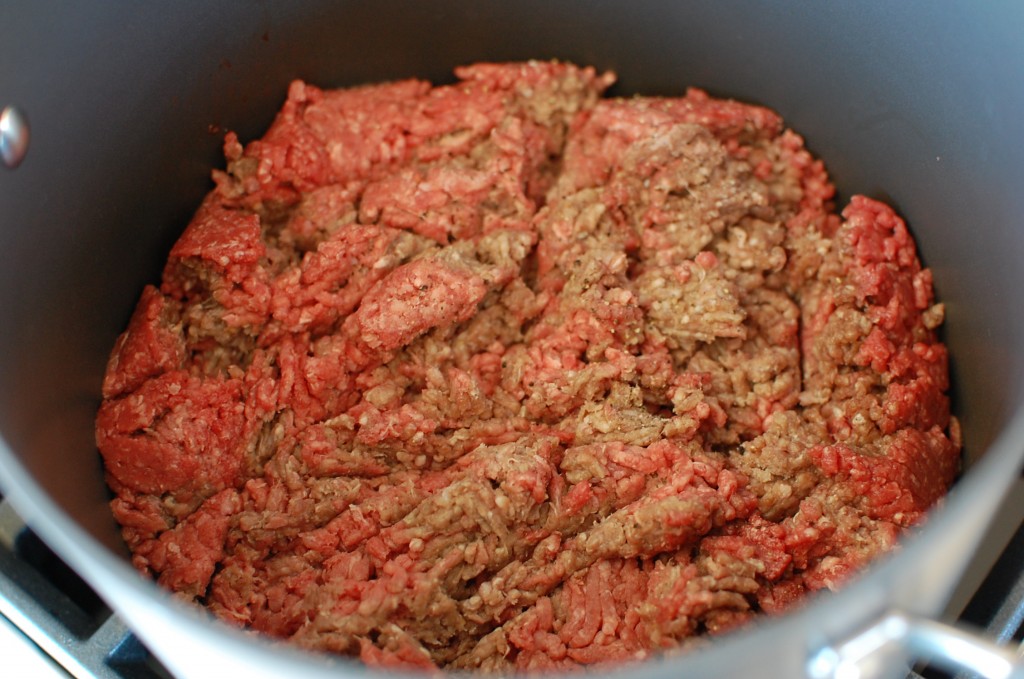
4. Meanwhile, make the meat filling. Season the raw ground beef with the salt and pepper, then brown & crumble in the bottom of a large pot over medium high heat.
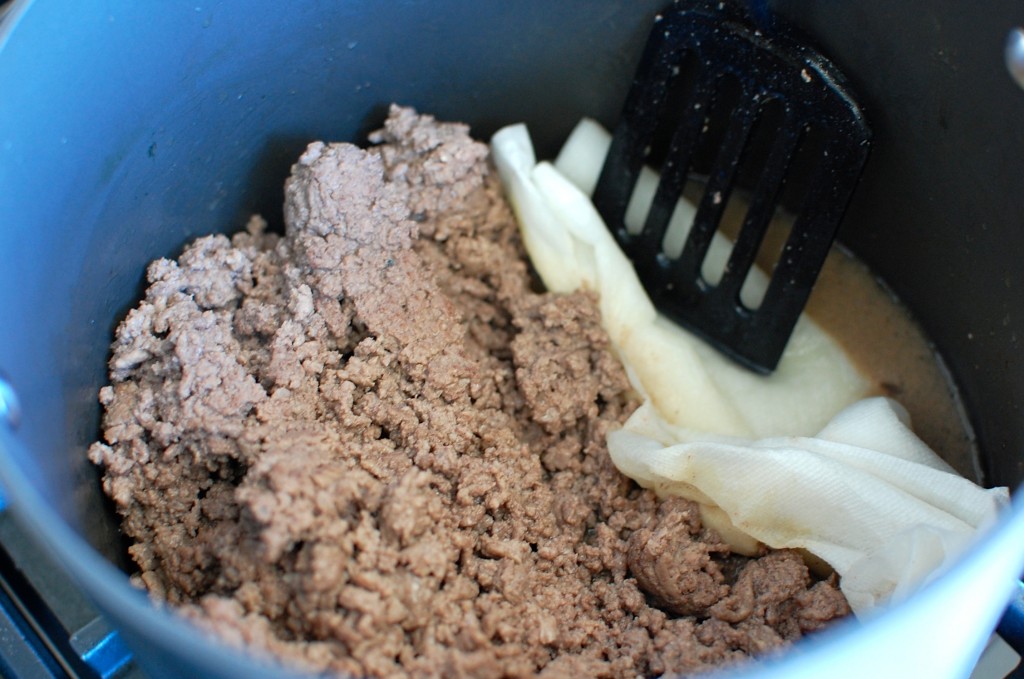
5. Once the ground beef is fully cooked, drain off the grease. (I usually just shove wads of paper towel into the side of the pot to soak up the grease.)
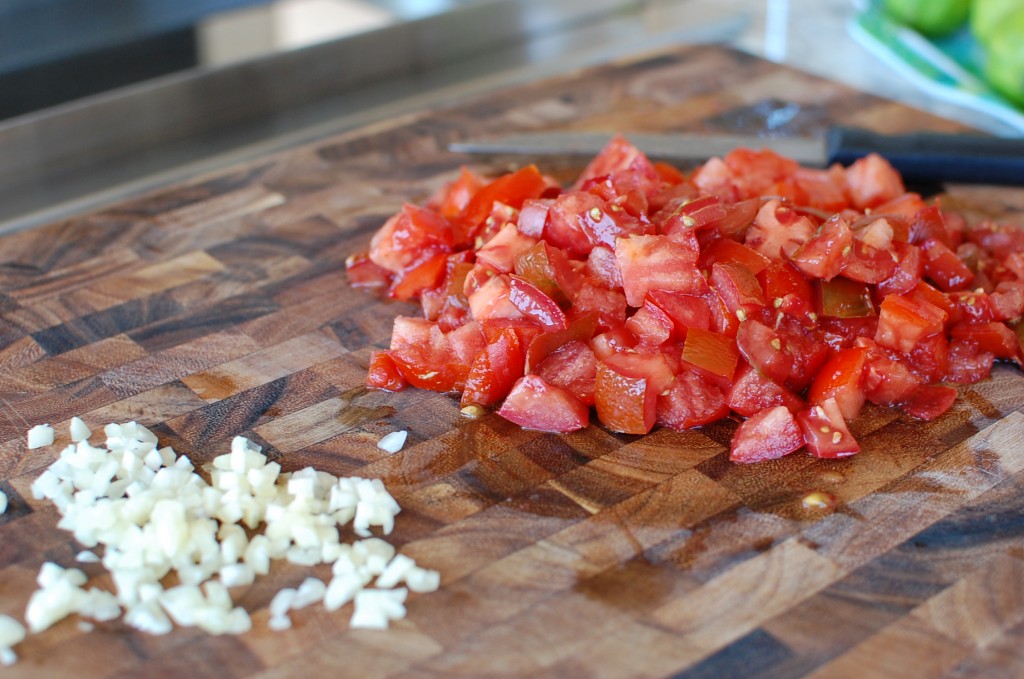
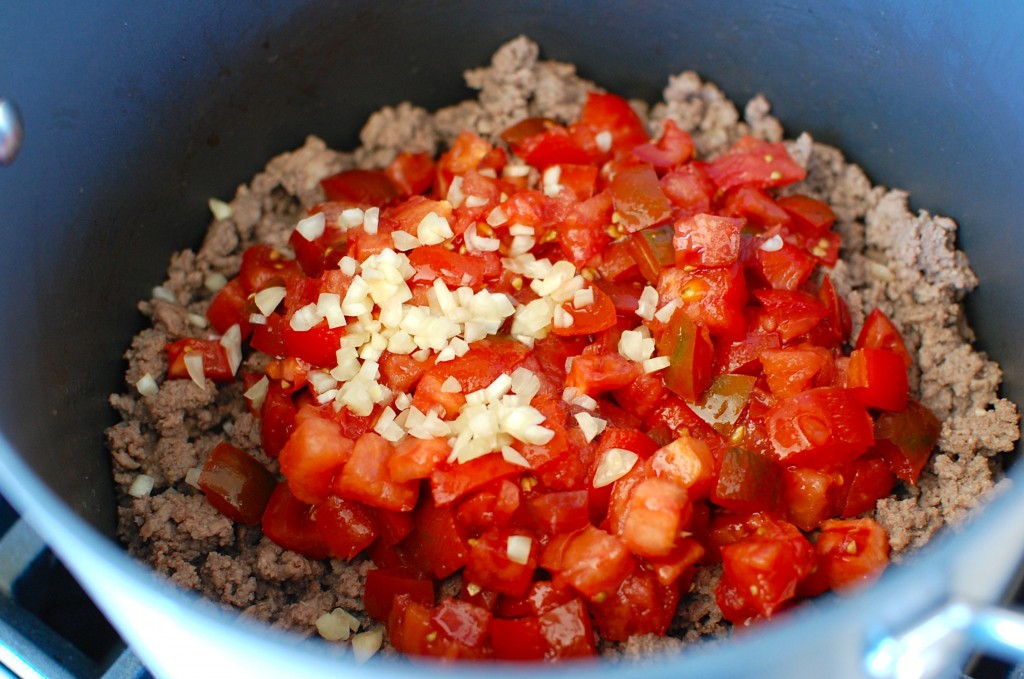
6. Dice the tomatoes (you will need about 3-4 large or 7 medium sized tomatoes to make about 3 cups – but it does not need to be exact…), then mince the garlic cloves.
7. Add the tomatoes and garlic to the pot, and cook for about 5 minutes or so.
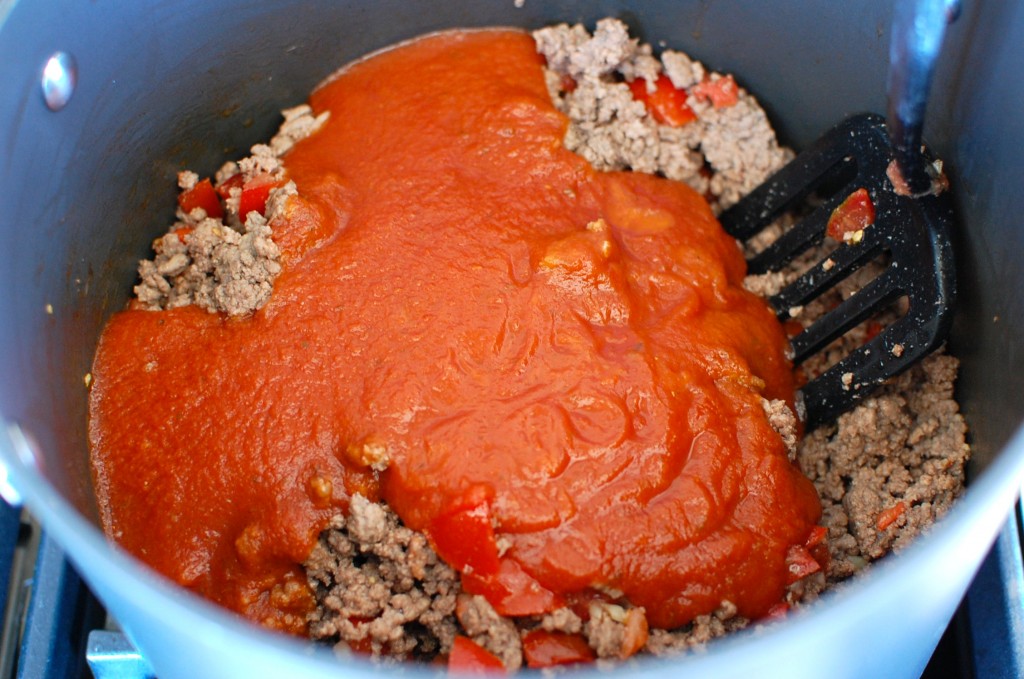
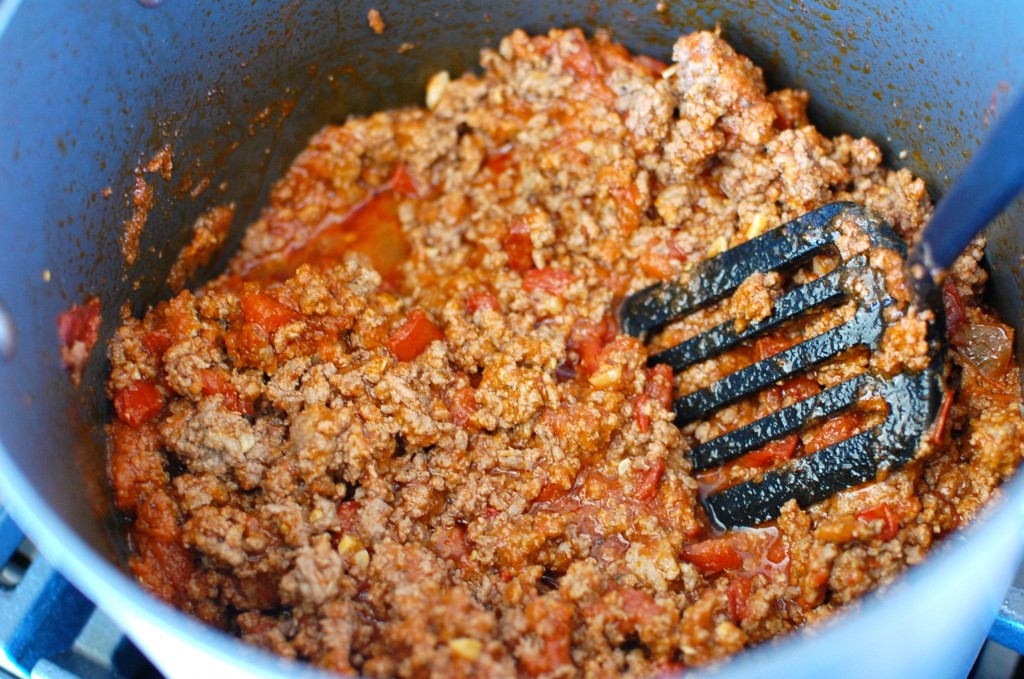
8. Add the tomato paste, and 1 jar/can of spaghetti sauce. Mix together and simmer over low for 30 minutes (covered).
9. Once done, taste and correct the seasonings. Add additional salt and pepper if needed, and a pinch or two of sugar to counteract the acidity of the tomatoes (if needed). You can also stir in about half of the chopped fresh basil at this time.
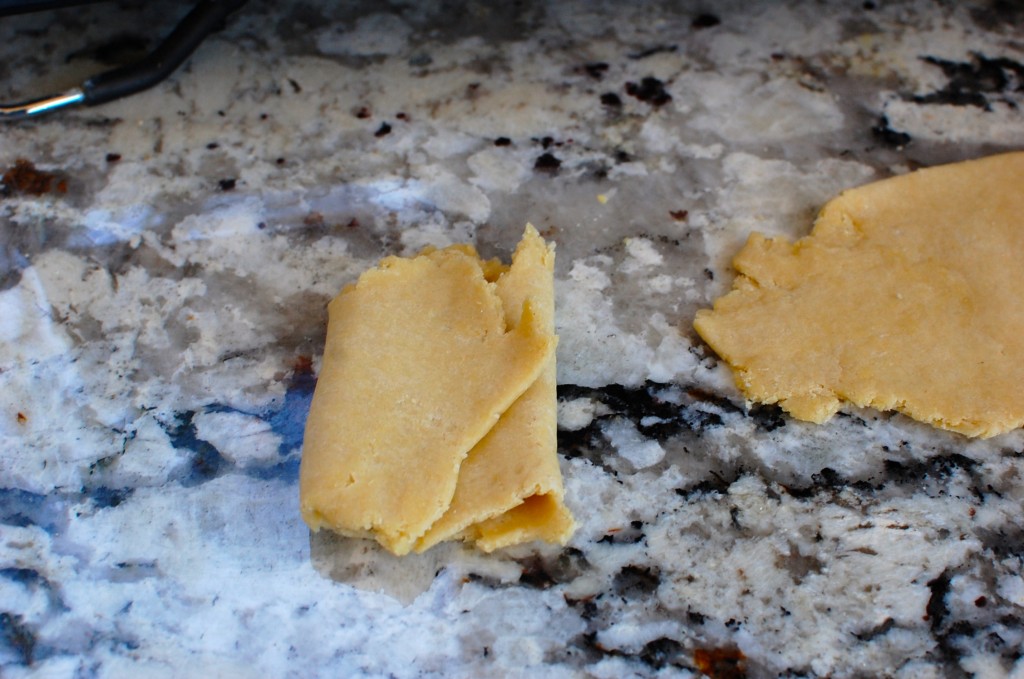
10. Your 3 balls of pasta dough should be rested by now. Flatten each ball of dough with the heel of your hand as much as possible. Run each flattened dough piece through the pasta machine on its thickest setting. (The first time you do this, it will be really ugly).
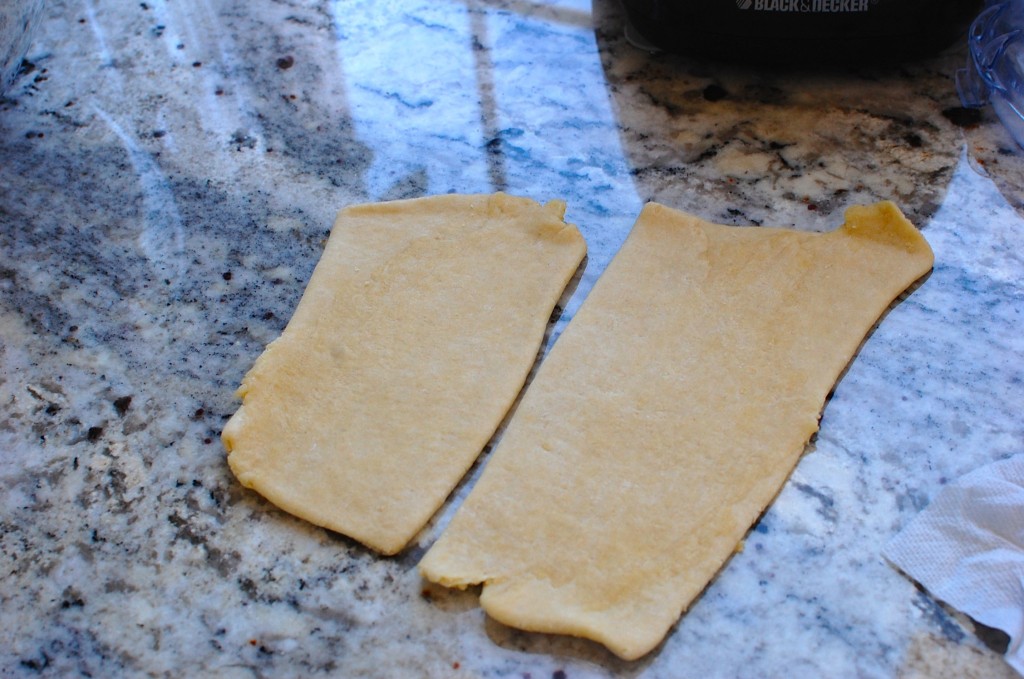
11. Once the first flattened ball of dough has come through the pasta machine on the first pass, you will want to divide what comes out into 2 pieces. Fold those pieces like a letter – two sides in over the center – then run those pieces through the machine again to smooth out. You may need to do this several times until each piece is smooth. Repeat for the other 2 balls of dough.
12. At this point, you should have 6 thick rectangles of dough. You will now want to change the setting on the pasta machine to the next thinnest setting. Run each piece through again to thin.
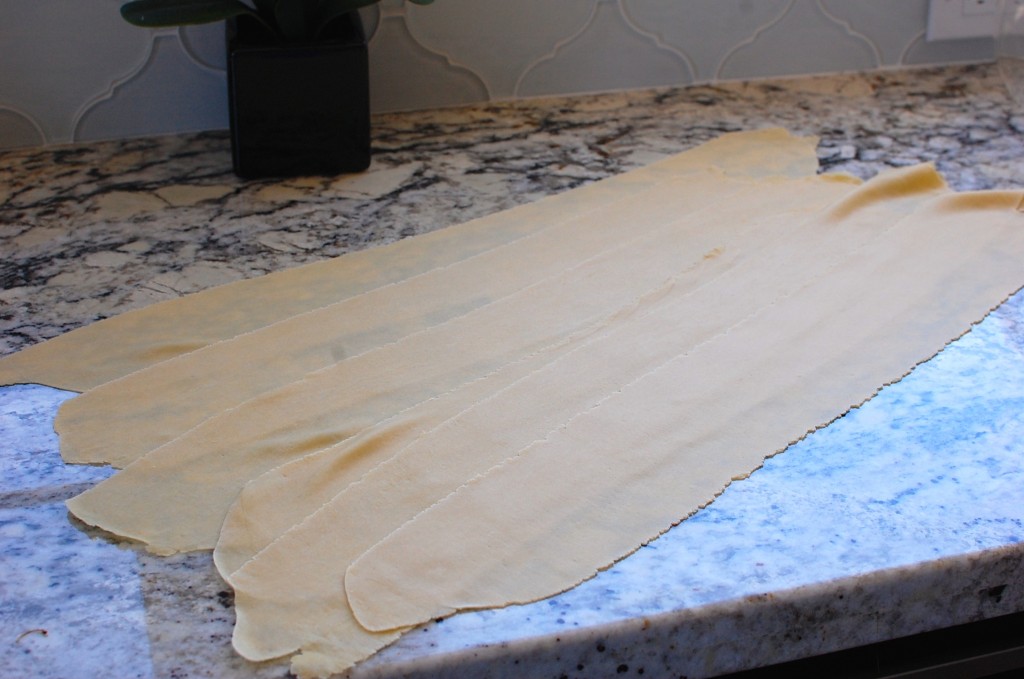
13. Then, change the setting on the pasta machine again to the next thinnest setting and run each piece of dough through – continue this process of thinning out the pasta sheets until you have large sheets that are fairly thin. I usually go for the second thinnest setting as an endpoint. You should now have 6 large sheets of lasagna noodles.
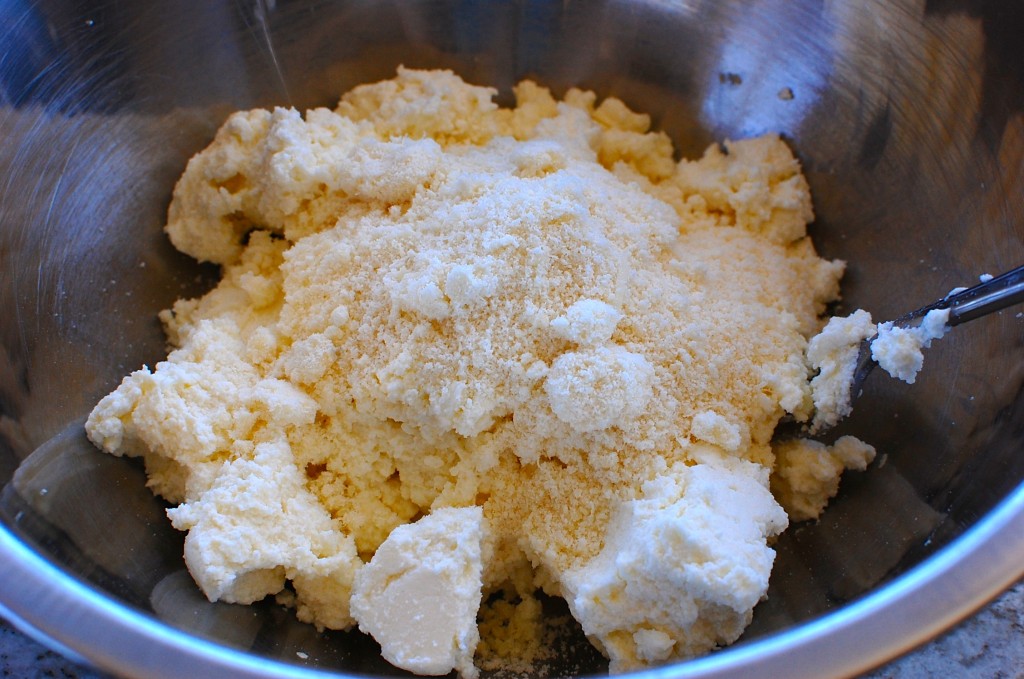
14. Mix 1/2 c. Parmesan cheese into the ricotta. If you would like to make your own ricotta cheese at home, you can try my easy recipe.
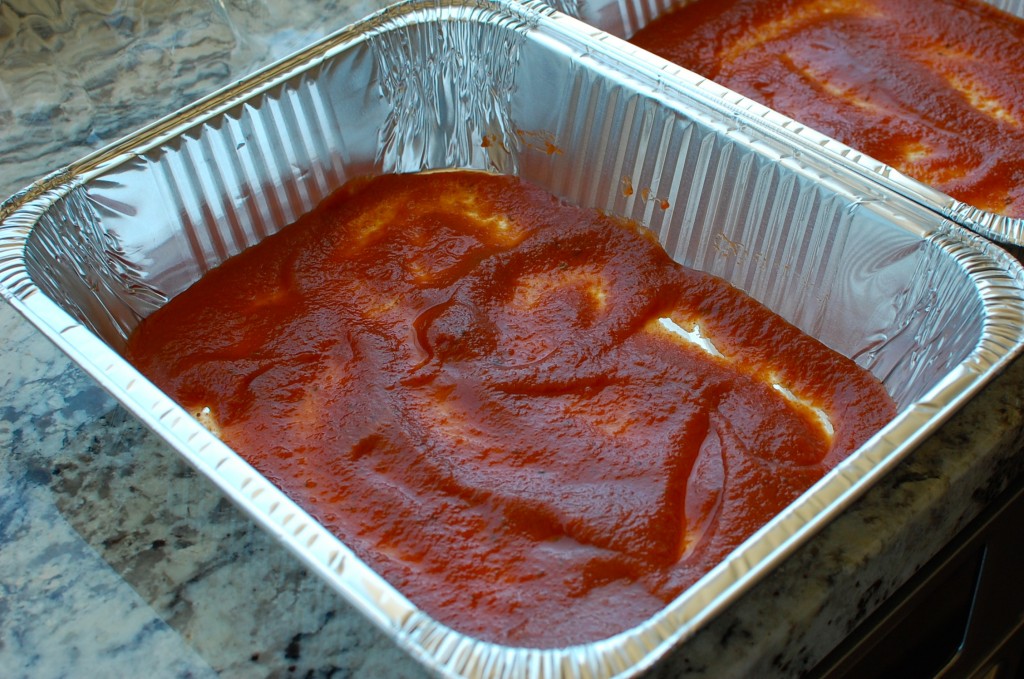
15. Open the two remaining jars/cans of pasta sauce, and divide 1/2 of one jar over the bottom of each lasagna pan. Spread it out with the back of a spoon. (You will be dividing the 1/2 of the jar between the TWO pans, for 1/4 jar in one pan, 1/4 jar in the other pan.)
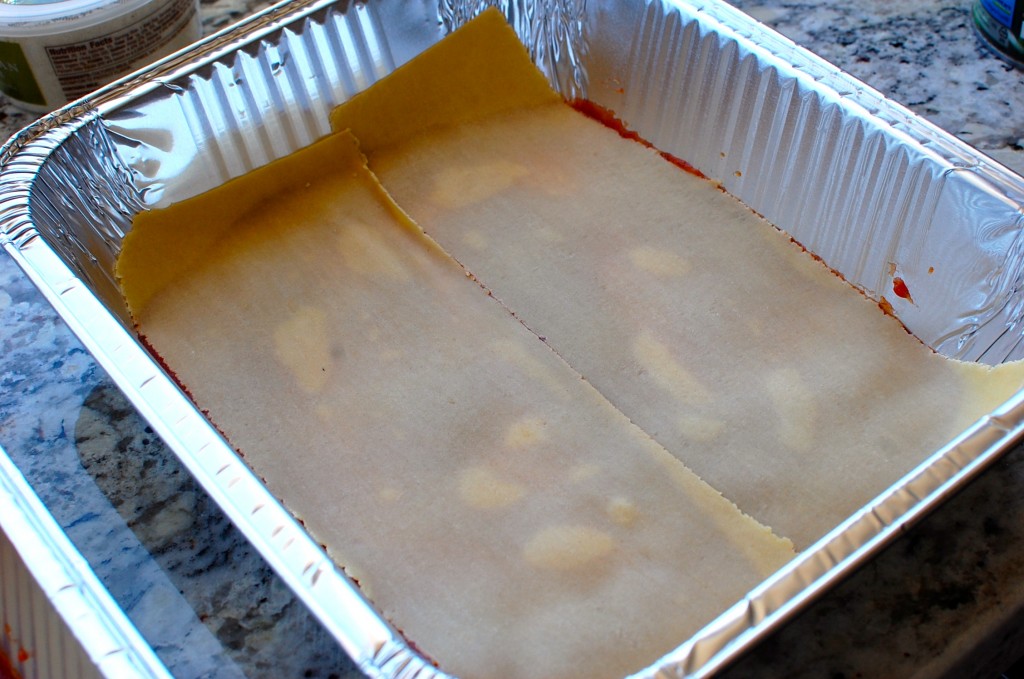
16. Take two sheets of lasagna and cut them in half. Line the bottom of each lasagna pan with the noodles.
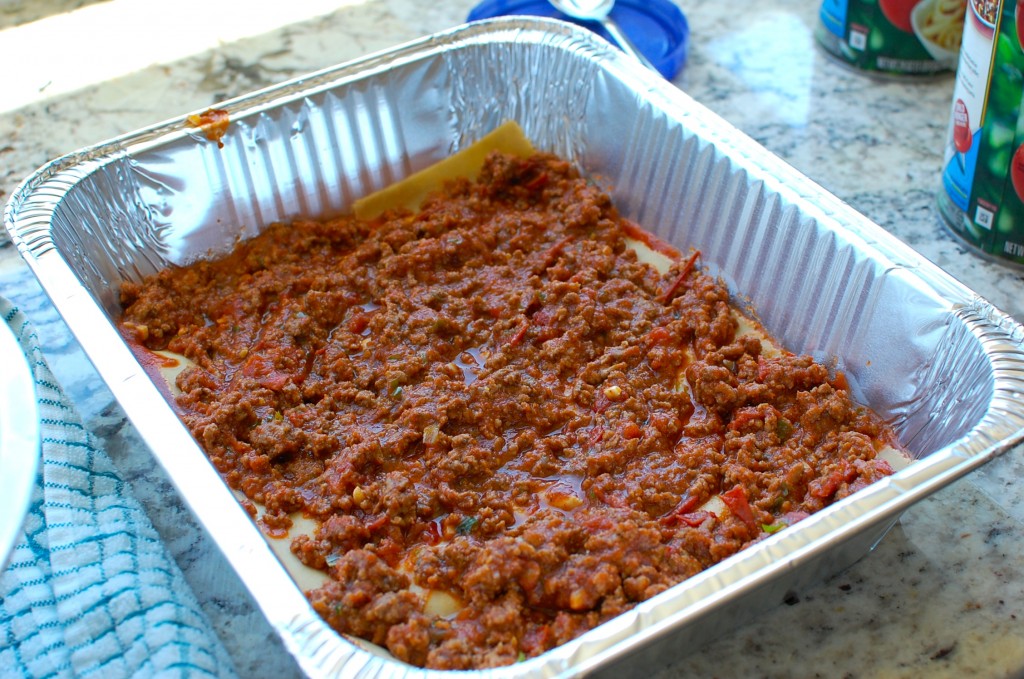
17. Spread half of the meat filling over the first layer of lasagna noodles in both pans. (Dividing the meat so that 1/4 of the entire meat mixture is over the noodles in one pan, and another 1/4 of the meat mixture is over the noodles in the second pan.)
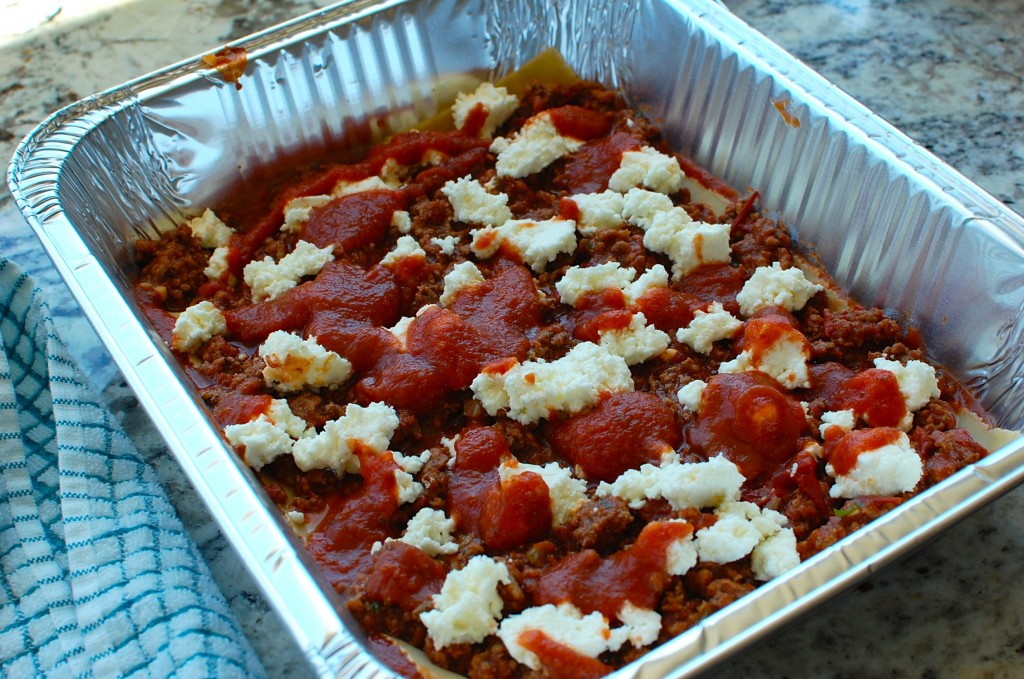
18. Top the meat filling with half of the ricotta filling, then spoon 1/2 of one jar of pasta sauce over the ricotta (Remember – you are dividing the ricotta and 1/2 of a jar of sauce over the TWO pans of lasagna).
19. Top with a second layer of noodles, the other half of the meat mixture, the other half of the ricotta filling, and another 1/2 jar of pasta sauce (Again, to be divided over the TWO pans of lasagna).
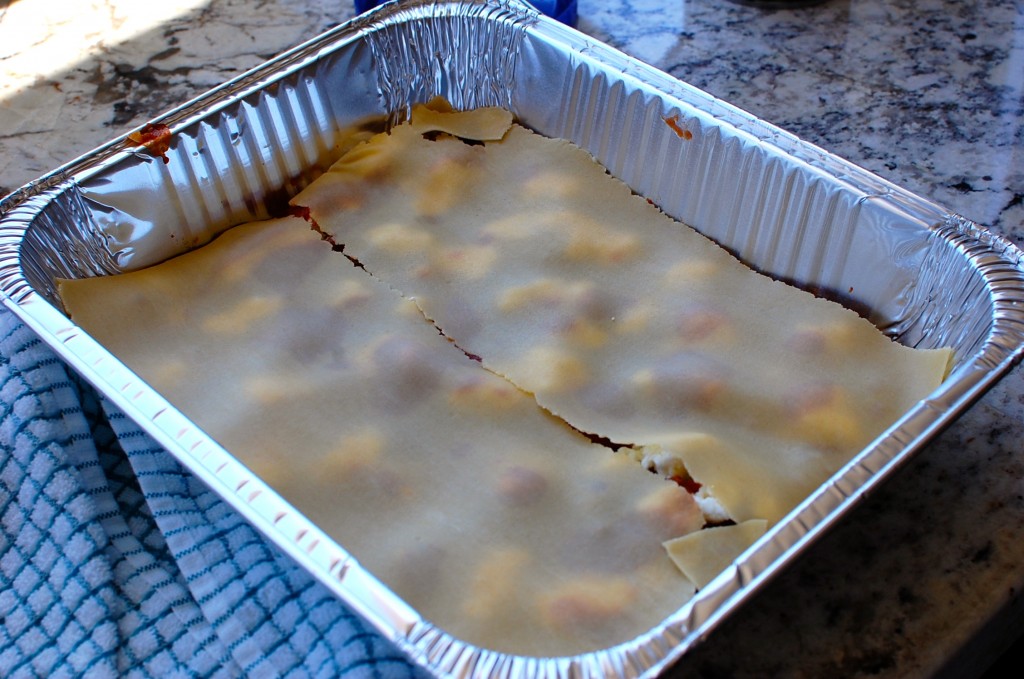
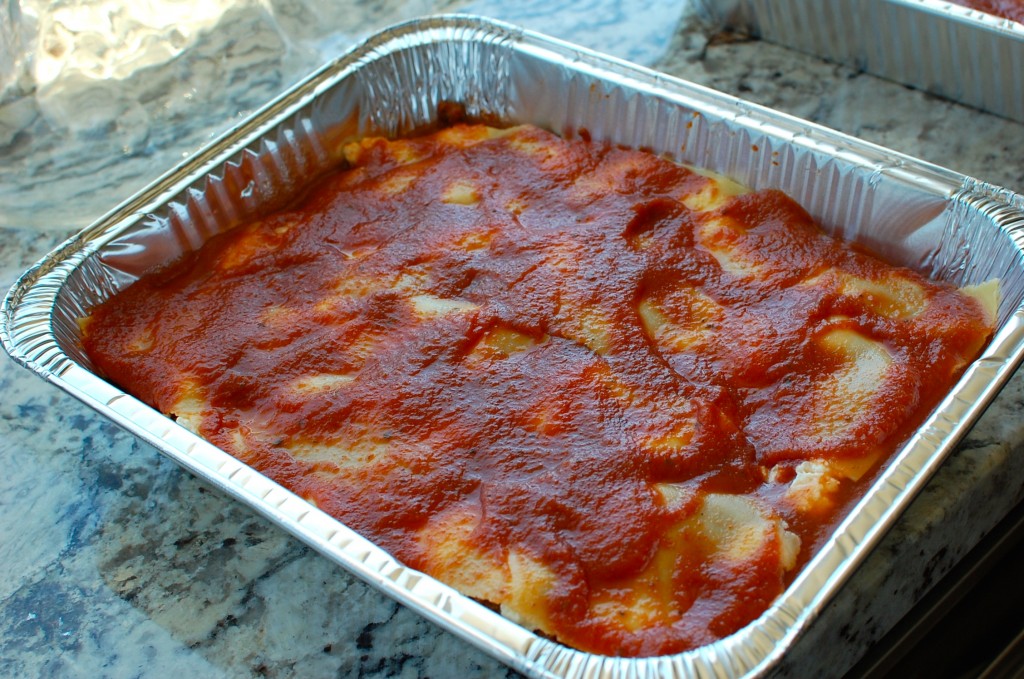
20. Top with the final layer of noodles. Then spread the remaining 1/2 jar of pasta sauce over the noodles in both pans.
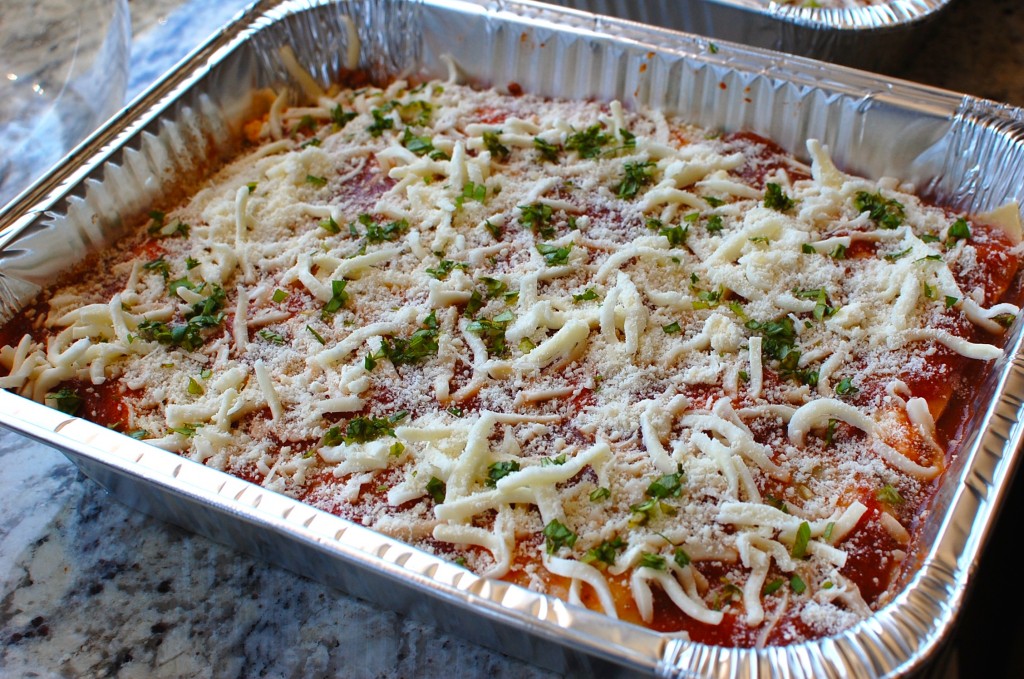
21. Top with the grated mozzarella cheese, the remaining 1/2 Parmesan cheese, and the reserved chopped fresh basil.
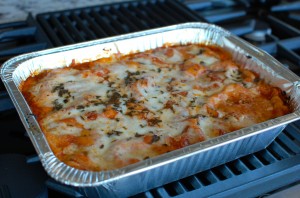
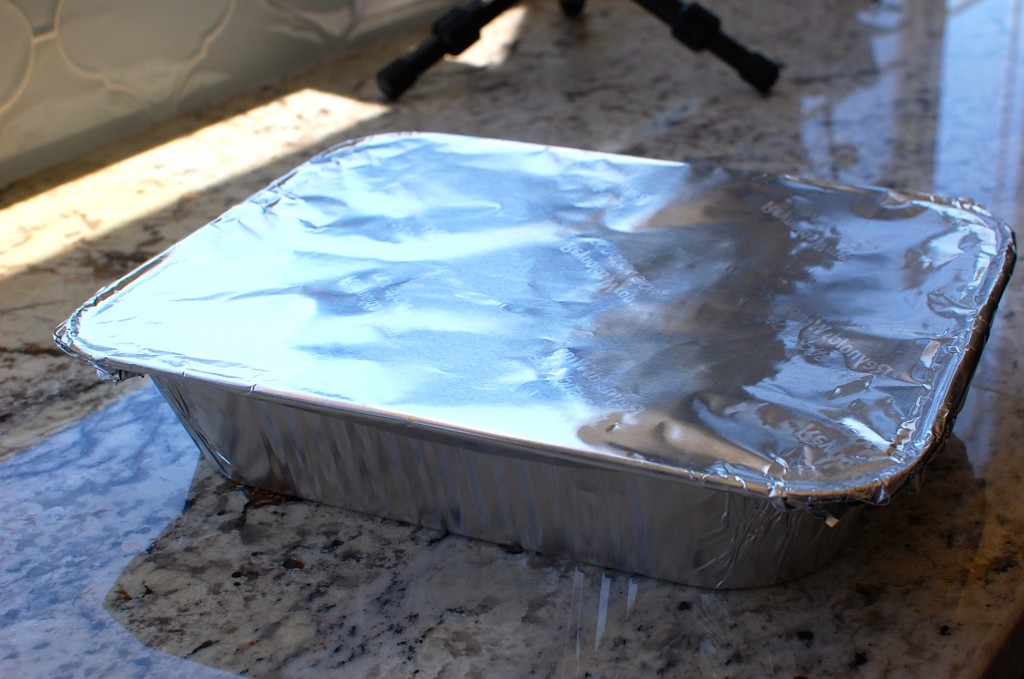
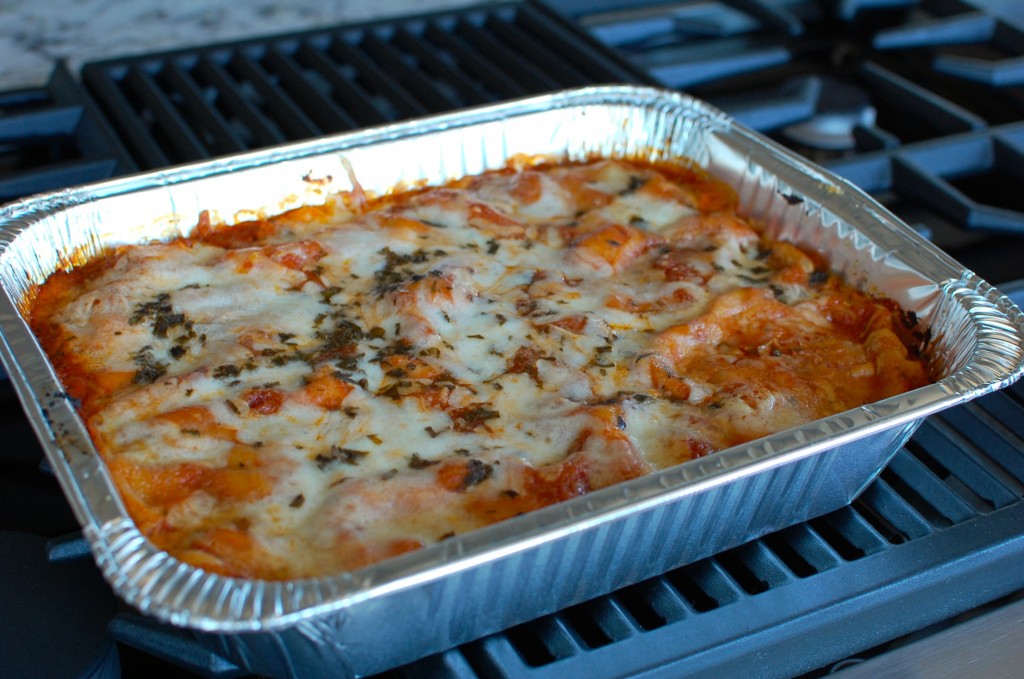
22. Cover with foil, and bake at 350 degrees for 1 to 1 1/2 hours until done. (If you want to freeze one of the lasagnas for another day – cover with foil and freeze unbaked until frozen solid, then wrap with plastic wrap. To cook, allow it to thaw overnight in the refrigerator, then proceed with baking instructions.)
23. Remove from the oven and allow to rest about 10-15 minutes before slicing.



Recent Comments