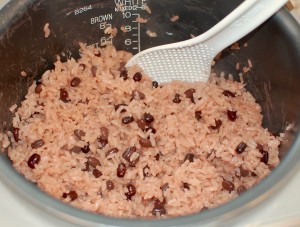
Sekihan 赤飯 (Japanese red beans with sticky rice) was one of those savory dishes that I didn’t get to eat often as a child… but was a favorite! Usually, we would only get sekihan on those special once in awhile trips downtown to Little Tokyo – which wasn’t that often since my mother would always get lost! Either that, or we would get to eat sekihan at a special event or celebration (in Japanese culture, sekihan is often served as a celebratory dish).
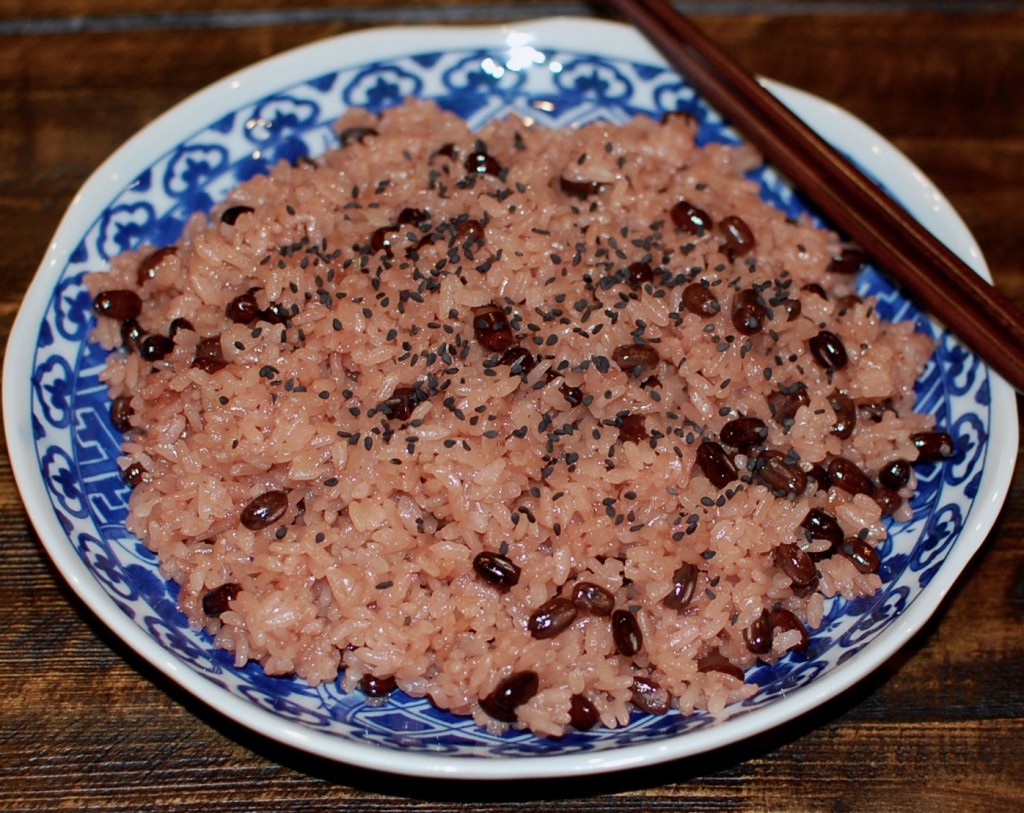
Because of my childhood “deprivation” of sekihan… I learned how to make it myself at home so that I could eat it whenever I wanted! I remember the first time I made this… my husband got so excited because he thought it was going to be a dessert. ”No… sekihan is not supposed to be sweet…” I told him. I serve it with a sprinkle of black sesame seeds and sea salt – it pairs nicely with Japanese fried chicken (chicken karaage). Yet, it never fails, every time I make it, he takes a bite, and exclaims, “Why isn’t it sweet?” Sweet? That’s just wrong!!!
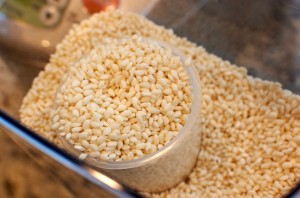
Use “mochigome” rice… it’s a shorter grain Japanese-style glutinous rice (the rice grains will be opaque instead of semi-clear when you buy them) – the package will often say “sweet rice“. Be careful if you are shopping at a Chinese or “Asian” market (instead of a Japanese market) – there are other types of glutinous rice that are more common in other types of cuisine… Chinese/Vietnamese and other Asian cuisines use a longer grain glutinous rice which is not meant for making sekihan (it will work, but it won’t be sekihan). You will also used dried Azuki beans that you will soak overnight – these beans keep in the pantry for a long time – just seal them in a glass jar or Ziploc bag.
Sekihan 赤飯 :
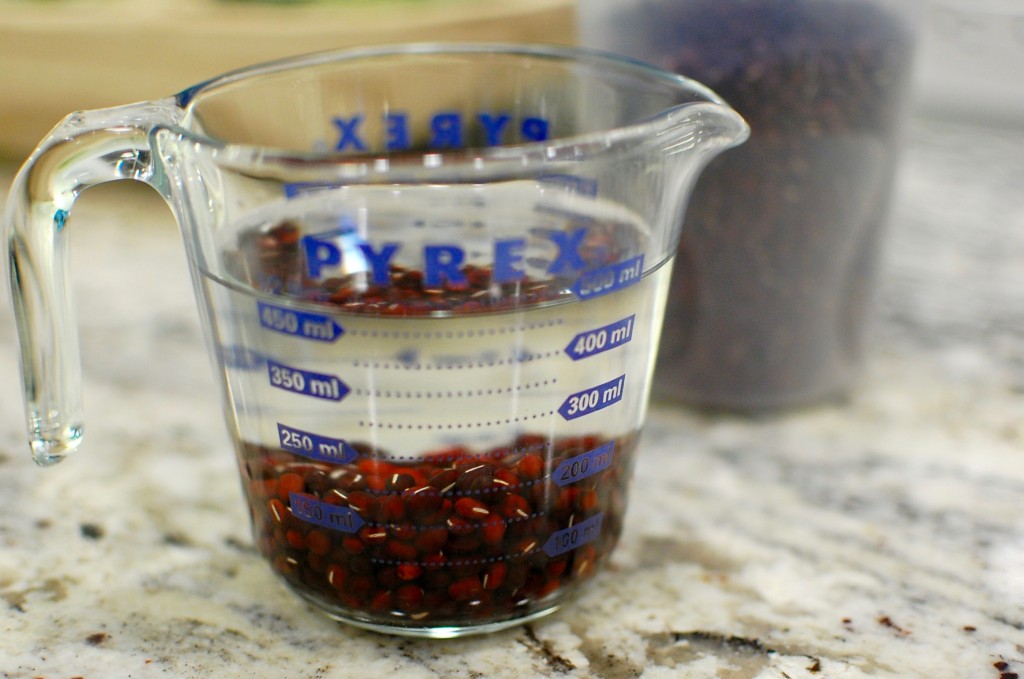
- 1/2 c. dried Azuki beans
- 3 c. Mochigome (Japanese Sweet/Glutinous Rice)
- water
- 1 drop red food coloring (optional)
- black sesame seeds + sea salt (optional garnish)
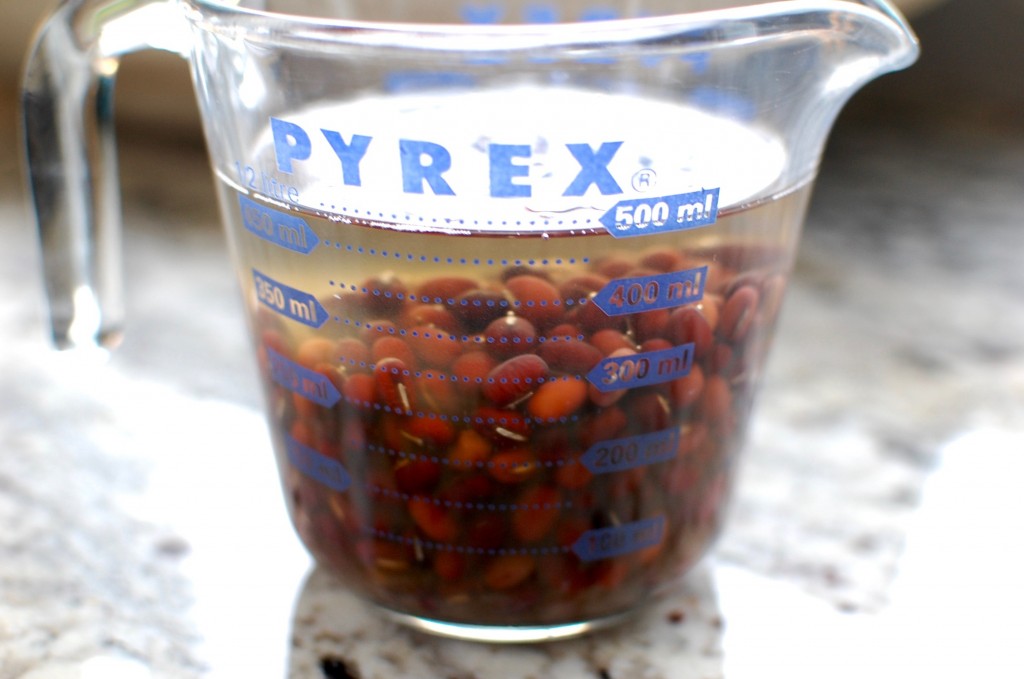
1. Place the azuki beans into a 2 c. pyrex cup. Fill the cup with water to the 2 c. mark, then soak the dried azuki beans overnight.
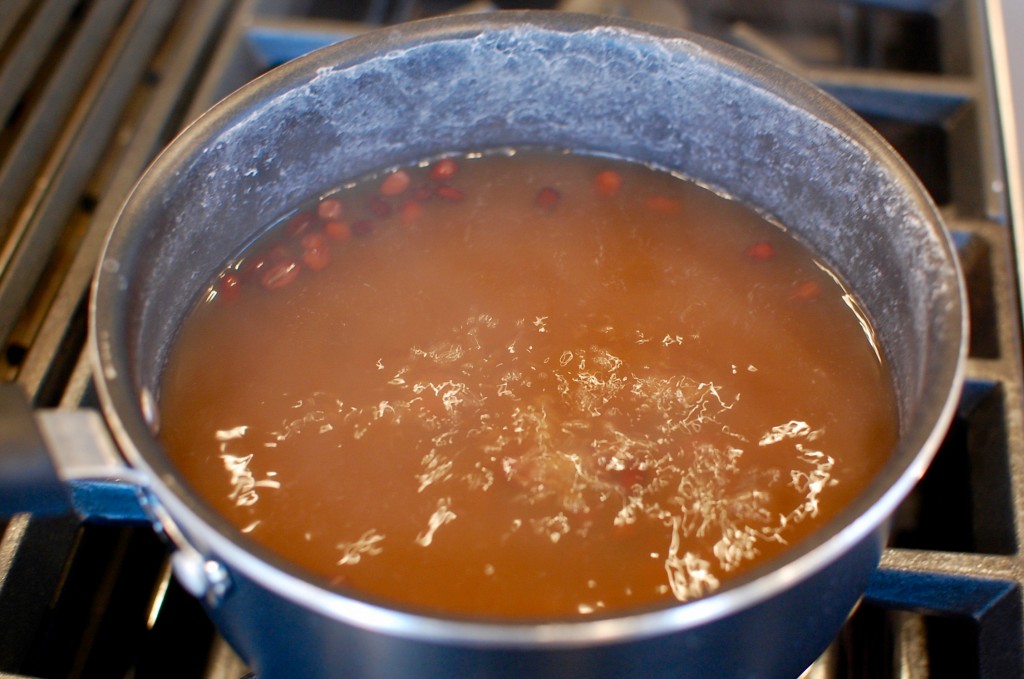
2. The next day, dump the water, then put the azuki beans in a small sauce pan. Fill the pot 3/4 to the top with fresh water. Gently simmer the beans over low heat for 30-45 minutes until the beans are cooked. (Do not overcook or overboil – you want the beans to be whole and intact. If you overly agitate the beans by boiling hard, they might burst or break.) Reserve the red water.
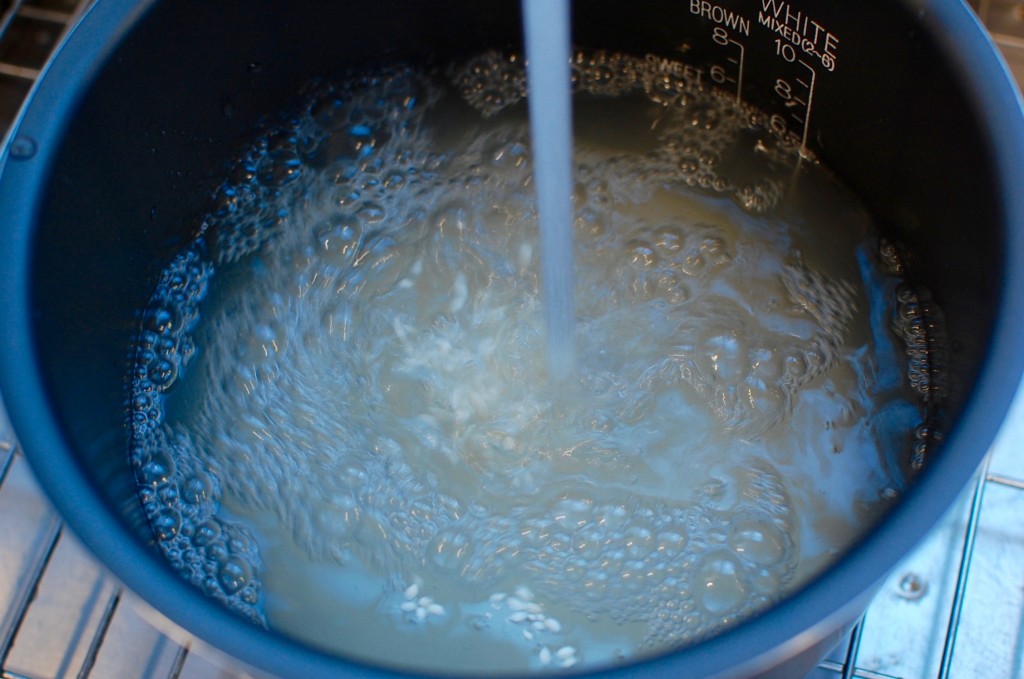
3. Wash the mochigome with fresh water 3 times. (Fill the rice cooker pot with water, swish the rice around with your hand, then drain, repeat.)
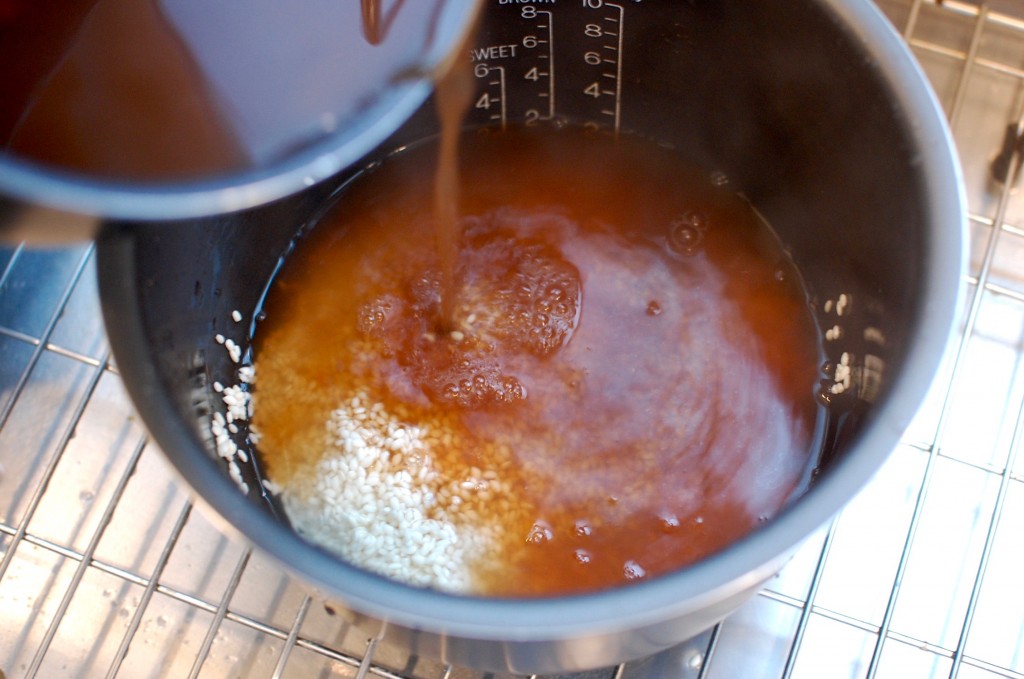
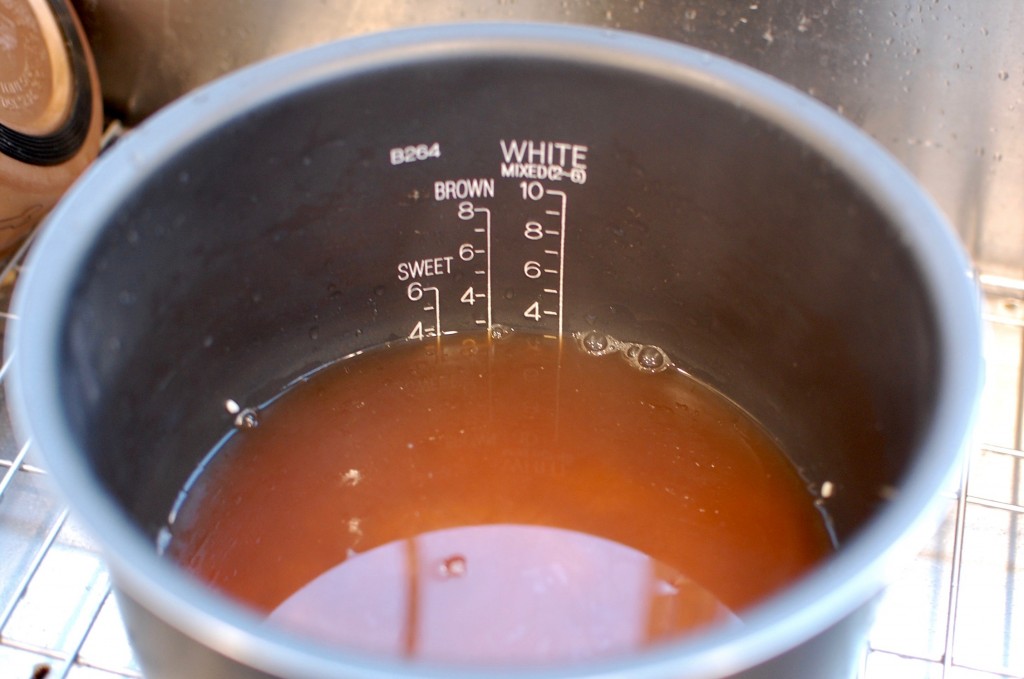
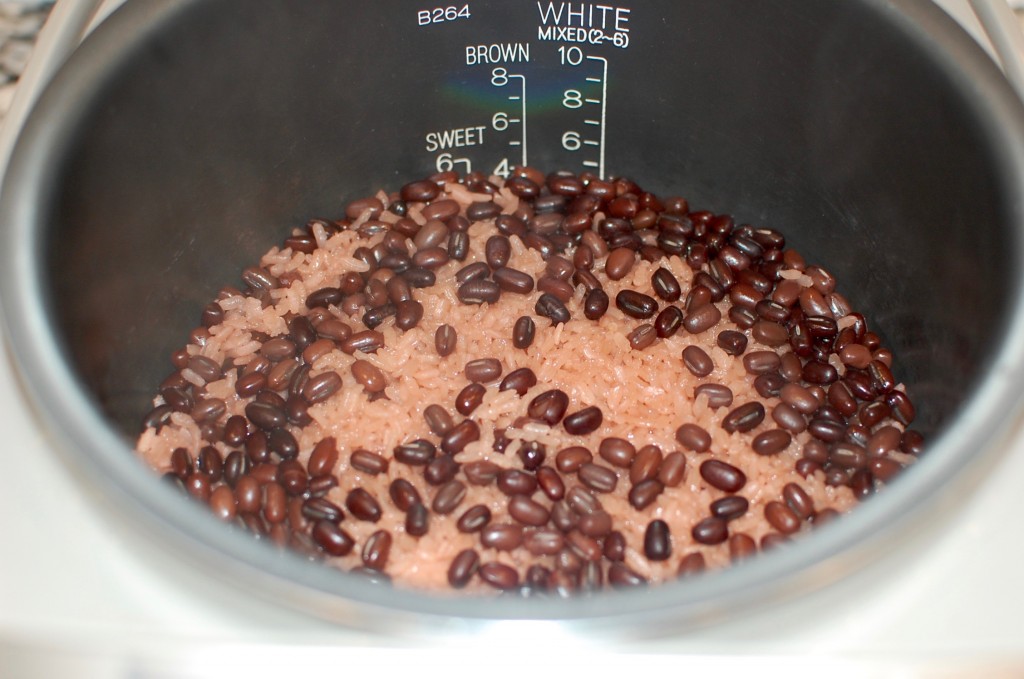
4. Pour the red bean water into the rinsed mochigome, up to the 3 1/2 c. mark (in between the 3 and 4 c. measurements) on the regular white rice measurements. (My rice cooker also has a “sweet rice” setting and marking that I ignore – when making sekihan I like to use a little bit extra water since we are also adding beans which will also absorb some water.)
*It’s hard to see it in the picture here, but the meniscus is actually a little higher than it appears – closer to 3.5 than 3.*
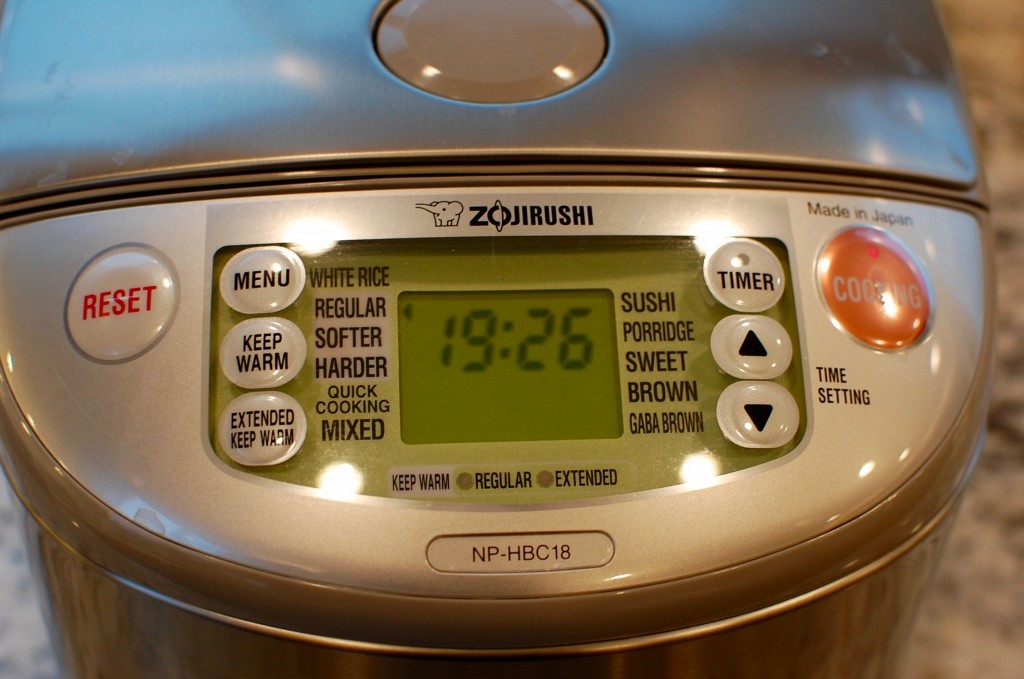
5. Add a drop of red food coloring (optional), and turn the rice cooker on for the “regular” cooking setting.
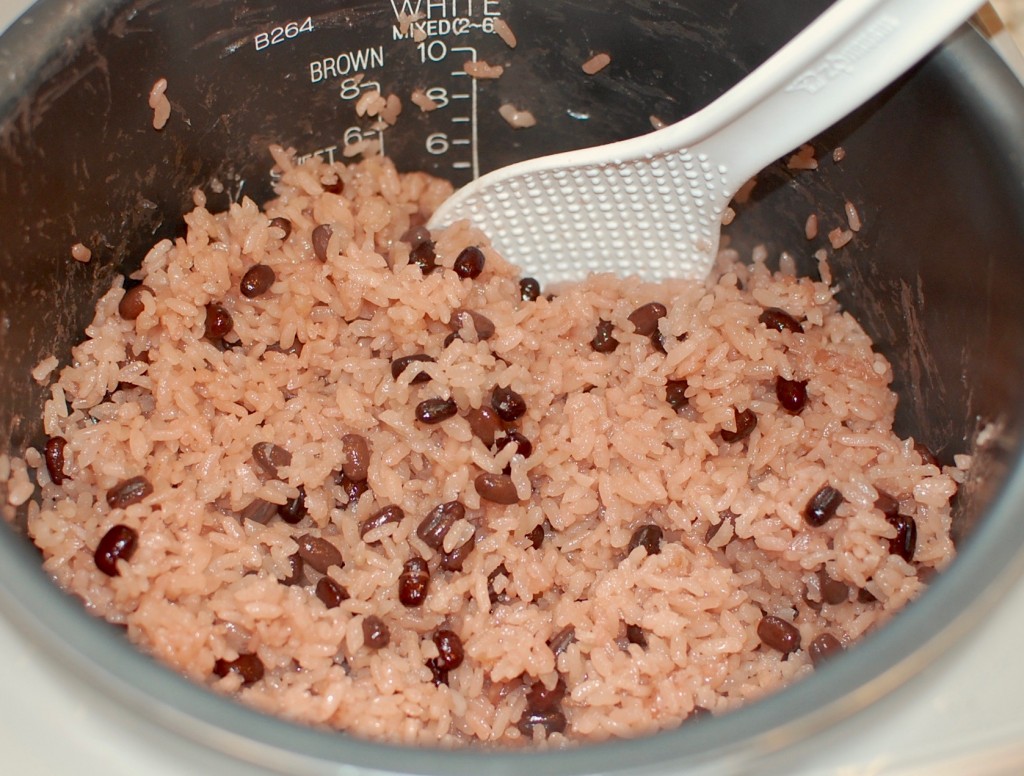
6. Fluff up the rice and mix the beans (which will have migrated to the top of the rice) into the sekihan.
7. Serve your sekihan with a sprinkle of black sesame seeds and sea salt. You can eat it warm, or room temperature.



Recent Comments