
(Original Post Date: January 31, 2011)
Did I ever mention my husband bought me a KitchenAid Stand Mixer as a surprise gift a few years ago? He thought I would like it, since I bake so much. His heart was in the right place, but just like I shouldn’t be picking out tech gadgets for him, he probably shouldn’t have picked out a baking appliance for me.
That particular stand mixer was a professional edition, and very heavy. Also, it was a Bowl-Lift design (rather than the Tilt-Head model I actually wanted.) Nevertheless, I was excited to try it out in the beginning, since it came with a dough hook…
Sadly, I ended up HATING that stand mixer. It was too heavy, very cumbersome to use, and that Bowl-Lift design really irritated me. It ended up becoming a very large dust-covered paperweight in the corner of my kitchen before I ended up finding a new home for it. But I did miss the dough hook… kneading dough (to produce gluten, essential for proper bread texture) is not a very fun activity for me.
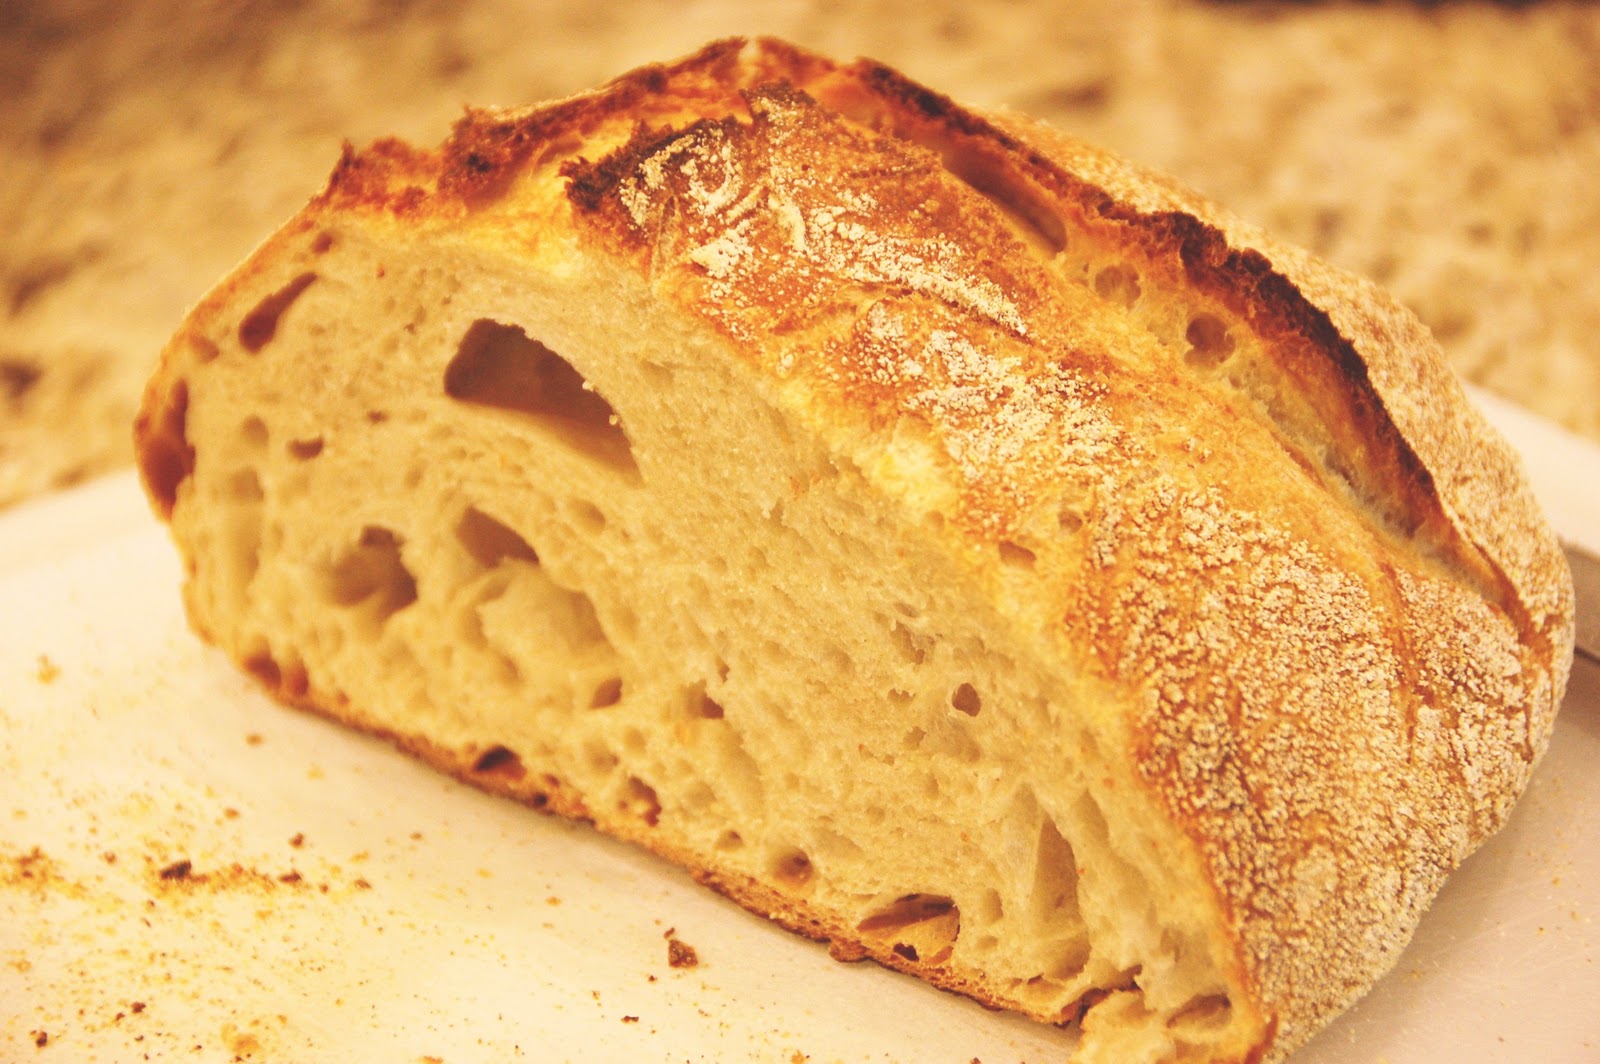
A few nights ago, I was watching my favorite Food Network show, “Good Eats,” and Alton Brown was demonstrating a very simple method for making wonderful bread, without any kneading at all! You simple let time produce the gluten for you, instead of the mechanical kneading that I can no longer do without a dough hook/stand mixer! Alton recommended a 19 hour dough rest, but I let my dough rest for double that amount of time – I got really busy the next day and forgot about the dough – Whoops! But it still turned out great:

No Knead Bread:
- 17.5 oz. bread flour (about 3 to 3 1/2 cups)
- 1 1/2 c. water
- 2 tsp. salt
- 1/4 tsp. active dry yeast
- cornmeal and flour for dusting
1. Mix the flour, water, salt, and yeast in a bowl to combine.

2. Cover with plastic wrap and allow to sit on the counter top at room temperature from anywhere between 19 to 43 hours. The dough will end up with bubbles in it and look spongy.

3. A few hours before you are ready to bake, turn the dough out onto the counter and turn it over a few times. Loosely cover with the plastic wrap and allow to rest for 15 minutes.

4. Shape the dough into a ball, and allow it to rest on a piece of parchment with cornmeal sprinkled underneath (to keep it from sticking). Sprinkle a little cornmeal on the surface of the ball, and loosely cover with the plastic wrap. Allow the dough to rise for another 2-3 hours until doubled.

5. In the last 30 minutes of allowing the dough to rise, preheat a cast iron dutch oven in a 450 degree oven.

6. When the dough is ready to bake, plop the dough ball into the cast iron dutch oven, and cover with the lid. Allow to bake for 30 minutes.

7. After 30 minutes, remove the lid, and continue to bake another 15 minutes.

8. Remove from the oven, and cool for at least 15 minutes before slicing.


Do I have to grease the pan?
No. I do not grease the pan, and it’s usually fine.
Thankyou very much for your answer..I already made the Japanesse Milk Bread…it is DIVINE!!..THAT RECIPE IS PERFECT..!! It is really good and look so beautiful..!!! Thanks, Mika. Congratulations for this excellent website.
You’re welcome!